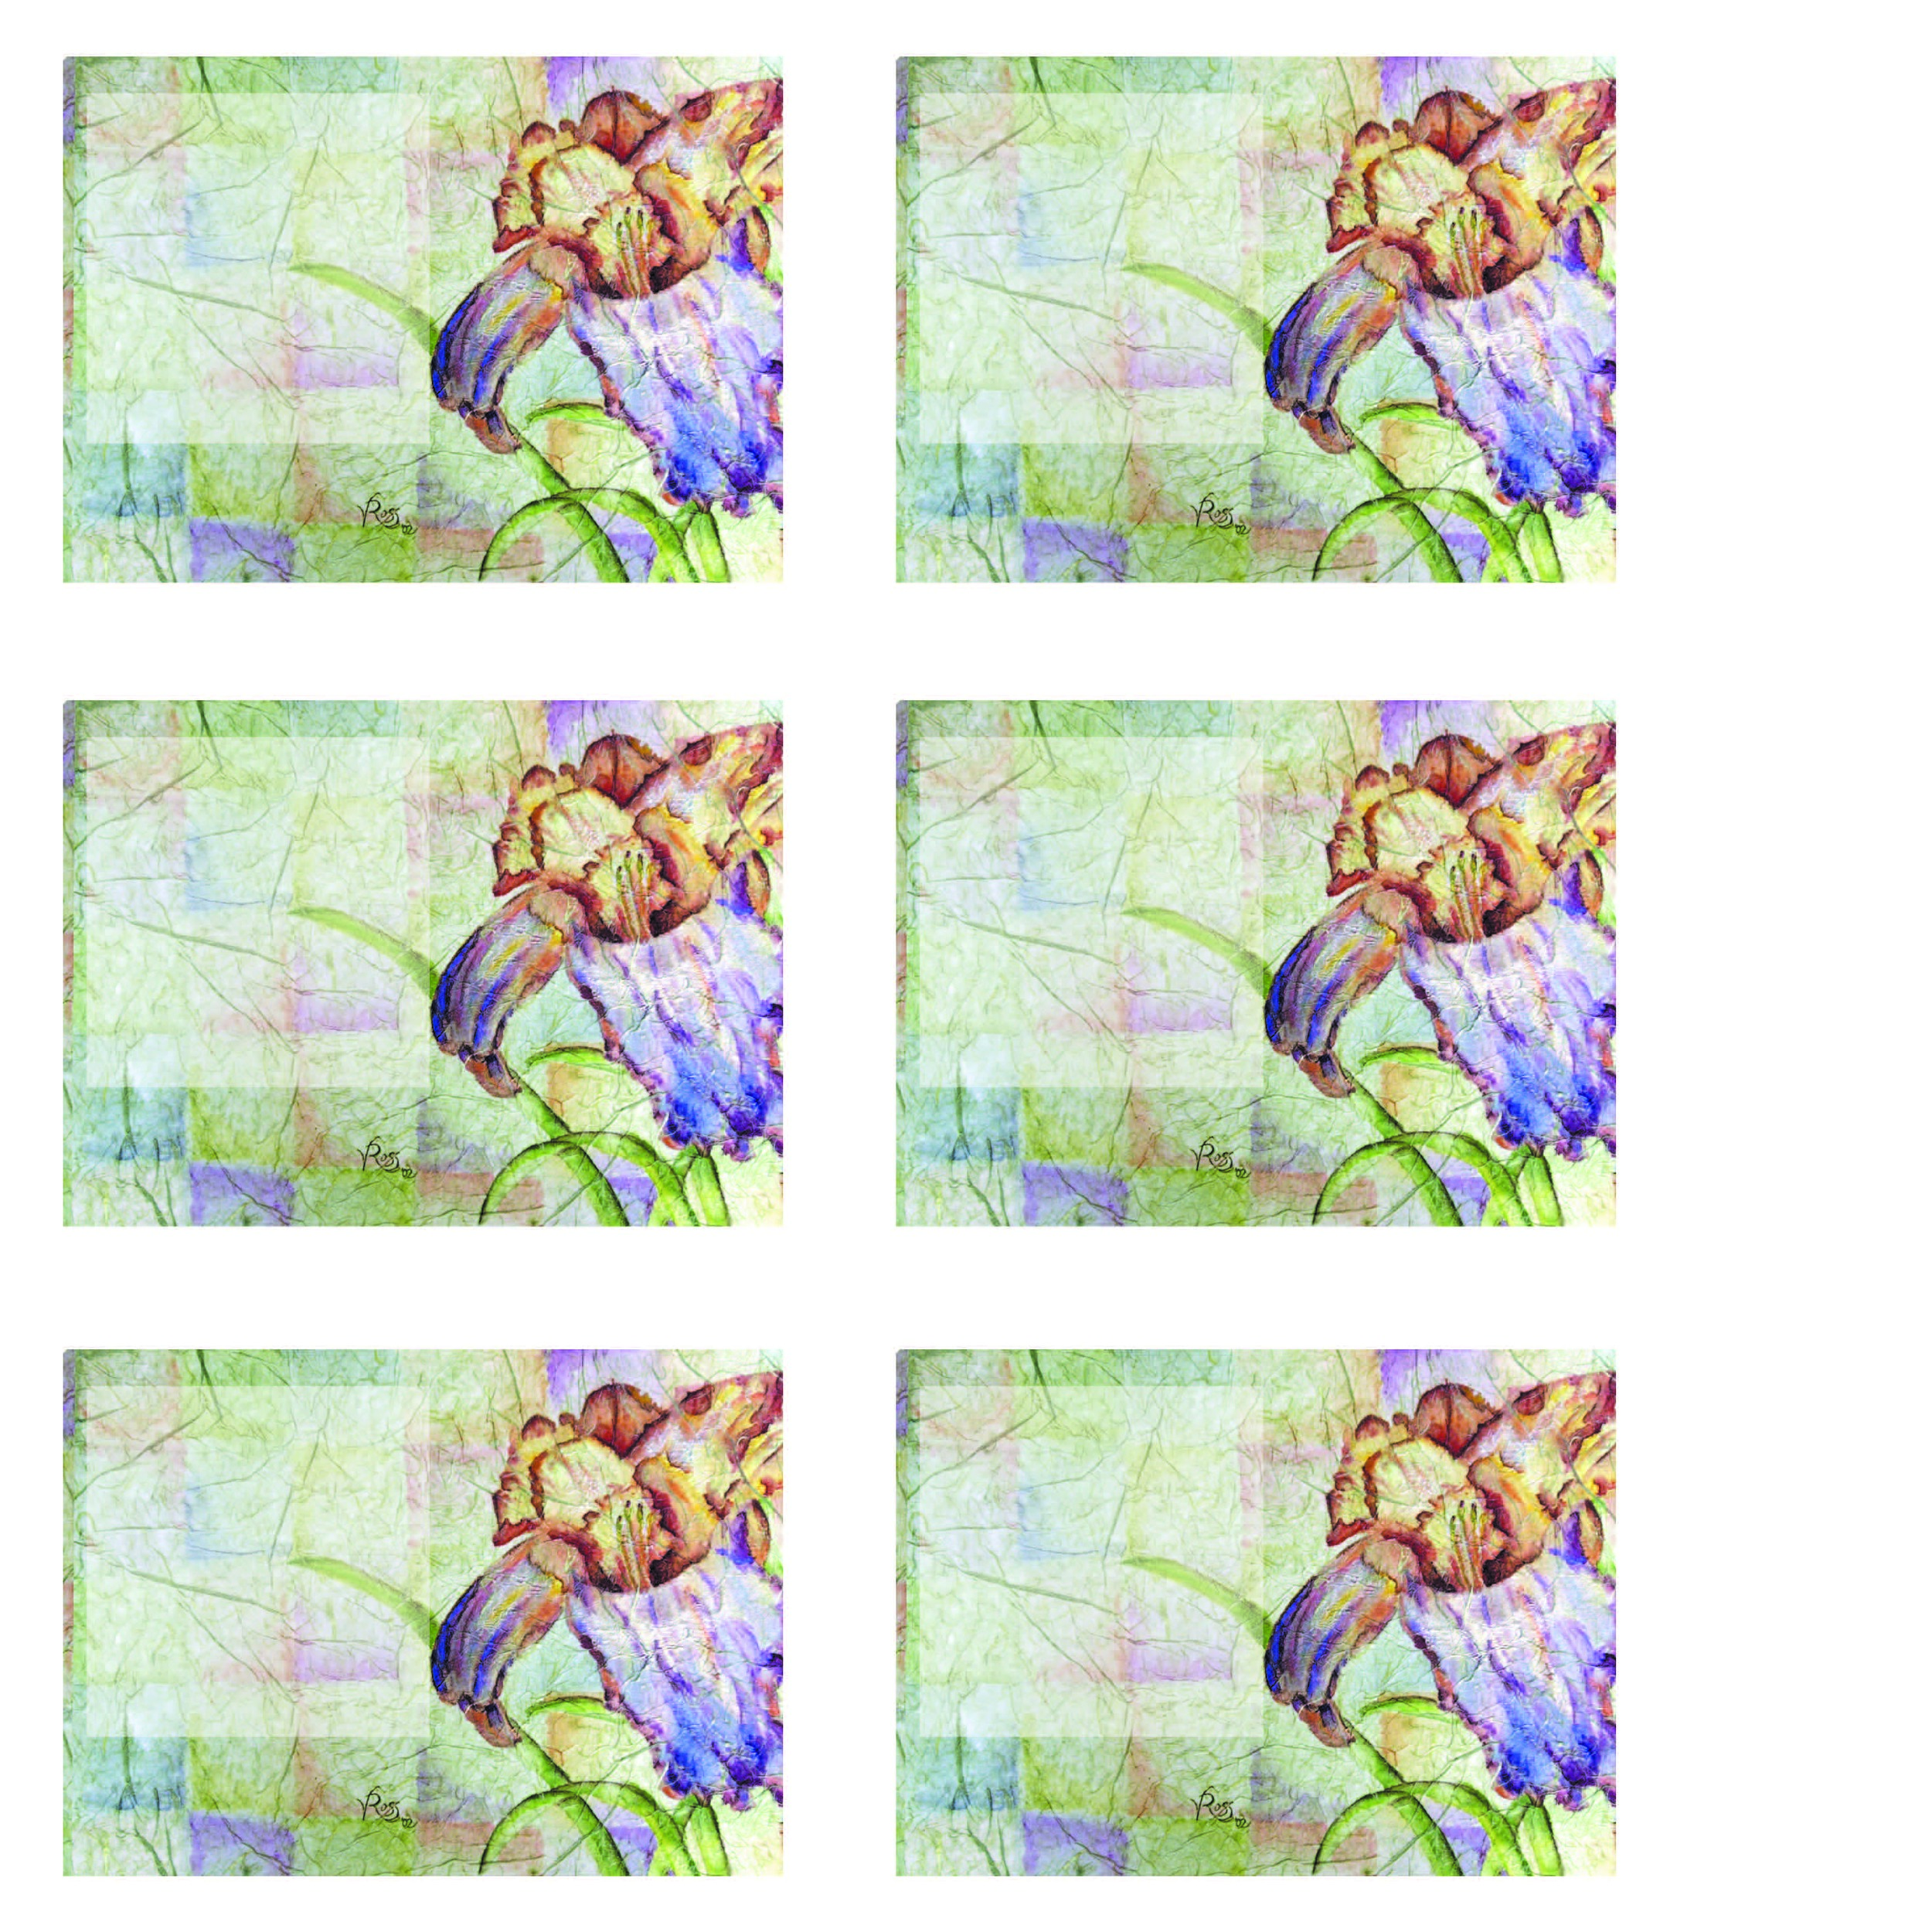
Japanese Hanky Printable Papers

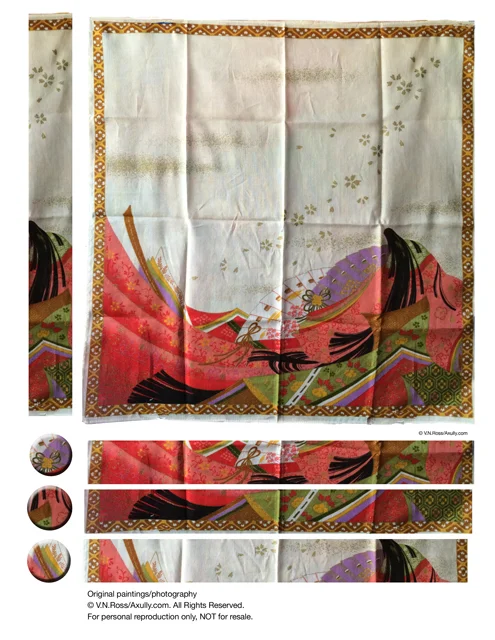
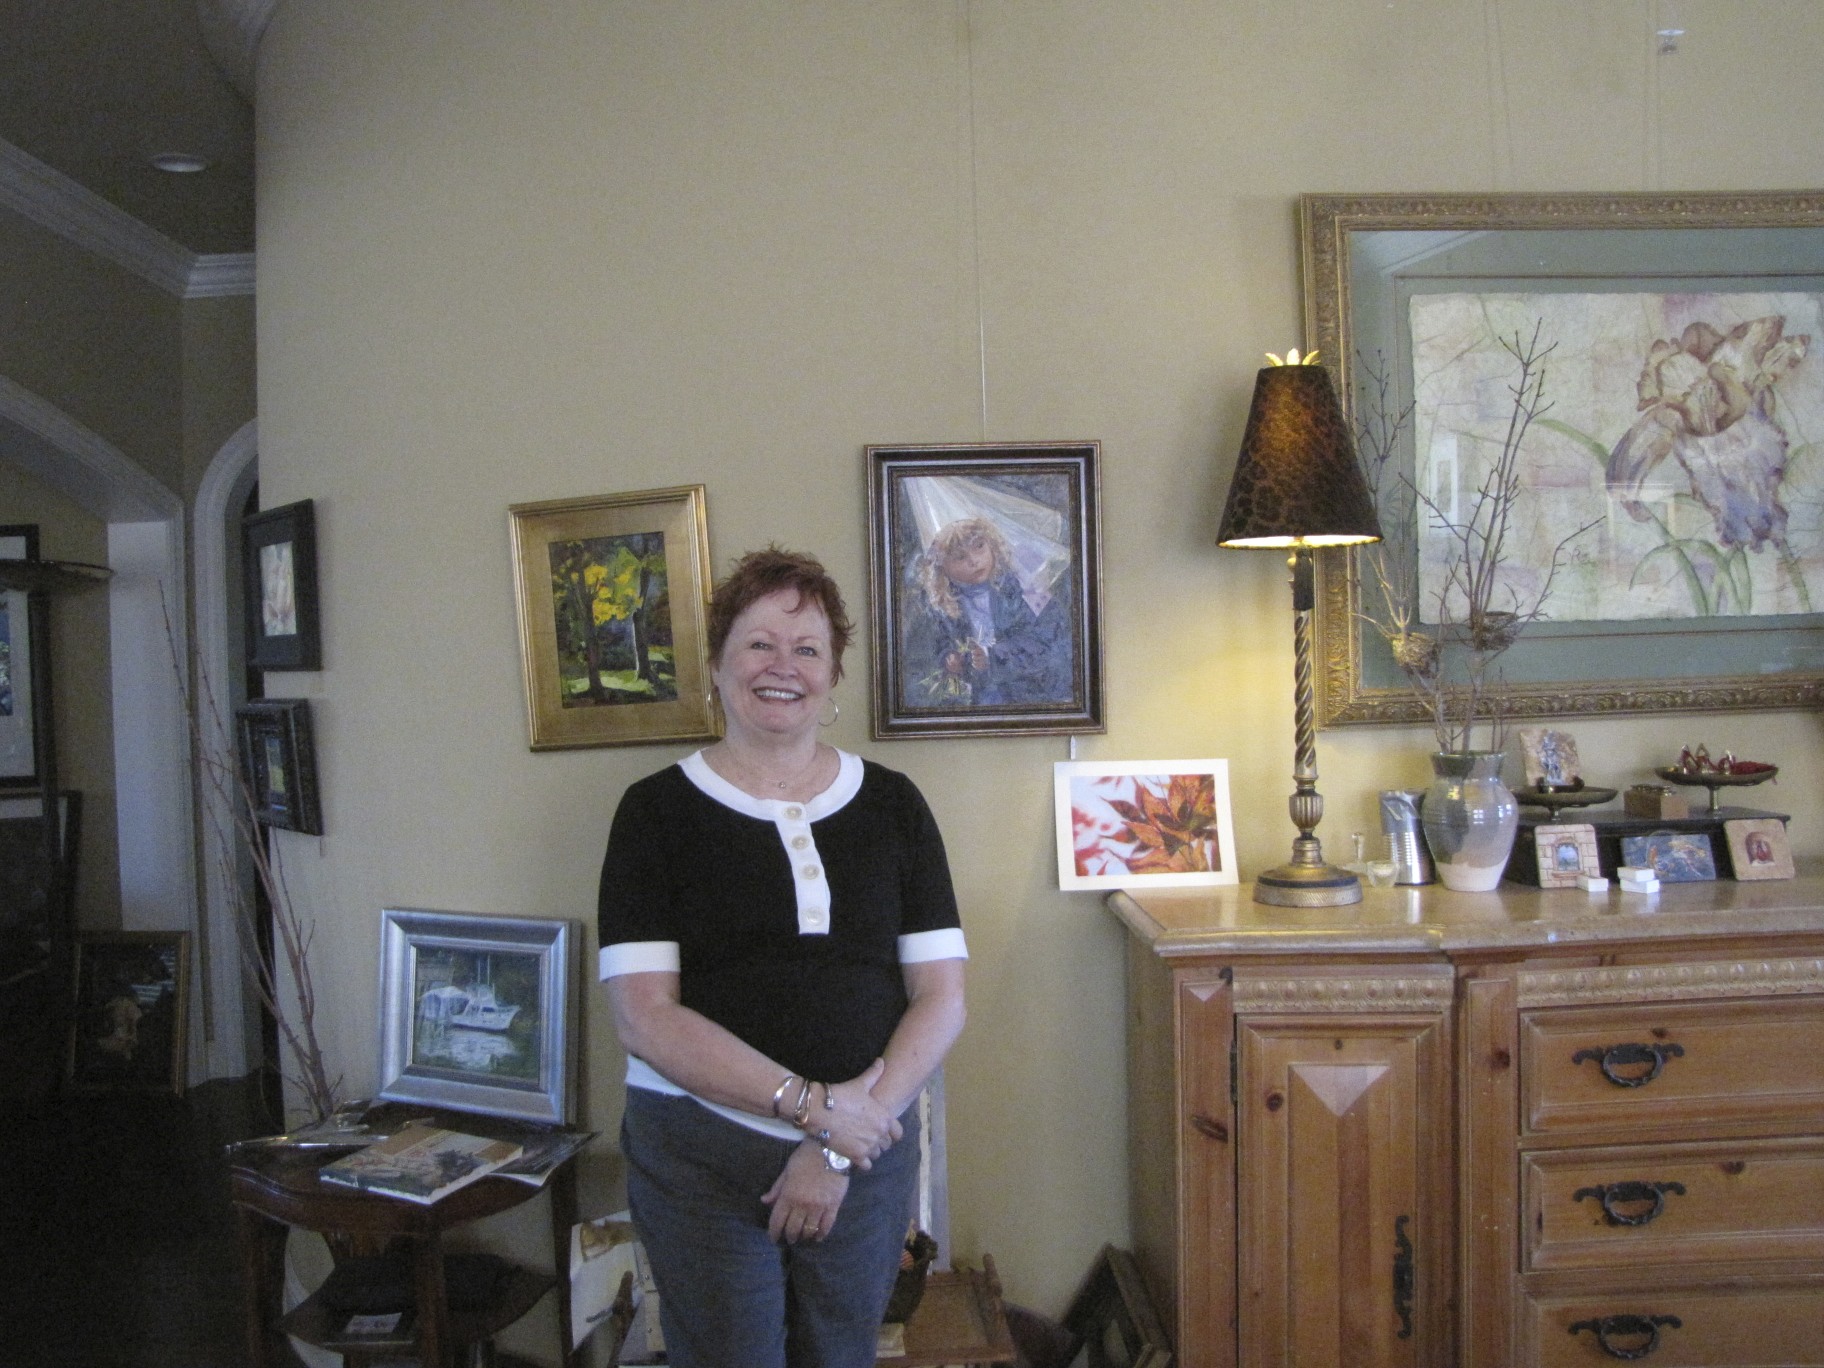
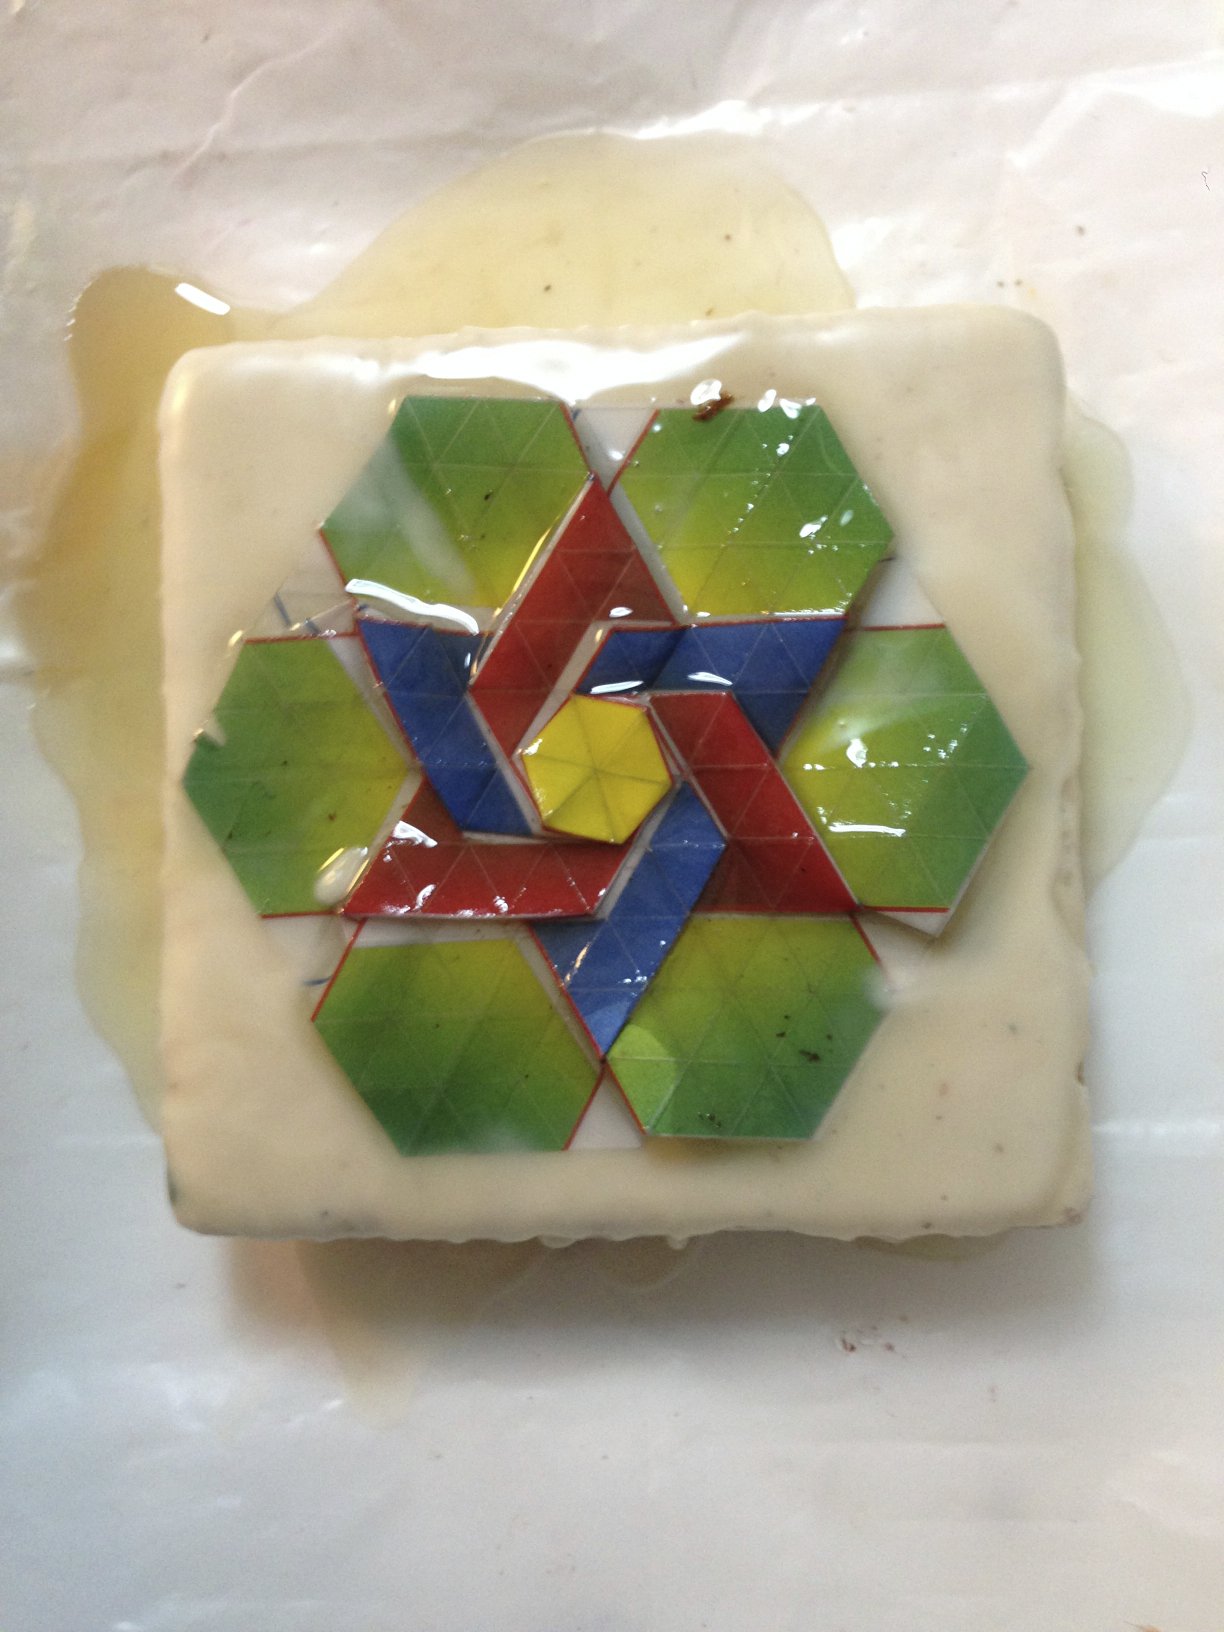
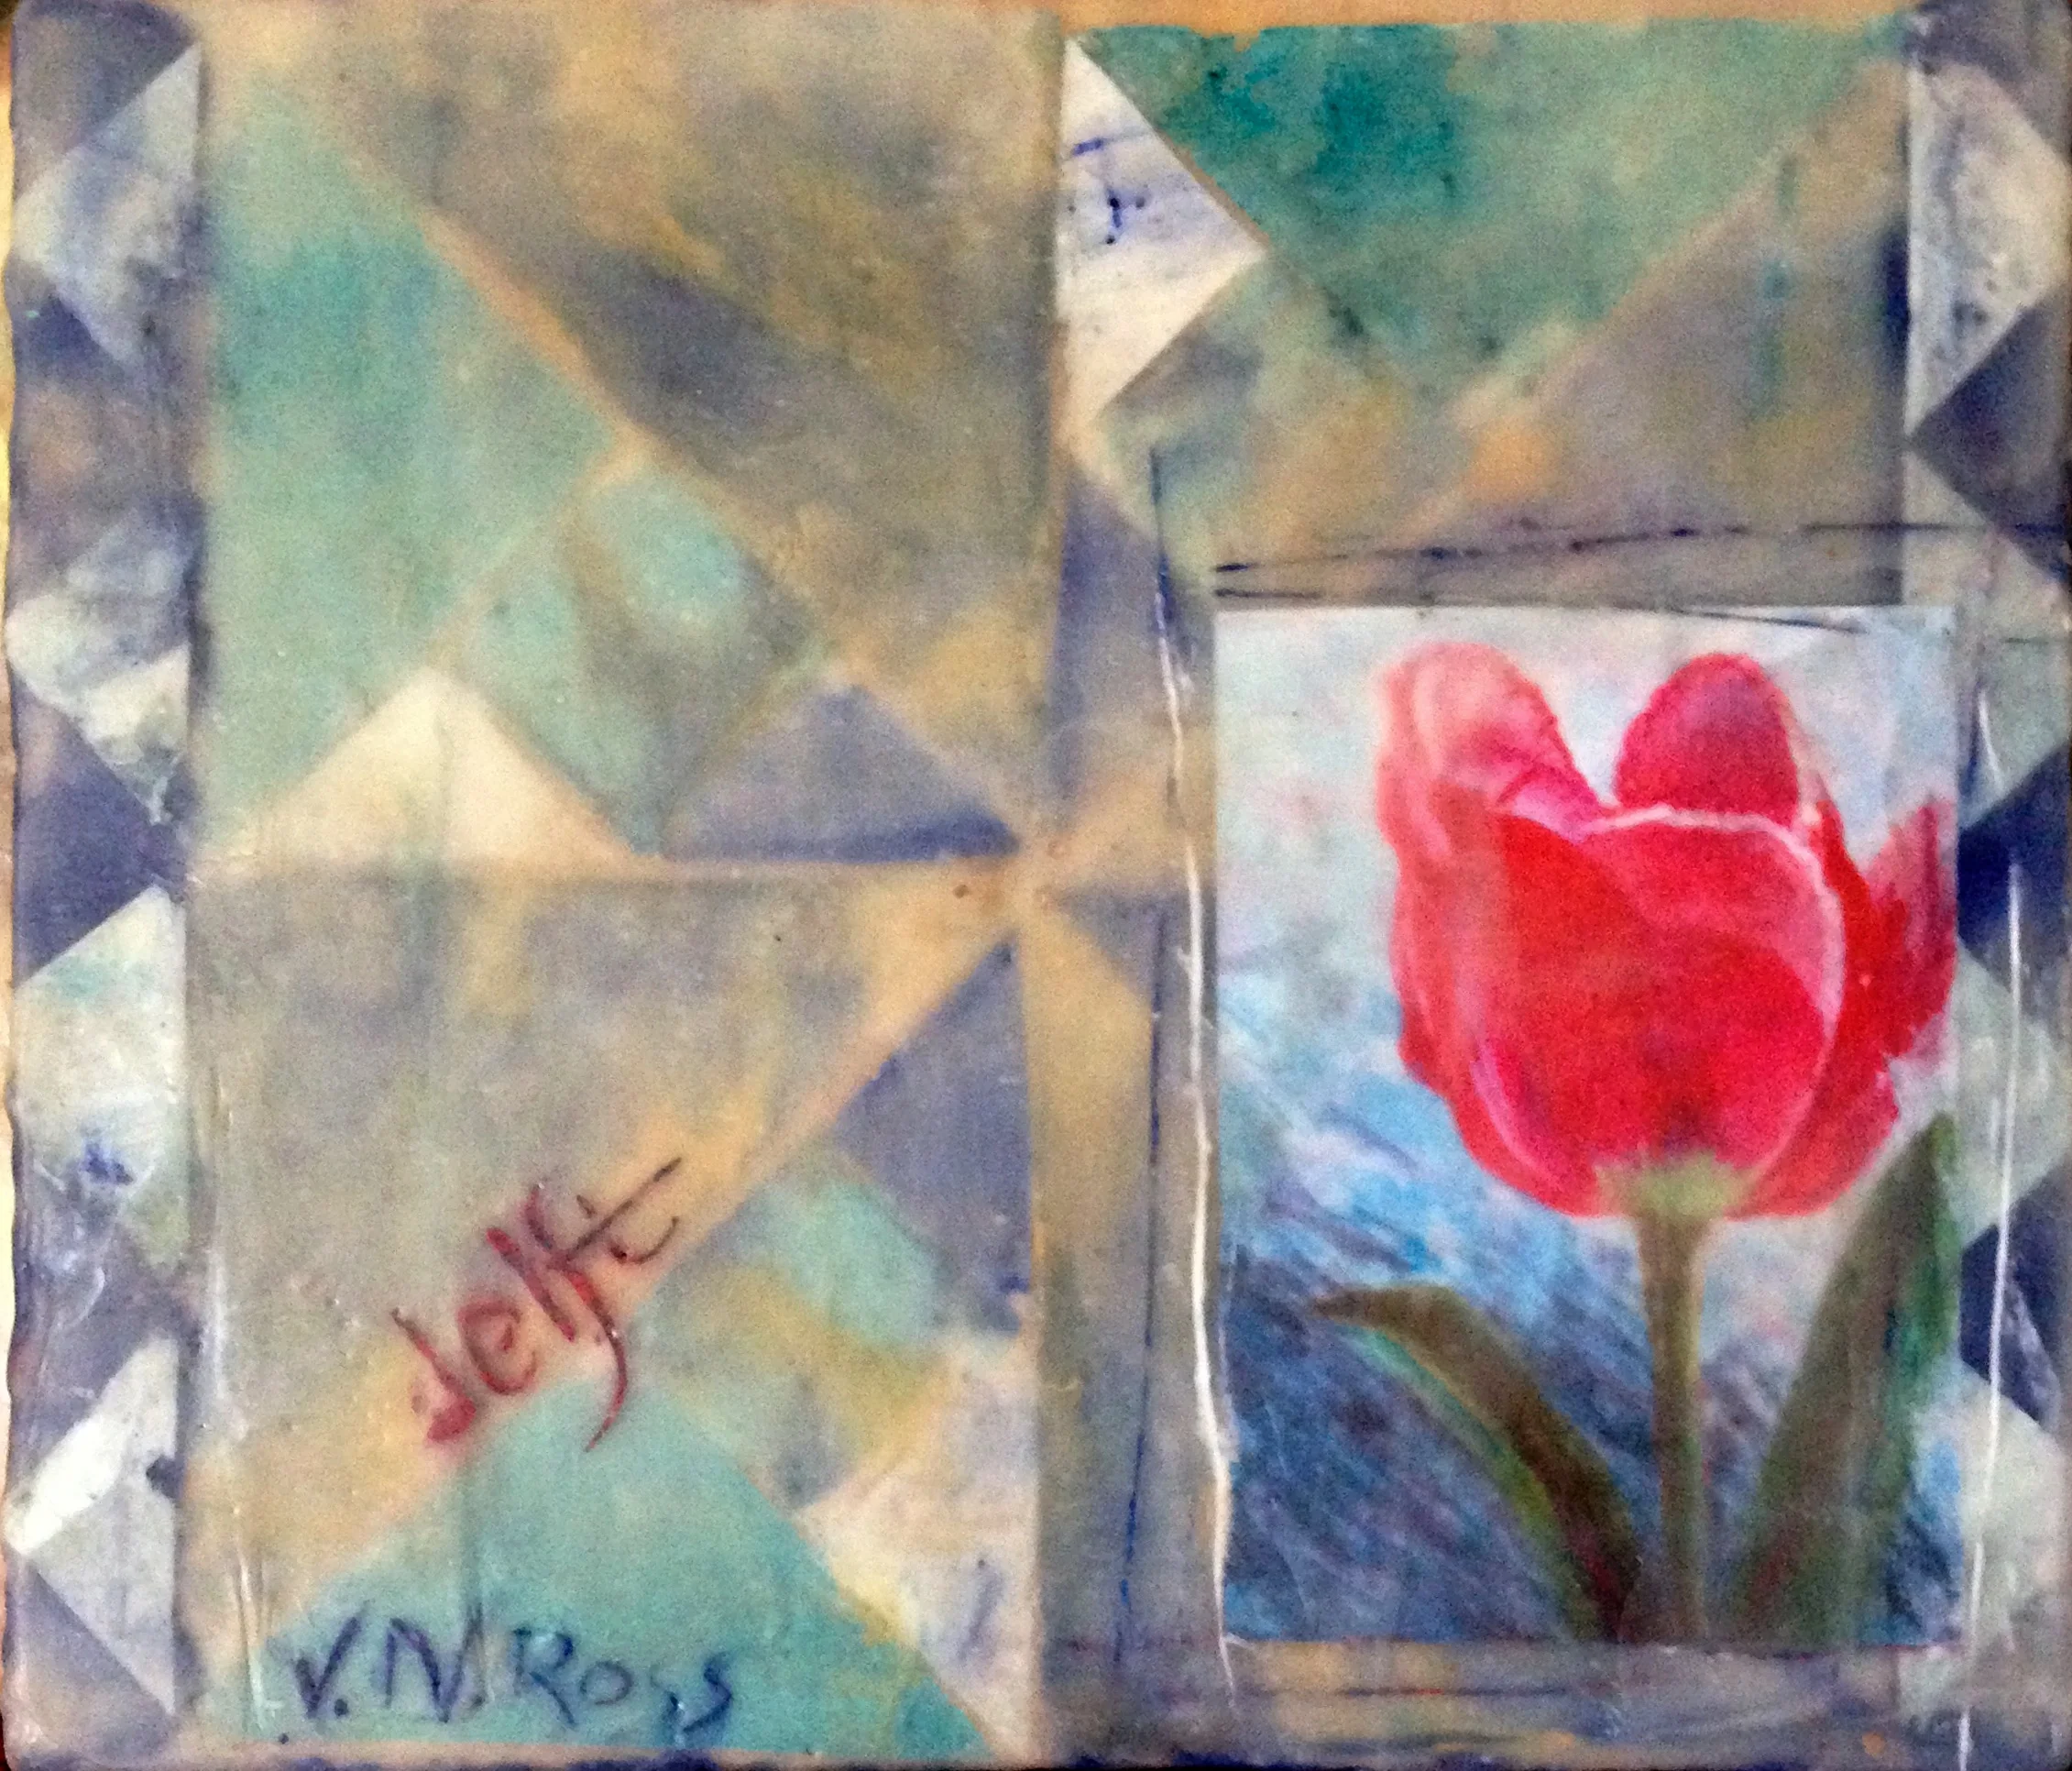
This printable is from a vintage hanky collected by Teiko Kazama Ross, my late mother-in-law. So perfect, with its original folds intact, I photographed it and folded it back. It will find its way into the collection already passed on to Betsy Ross Noble.

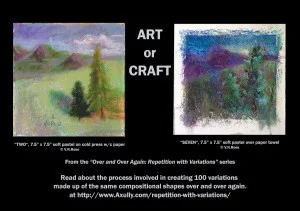
Printables are all the rage in the paper crafting/art journaling/collage market right now. Purchase, and a download link will be immediately emailed to you. Print it on any type of paper you wish, from clear label paper to nice 32 lb. paper. A coupon for 15% discount is available for a short time. SproulQFXBMFF is the code.

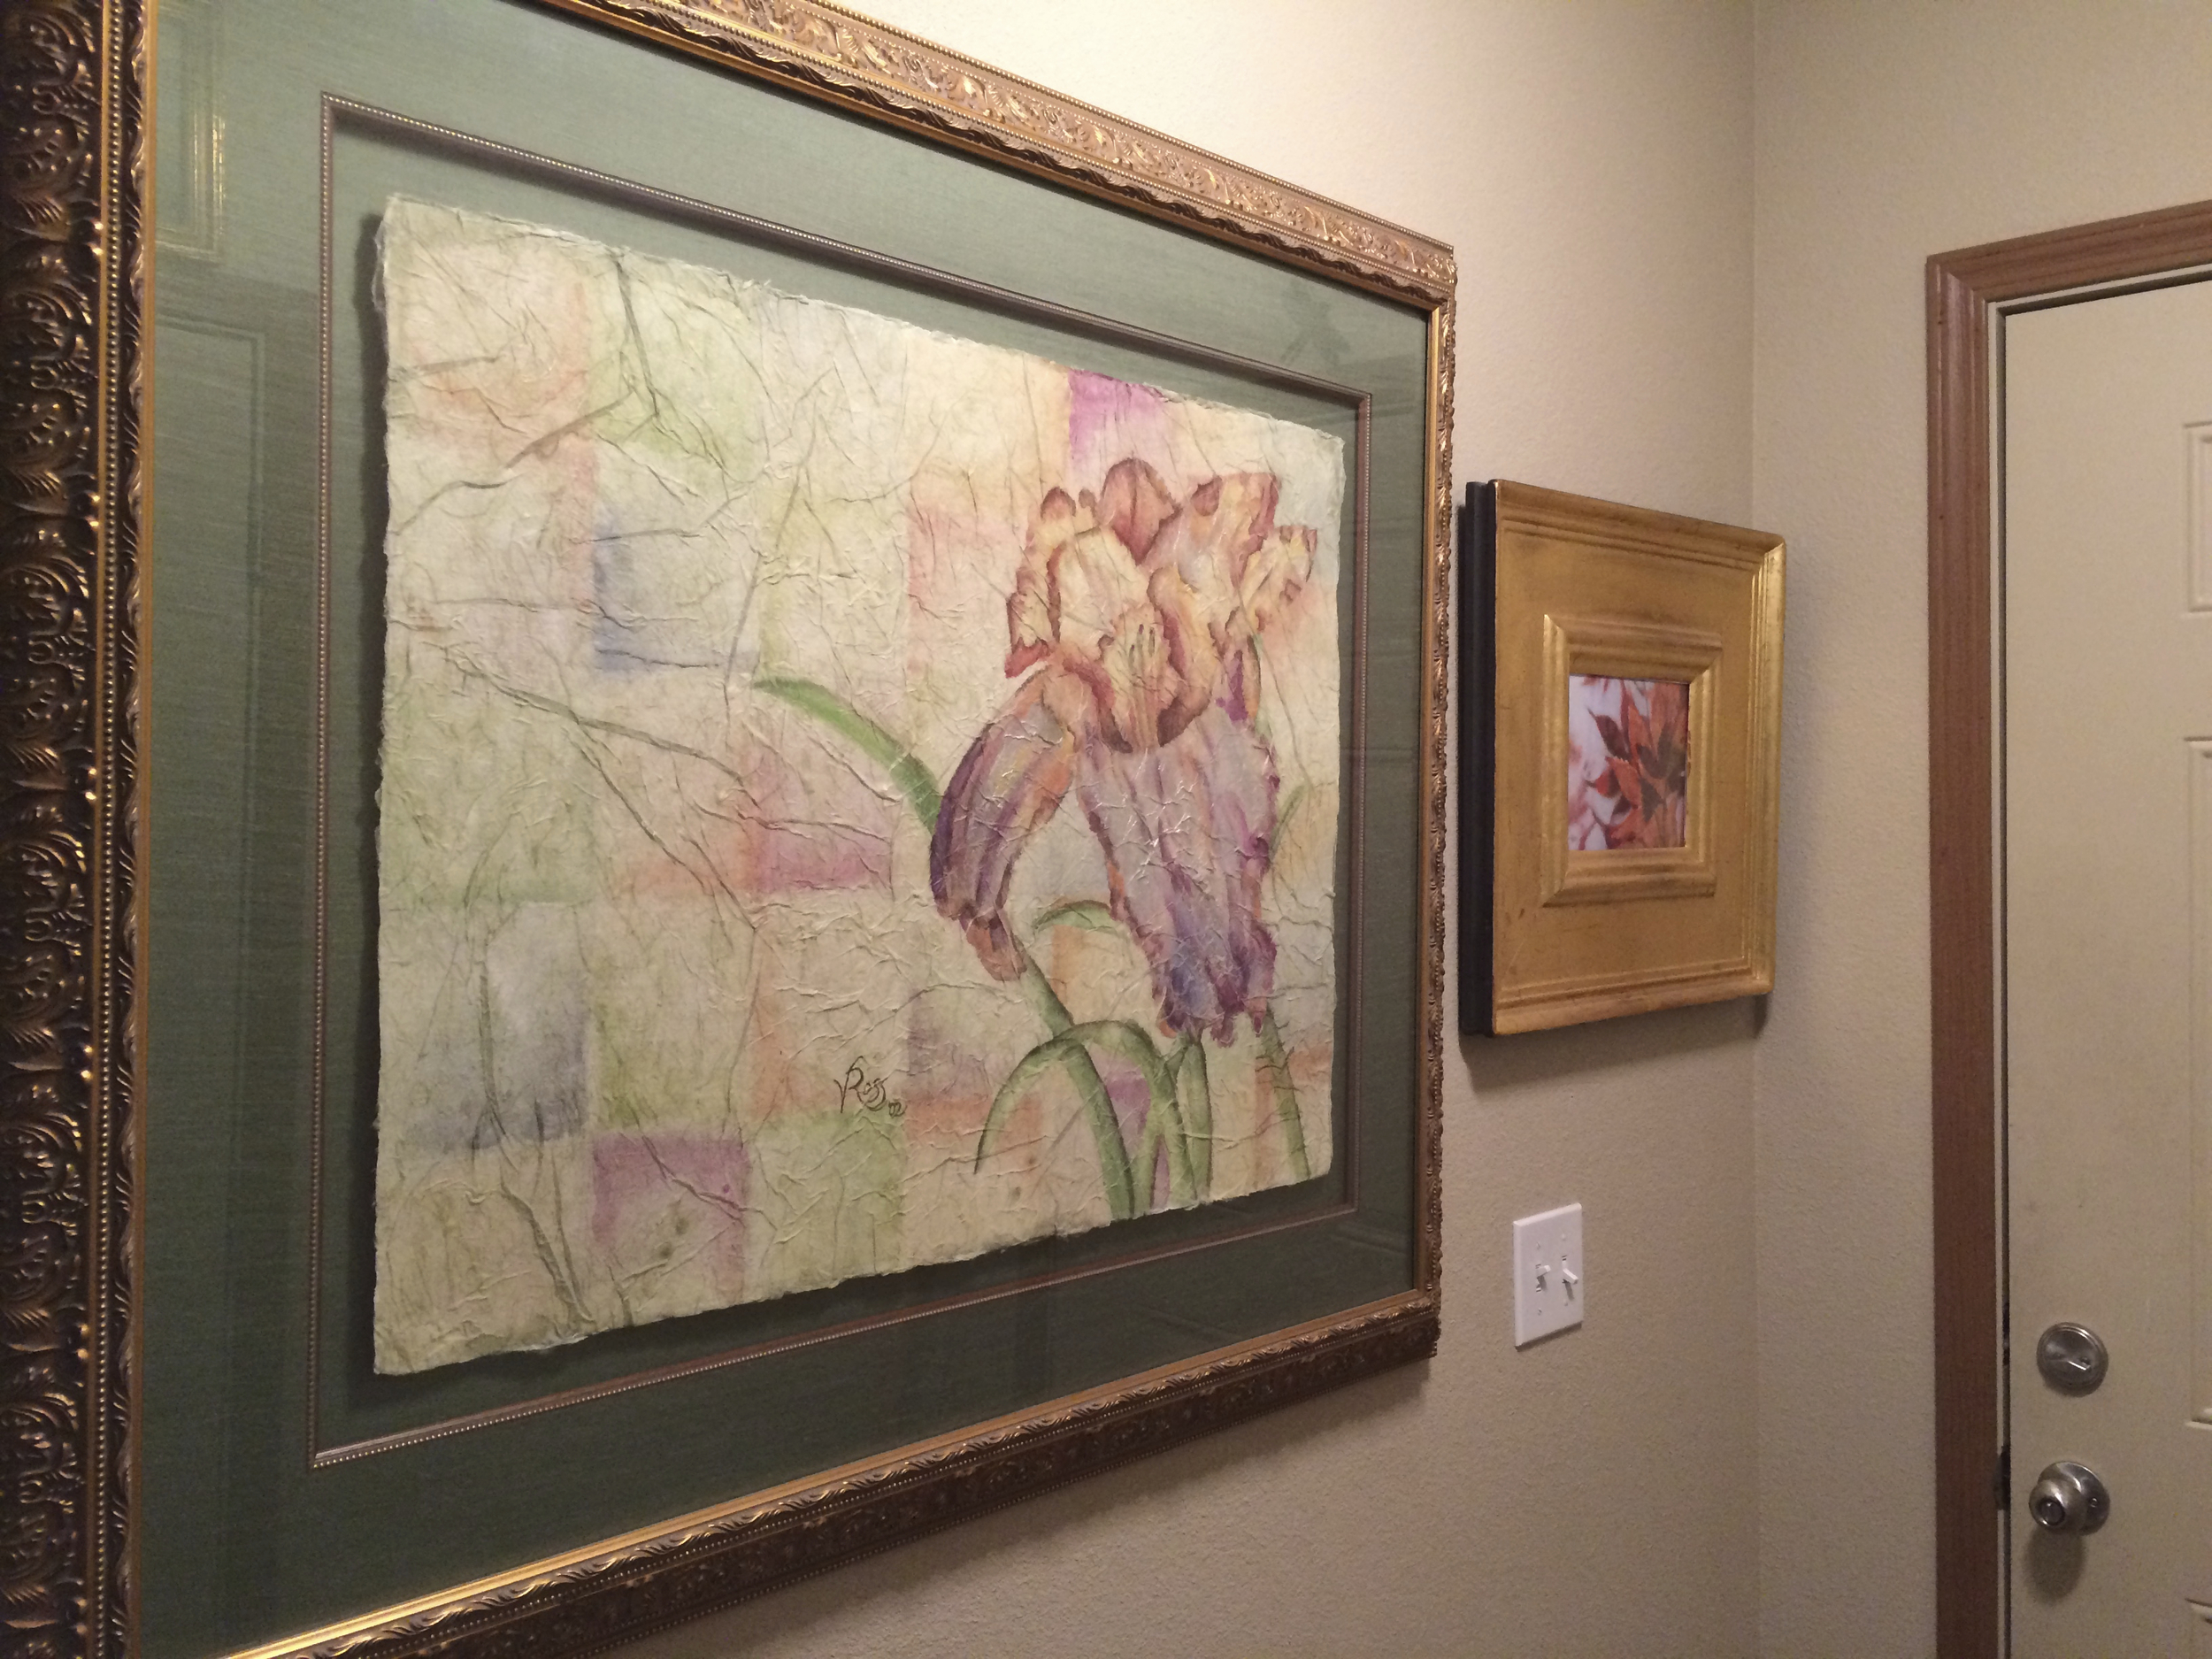
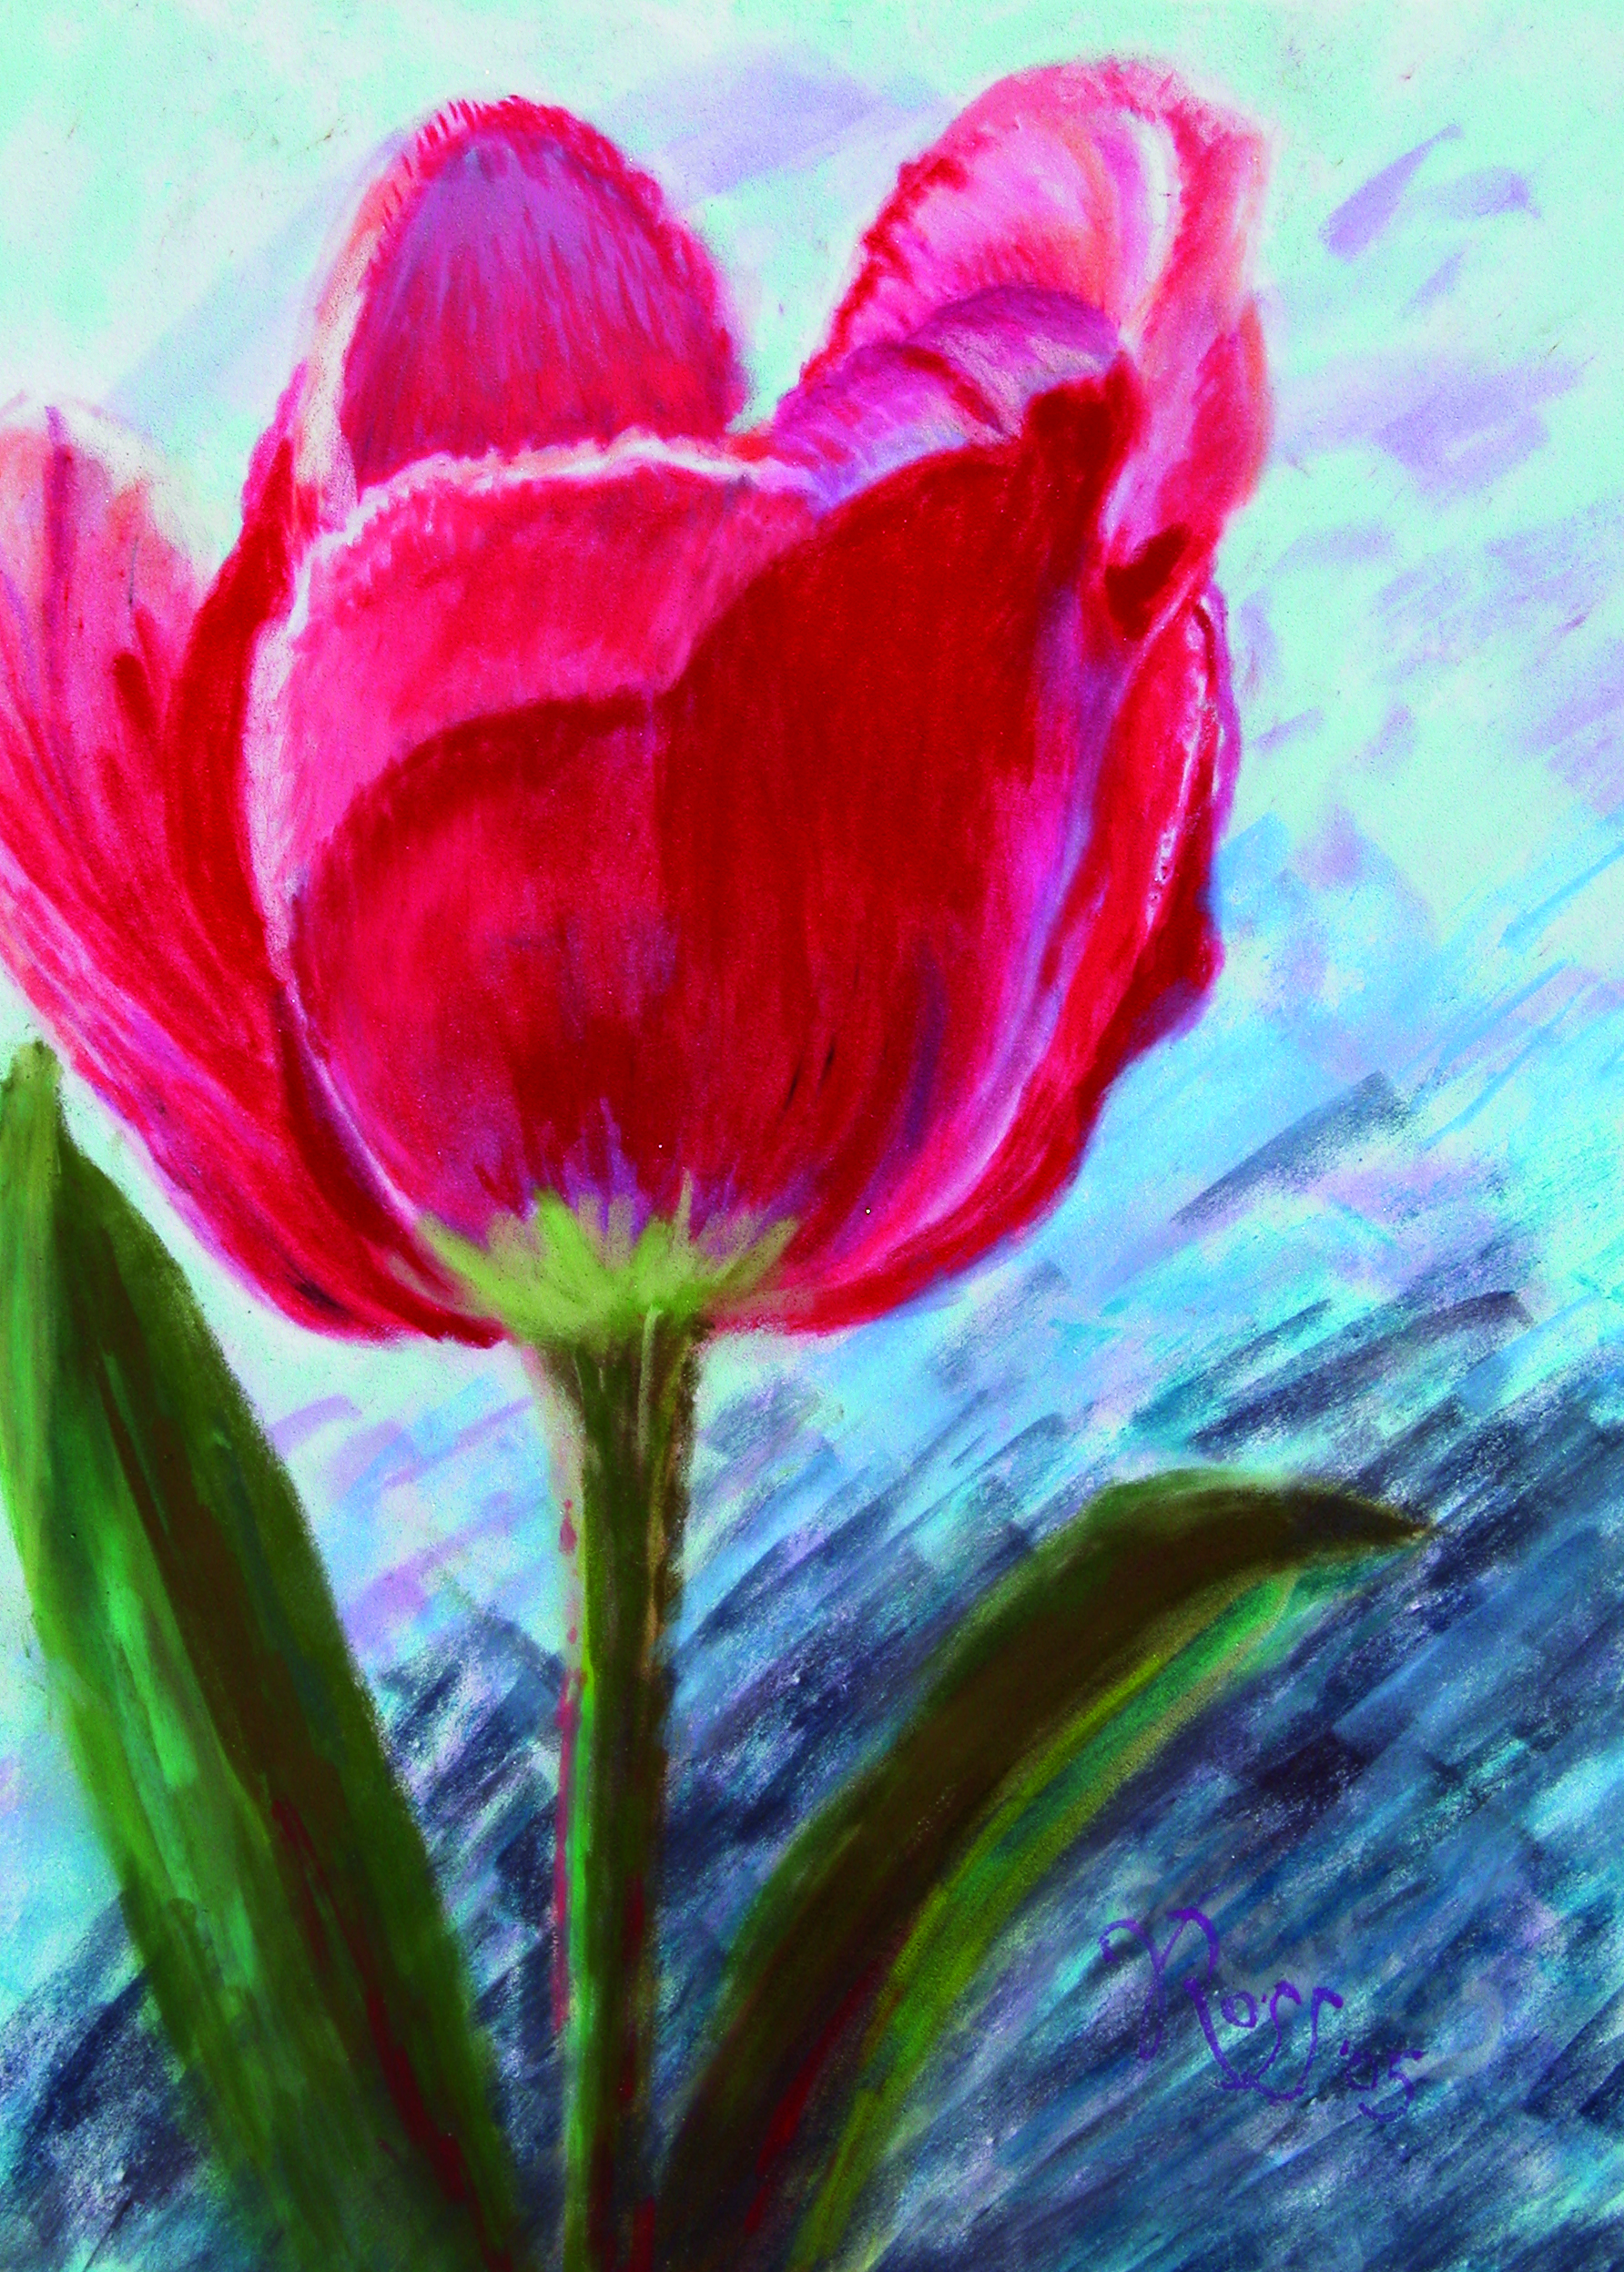
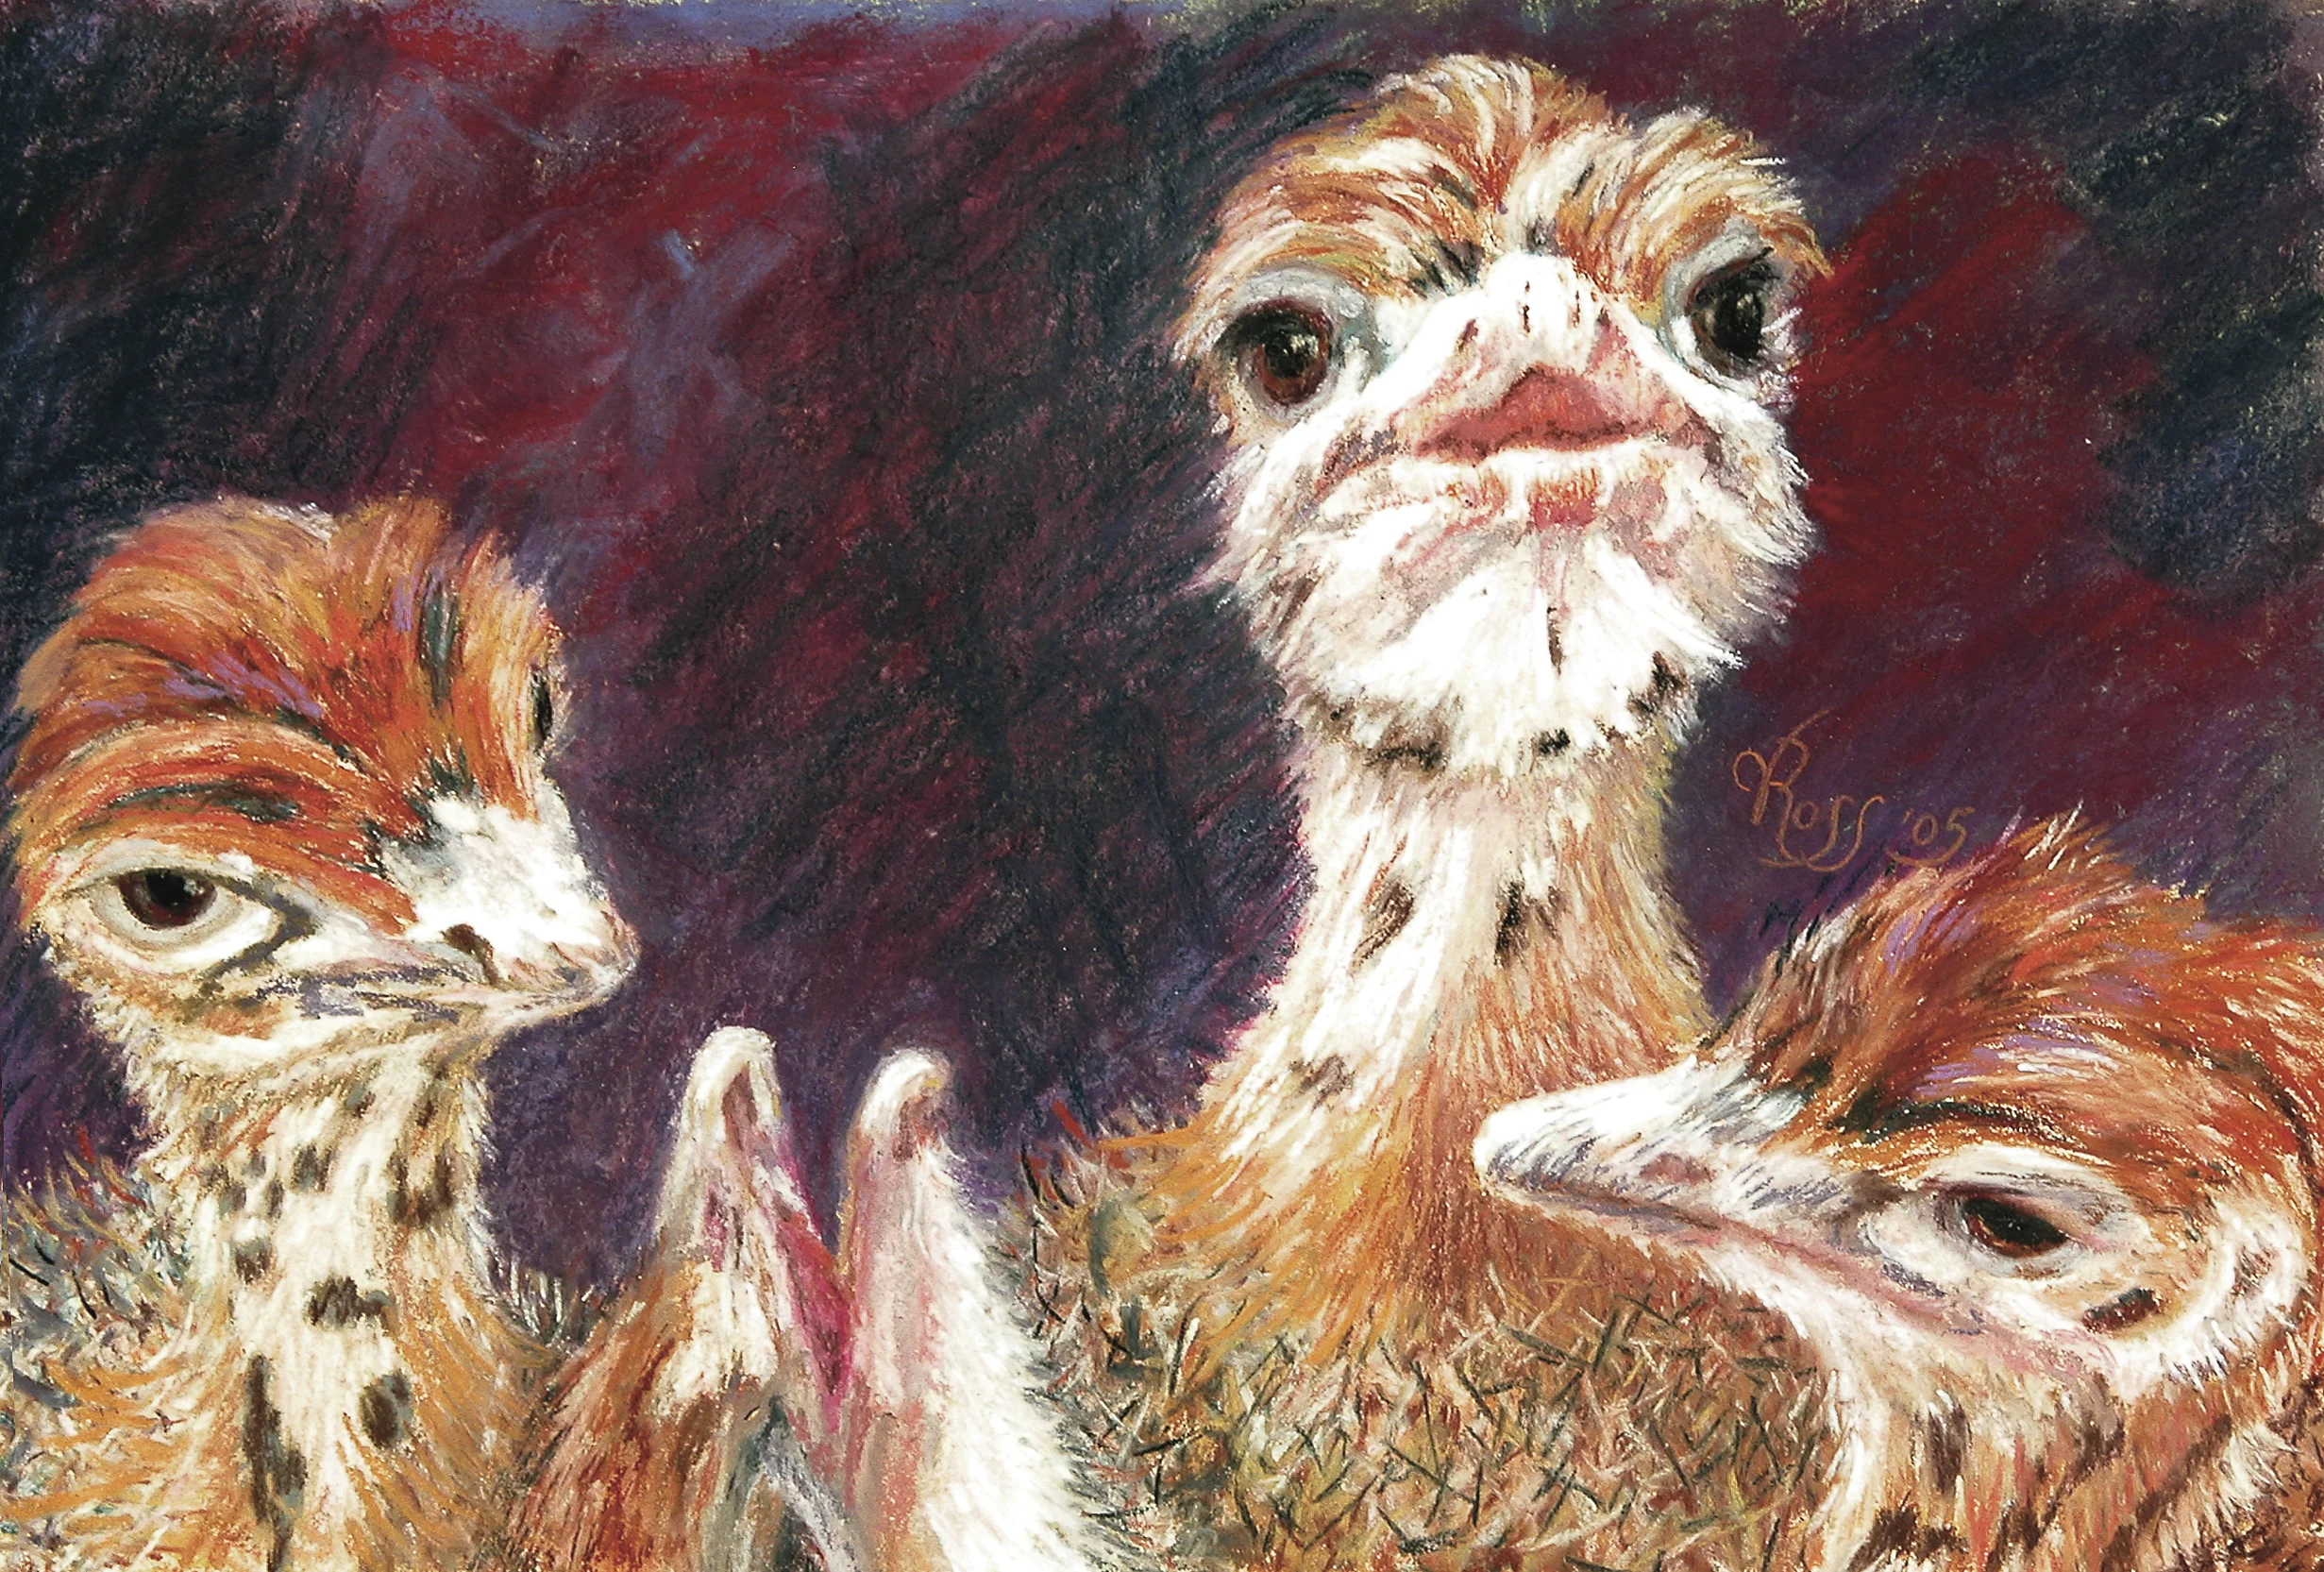
This hanky has been used as inspiration for me, along with several other items from her stash in  a still life painting I did named "Phoenix". Full of symbolism from the Jessi Coulter lyrics hand printed on tromp l'oeil notepaper, the sticky note with a quote from Harry Potter, the ivory phoenix, the handblown mini-vase with the blue 'tear', to the candle mounted in a vintage candle holder and Japanese tea cup. The hanky provides the perfect grounding for this tableau. The baby Phoenix rising from the ashes is a crowning touch. ©Vicki Ross, Pastel on sanded board, 20" x 18". collection the artist.

© V.N.Ross

xxoo


Teiko's Chopstick Wrapper Printable

If the mail chimp newsletter does not have the correct link, click here:

A new category of Printables! Teiko Ross, my late mother-in-law, left us a treasure trove of vintage Japanese papers, magazines, and other ephemera. 

The link is HERE! 

Click on the black purchase button. In the shopping cart, enter your name and personal info. (I'm the only one who sees it and never share) Enter the coupon code, chopstick 7Y77R8Q, Click on continue, and when the credit card fields come up, leave them blank, hit continue again...and you'll receive an email with the download!

Expires 10/26/2014. HURRY! and please share!


xxoo


ps: the long strip can be used as Washi Tape. Either print on clear label paper or on the thinnest copy paper you can put through your printer and use double stick tape. Ditto for the circles!


FREE Download! General Purpose Invitation/Announcement

I received this comment on the new Iris Background Printable from an artist who planned to use it in her dream collage:

Your Iris background really moved me. It is Oriental-looking and I love that. I love origami and the Japanese ink paintings.

Which reminded me of the walls this painting has graced. The three photos above show how much we've downsized our living in the past five years (that's a good thing :). Its original home was in a house with 12' ceilings, and is a good fit on the wall. In the middle image, the Dining Room was part of the foyer, and it looks good size-wise as well. the third image is where the painting hangs today! In the foyer/hallway, and you can see it up close and personal! You can get your nose on it if you want!

I had also used this image in 2002, the year I painted it. It was only the third painting I had done, in a watercolor class. Talk about Running before Crawling! Its image was modified for use in an invitation/house warming/gratitude party for the neighborhood that nurtured us after the fire. Going through all those early paintings as I created the Collage Sheet Printables, I remembered the invitation and thought it would make a good candidate for the Collage Pages. So, with a few modifications, here it is! FREE! Here is the link 

Click on the black purchase button, and enter your address information (I can't override this). When the credit card info crops up, click through to continue. You'll receive an email with the attached FREE pdf file.

AND, I included a matching name tag to go along with it. ENJOY!

xxoo


PS: As always, please share your project that use these! Wicki will be HAPPY! HAPPY! HAPPY!

Digital Downloads for Collage/Assemblage/Journals

BRAND-NEW! Digital downloads for Collage/Assemblage/Journals. Use in mixed media projects from collage on canvas to image transfers in encaustic, Journal Jumpp starts, whatever your art is, these will be a great compliment to your artistic vision.

Each of the 100+ pages contains original painting elements and/or photography from Vicki Ross and are for your personal use ONLY. No sharing allowed, or the Wicki Muse will haunt your art forever. Capisce? (got it?)Not gonna list do's and don'ts because I expect everyone to treat these with the same respect you'd expect if they were your creations.

I am looking for a few partners who are willing to use their favorites in their art, and share with this my readers. Then, you will share on your blogs, social media, etc. 

Easy-Peasy! We all share together. 

Let me know...which pages you want to start, and when you will get your project and instructions to me. I'll prepare a schedule and see where this goes!

Wonky Flowers


Origami and Encaustic

This article first appeared in MixedMediaArt.net

Love our local thrift store, Helping Hands in Bentonville, AR. Found an origami kit that followed me home. Since I like to see how I can incorporate these types of treasures into my regular art (I think that's an oxymoron...my regular art :)

Anyway, I tried folding paper. MUCH harder than it looks. And, of course instructions were not the best. I had to fudge a few folds.

Next, I took 4" square tumbled marble tiles and coated them with a couple coats of plain encaustic medium (beeswax and damar resin, I make my own). Yup, visit all those flowers and bring the pollen home to my web. Shoot, my colony. Then, off to Madagascar to drain sap out of the damar tree. (I made that up, FYI)

Each gets a pour because I wanted to keep the three dimensional look of the folded paper. After two pours, fusing, I took a brush and made sure all crevices were filled. When cool, I scraped back as far as I could, again maintaining the 3-D look.

When I declared victory, each was signed...not an easy process on such smalls. Here is the group.

all images © V.N.Ross

Encaustic, collage on tumbled marble tiles.


Easel with Cricut Explore

I just LOVE doing things twice because I'm not paying attention. Did this post once and then just as quickly, deleted it by accident. GRRR! Even 30-year computer nerds get stupid sometimes.

Anyway, I was just saying'...getting ready for a pop-up gallery show Oct. 4 and 5. If you are near Bentonville, AR come see me. 20 of us will be set up in the Majesty Gallery space between the Station Cafe (great burgers, says Wimpy) and Walton 5&10. 

I'll have several 'smalls', unframed, to save on time and expense of framing. Prices range from $75+, sizes starting at 4" x 4". Oil and encaustic. I'll also have a couple of my new 'Journal Jumpps", art journals that are already started for you...and hand-bound, to boot!

The easel is necessary to showcase the itty-bitties. Randy cut a prototype, and i engineered it yesterday. Out of black core mat board, my Explore, heavy duty housing and deep-cut blade and three cuts, they still required some x-acto knife work to release. This stuff is sturdy...and Ran-DEE is going to have to do the creasing tonight.

Cut, fold in half, fold the lower tabs in to the middle and tape or glue gun. I used brown tape so you could see it in the upper image. That's my story and I'm stickin' to it!

The screen capture from Cricut Design Space is shown below. FREE cutting diagrams are linked below...

The short cut is HERE

The tall cut is HERE

Enjoy!

xxoo

vickisignature_sm.jpg


Circuit Explore Print 'n Scan

I'm SO impressed!

IMG_2042.jpg

Had an idea for a cut-out on card stock, and in the past it would have required sharp scissors or good Xacto skills. NO MORE!

Figured I could combine an illustrator vector drawing with a laser print and trial and error do my cutout. Two hours later, I was just 1/4" away from matching my homemade cut file with a printout, when I remembered the new announcement from Cricut this am. Low and behold, the promised Print 'n Scan feature was Live!

i dumped the illustrator idea, and in :30 min or so, I had successfully cut my project!  

Love it when technology works, and I only had to watch video twice (I do better with written instructions, not verbal).

Perfect cut!

xxoo


Studio Share! Unedited!

OMG, really? Axully? My mom will cwack up! Just to create the atmosphere here in WickiWorld. I've got Eric Clapton and Pavarotti's live performance of "Holy Mother" on replay, turned up about as loud as I can stand! Love that song! I could lip sync on the Tonight Show ...I do a mean Pavarotti!

Seth Apter's Studio Table - Call for Particpants, crossed my email this am and I thought I could give everyone some entertainment. My studio is 14' x 10', and has a nice big double door closet chock full of stretcher bars, PastelBords, Watercolor pads, en plain air boxes (I seem to collect them), and bins of sculpey clay, framing tools, watercolor tubes, etc. It is full. Oh, and about 400 DVDs of clip art from the graphic design days. I parted with the 600 lbs of ring binders with the color images in them. Now if I want something I have to put in each CD and scroll thru them. BUT, don't use them much.

In January, I added a cubby/workstation for encaustic. An industrial kitchen cart on wheels with a 36" board on top works GREAT. I have a wire shelving unit to my side that holds my heating tools, iPod player, brushes, markers, and assorted drawers for craft stuff. Right now the encaustic griddle is up out of the way on some octagonal storage bins bought from a shop going out of business. I can be back using encaustic in 5 minutes. Right now, I am playing with art journals, stamping, stenciling, and mono printing. This view is from my mixed media chair...it goes up and down, cause the cart is a bit higher than the desk. All three chairs swivel, otherwise I'd never be able to squeeze into these cubbies!

On the back side of the cart is my computer station. To my left when in that swivel chair is a Jack Richeson Oak Taboret for my oil painting. All mediums, brushes and pigment tubes are right there. The pullout shelf doubles as sewing machine/cricut explore cutter base.


Swivel to my left again is the back side of my David Sorg easel that reaches the ceiling. A bit of storage is there, and can be moved if I need more room for the easel. If I want to do pastels, I go around the big easel, and there is a flat file under a north facing window. Another swivel chair and I'm ready to use all the pieces of pastels I own. I broke down a couple of years ago and broke off a 1" piece of every pastel set I have...removed labels, and sorted by value. Works great for me...I've worked with pastels enough to know which brand I pick up. Don't worry too much about anything but value. If one is too hard, I just get another in the same value.

Mixed Media turned my fairly neat studio into a riot of paint, bright papers, odds and ends...complete with a box of cardboard scraps! BUT, I'm having a ball!

View from my pastel cubby at the other corners. I don't think I can squeeze anything else in here!

xxoo


Butane Shanks

Yeah, really? Axully? (actually in wicki-speak)

Randy came home with an idea and handed me his 'make-ready' shanks. Had no clue what hair brained idea Ran-Man had brought to me now :)

Randy's idea

Randy's idea

Obviously, when you are refilling a butane cigar lighter (or any kind of refillable torch), you have to bleed the excess air out of the chamber before you add butane. I learned this when I got my first encaustic mini-torch, but was half-way scared of it. OK, lot scared. I'm such a wienie!

I immediately knew what would look good, and set to work.

An order from Mister Art had arrived with the coolest brown lightly waxed paper as cushion and padding. Took me an hour or more to un-wad it all, and roll it up for "later". I took a piece of the paper and tore it into pieces.

tim Holtz Distress Inkpad and dauber

tim Holtz Distress Inkpad and dauber

I set to work with a couple different colors and distressed the edges of the paper pieces. Next, I used matt medium to attach the pieces to the wood handle.

Messy job, but is working!

Messy job, but is working!

I pieced, overlaid, and created my version of a hand-rolled cigar! Matt Medium coated all pieces. Don't use a heat gun to help it dry either! I did and got air bubbles. After I was sure it was well coated, I got in Randy's stash of cigar bands and picked out a couple that fit all the way around. And, yes, I got them upside down. Whod've thunk that the labels are intended for reading from the business end!

Oh, one more thing. These are the ones he write on the back of to remind him what it was like. OOPS. He has another bag of non-memorable ones. Oh well, good help is hard to find. Finished off the shank end with modeling paste out of a tube, which dried textured and looked like ashes when I got finished distressing it. Added some red pastel for 'glow', fixed it, and called them done.

He made about 20 a week or so later, and instead of paper he soaked some tobacco leaves, flattened them out and applied them to the handle. Really cool. But no images.

Cool, huh? Now if I can just learn not to treat butane as dynamite maybe I can refill my own encaustic torch!

xxoo


PS: Forgive the MailChimp template. Support is working on some of the idiotic issues...like broken links, etc. I've also added a link back here for easier commenting! Until they fix it, you can always access the blog direct

Rewind! Reinvent! Refresh!

Was reading a good blog post today by Lynn K (not gonna try to spell her name) wrote a post that caught my attention...titled "Where I Stand Sunday". Several comments were made about blogs that reveal more of the life of an artist, not just the available workshops, paintings for sale, or other self promotion. Been there, done that. And it does throw a wet blanket on spontaneous postings. She also mentions the self imposed pressure of detailed tutorials, or other more formal posts.

White Rose, Encaustic, Xerography, Oil on mounted paper, 7"x7" $245 Available HERE. Will be on exhibit downtown Bentonville at pop-up art show, Majesty Gallery on the square, Oct. 4 and 5.

i built a strong group of followers for blog posts that I'm afraid we're based on some of those things. Not anymore! In fact, I've begun loosening up in my art as well. Some of it has already flowed over into my blog. SO, welcome to the Wonderful World of Wicki. 

i realized that as an artist of realism that there was nothing new I could say about a tree that hasn't been covered by so many others. My studio was neat as a pin, with supplies organized in the closet where the doors would close...and my workstations...one for soft pastel, and one for oil. Then, I added another work area for encaustic (hot wax) painting. Because so many more relaxed processes are involved there, from collage to xerography to mono printing ....papers, threads, stencils...3-dimensional works...

Flag Ball, 9" round, encaustic. Available HERE, or visit and purchase from Two25 Gallery on Main Street, Bentonville, AR © V.N.Ross

Flag Ball, 9" round, encaustic. Available HERE, or visit and purchase from Two25 Gallery on Main Street, Bentonville, AR © V.N.Ross

Mixed Media roared into my life a few months later. I now have a tsunami in my neat as a pin studio. A die cutter, embosser, acrylic paints and decorative papers. Stamps, spray inks, fun foam and torn cardboard. 

I've found an entire community of artists who like to create just for fun...not for competitions, sales, or galleries. AND they share and ask questions and interact! I'm gonna have fun. ITPS (It's the Process Stupid), not the product. You are welcome to play along with me.

SO, 

what did I eat for lunch today? A juicy cheez burger and homemade fries from Rons Hambergs in Bentonville. I'm not nicknamed "Wimpy" for nuttin!

What am I reading now? Art books, always, by my chair (real books) and (electronic) on ipad. Current favorite is "Printmaking Unleashed" by Traci Bautista. These get studied after studio time, with adult juice at my side. In bed for that last hour of awakens, whatever novels I've downloaded free on my kindle app.

what I'm making? Stamps, free stitching on fun foam for stamps, screenprinting screens, stencils, all for eventual inclusion in art journals, or collages.

what am I wearing?  Before 5pm, Jeans, crocs with socks, and a gimme T-shirt, the better to sling paint! After 5, all the above except sweatpants instead of jeans!

Stencil of girl made from magazine. Stencil made from glue gun, Gelli Plate printed on deli paper. Image was originally vertical, but I like the idea of swimming upstream in heels :) These papers will find their way into all kinds of mixed media art!

xxoo

vickisignature_sm.jpg


I’m NOT Obsessed with Art Journals! (Am I?)

original article written by Vicki Ross for MixedMediaArt.net and published on 11 Sept, 2014. Click Here

Please note: any snarkiness is directed toward Wicki…not Mixed Media 

I am by nature a studious sort. I seem to get more pleasure out of figuring out all the ins and outs of a subject long before I experiment with it. Used to purchase software books and manuals (back before information was available online) and attack them page by page before I ever loaded the corresponding software.

I’ve done the same thing with art. Even though I am a retired graphic design professional, I knew nothing about the application of “Fine Art” materials back in 2002 when I made serious life changes that pushed me to learning to paint.

SO, instead of experimenting with watercolors, I studied the chemical formulas and what made some pigments play nice together and that some made mud. THEN I went to the studio (after collecting the vast array of materials I thought I HAD to have). Same with pastels, acrylics, oils, and encaustics. Now, thanks to sites like Mixed Media Art, videos by Terri Sproul, Carolyn Dube, and my fellow writers here, I’m doing the same thing with ‘journaling’. Lurking around, soaking up the wisdom and tutorials, and maybe, just maybe…ya never know where Wicki will be next!

Coming to the conclusion a week or so ago that I really hadn’t crossed over to the dark side of crafting (not that there is anything wrong with that), I could start art journaling as a means of technique experimentation for implementation in my ‘real’ art pieces. Then, one morning a couple of days ago, I remembered a journal I created back in 2004-ish that was intended to be filled with artwork from members of a critique group I was in. Some were happy with a simple spiral bound notebook, but not Wicki!


Would you just look at this? I spent hours making the journal! Now I’m considering re-purposing/finishing out the pages as an art journal.

The book was a post system binder filled with handmade paper. I carefully took it apart and added a sheet of glassine between each page.

The cover looks like tissue paper attached with mat medium. I don’t think I used stamps (didn’t have any). A laser print of one of my graphics projects was collaged on, then a ribbon and wad of copper wire.The inside covers are collaged with mulberry paper.

To add to the obsession, I took a placemat with beaded trim and attached it to the back of the book. Add ribbons and beads and it folds and ties over the cover to protect it.

Now the fun part! Switching the books between the artists in the group, the idea was to get it filled. The group drifted apart as these experienced artists transitioned into senior centers and they lost touch with their art experimentation. My train took a dirt road about that time as I ventured into soft pastels.

Imagine my pleasure as I opened the book and out fell some cards from art friends…one from Anita from Germany we met on a watercolor workshop with Charles Reid in Salzburg and Prague in 2006. A delightful original watercolor with a note on the back from Jan in Australia. Another card from a good friend, Jodie from Texas. Then a few pages from the critique group…and an ATC card from friend, Erika from Bentonville. Another page revealed a detailed pencil drawing of a design I was working out for a painting. I was experimenting with pencil as an art form, not pencil for sketching or guide for painting.


So, what do you think? Should I throw caution and frugality to the side and pick this bad boy up for art journaling? OR, put it back on the shelf and save it?

~*~*~*~*~*~*~*~*~*~*~*~*~*~*~*~*~*~*~*~*~*~*~*~*~

Vicki Ross is focused on sharing her journey to art and how life events can shape us through creativity www.Axully.com. Vicki has always been involved deeply in the creative arts, from professional soft crafts publications (knitting/crochet/needlework) to French Hand-sewing, stenciling to macramé, oil painting to encaustics. Whatever your leaning, she believes in the healing power of creating.

You can see more of Vicki’s work at VickiRossArt or via blog posts at Axully – Solid. Useful. Beautiful

~*~*~*~*~*~*~*~*~*~*~*~*~*~*~*~*~*~*~*~*~*~*~*~*~

Journal Pages for Dummies

This article first appeared in MixedMediaArt.net, written by Vicki Ross

I have achieved some abilities in fine art. I know which end of a brush to use, the quality differences of pigments, softness of pastel brands, how to mix oils…and apply any medium with some success…most of the time. This is the original portrait of Natalie and Blake, more interested in their ice cream and new shoes than what I was doing. The Phoenix painting in the back was a family project that everyone worked on and signed. Their great-grandmother initiated it and supplied the ice cream. Pastel, © V.N.Ross

"The Young Twins", 24" x 20", pastel on Pastelbord, © V.N.Ross. Collected!

"The Young Twins", 24" x 20", pastel on Pastelbord, © V.N.Ross. Collected!

Mixed Media and all the products available for the craft and scrapper market are somewhat familiar to me because I am a child of the 70’s. (ok, 60’s-ish.) I have officially crossed back over! Not regressing back to macaroni on cigar boxes, but I’m learning how to meld new products into my fine art, and having a bit of fun on the way. Didn’t expect the learning curve to be quite what it is, though. Never do.

The subject of this article is about how many ways you can screw up a project and still come out OK in the end. Key take-away is to not give up. Most of these things never turn out like you plan, especially when working with strange new products. Even old traditional media don’t behave exactly like you want and plan, that is why the Muse has to be involved for problem-solving. Same Muse, different project!

Materials:

  • Journal
  • frame pattern
  • pictures
  • cardstock for frame
  • Golden Matte Medium
  • Foam Brush
  • Silver embossing powder
  • Silver Marker
  • White charcoal pencil
  • Workable Fixative (I used Winsor&Newton)
  • Heat Gun

The painting of Natalie and Blake started this project, and would make a neat personalization for a writing journal for their mom, Jennifer. This is how most of my little ideas turn into BIG ones. Just a tiny idea. The Journal I picked out of my stash had a great cover…too nice to cover up (I seem to collect these with the best intentions of using them, but am reluctant to “mess them up”). BUT, the inside cover and fly sheet would provide a nice canvas. I found a photo for the other side.


Made several attempts to cut the frames until I got them at just the right size for the book, and laser prints of the images. Must have cut, edited, re-cut, printed, trimmed 6 or 7 sets to finally figure out the Explore quirks and my lack of experience with it.

Found a wonderful piece of black cardstock from an advertising book. The Explore barely cut through it…must have had a plasticizer coating or something, and might have been better had I set it to cut several times or had a deep-cut housing. Oh well, an exacto knife is like an extra appendage for me…so I finished the cuts by hand.

Everything fit! Used a wee bit of scotch tape to hold in place, then put the project up a day to “percolate”.

Finishing time!Carefully removed the tape, and the paper stuck to it and left me with a few blemishes. No big deal, right? Marker to the rescue! Got out the Matte Medium and applied a thin coat to the back of the laser print. Of course, the paper curled. No biggie. Just apply it quickly and burnish it down. Ended up with a few minor wrinkles that added an aged crackle look where the color rubbed off. STILL OK.

Added the black frame with the Explore silver lettering at the top. Hmmm. Letter Outlines, but OK. I’ll do something with that. Forget being sparing with the Matte Medium (no point in being frugal). Darn! The silver Explore pen wasn’t permanent. Grab a can of fixative and spray the rest of it. Dry. Finish the coat of Matte Medium.

Of course, the pages buckled up nicely. Heat gun to the rescue, and they did begin to behave. Every place I touched to ensure adhesion left a bubble texture. New challenge. No problem, right? Just make more texture to make that blend in. Type still faded. Pick up a white charcoal pencil and re-outline. GREAT! Spray fixative. Charcoal disappears.

Move on to the texture issue. Sprays don’t show up on black paper. Neither did the stamp inks. Picked up some embossing powder, and the grey powder turned silver with heat! Perfect. Squiggles helped hide the texture bubbles. There is a reason video demonstrations show tapping off the excess embossing powder BEFORE you heat. Now we have lots of texture, silver this time!

fill article-VNR_JournalDummies-Pic6.jpg

Another coat of Matte Medium.The heck with the brush. Pour a glob on and smear it with my fingers. My hands are now covered with drying matte medium and embossing powder. Manage to knock over the embossing powder container. Scrape most of it back into jar and CAP IT.

At this point, seriously thinking about starting over, but thinking about wasting 1/4 of a 16 oz bottle of Golden Matte Medium made me take a break, let everything dry, and come back to it. Remembered some silver markers that helped fill out the letters some.Used a black marker to cover some of the wayward silver embossing. Fixative again, another coat of Matte Medium, and Victory!

Lessons learned, as always! Video demonstrators have used the product several times before the camera starts rolling, trust me!

fill article-VNR_JournalDummies-Pic7.jpg


 ~*~*~*~*~*~*~*~*~*~*~*~*~*~*~*~*~*~*~*~*~*~*~*~*~

Author bio:

Vicki Ross is focused on sharing her journey to art and how life events can shape us through creativity www.Axully.com. Vicki has always been involved deeply in the creative arts, from professional soft crafts publications (knitting/crochet/needlework) to French Hand-sewing, stenciling to macramé, oil painting to encaustics. Whatever your leaning, she believes in the healing power of creating.

You can see more of Vicki’s work at VickiRossArt or via blog posts at Axully – Solid. Useful. Beautiful

~*~*~*~*~*~*~*~*~*~*~*~*~*~*~*~*~*~*~*~*~*~*~*~*~

.

Delft: Encaustic and Collage

This article first appeared in MixedMediaArt.net, written by Vicki Ross

Once a fiber artist, always a fiber artist. Although I worked with silk thread and the smallest silk gauze for needlepoint (40 stitches per inch), this is a quilt pattern created in deli paper and encaustic.

"Delft" 7" x 6", Encaustic and collage on panel

"Delft" 7" x 6", Encaustic and collage on panel

Materials:

  • 6″x 7″ Luan panel
  • Deli Paper (thank you mixed media artists)
  • encaustic medium (I used a few scrapes off a soft pastel to get my colors)
  • Razor Blade
  • Ranger Tacking Iron
  • Heat Gun

Prime the panel with two coats of clear medium, fusing each with heat gun. To get the surface as smooth as possible, alternate a Ranger tacking iron, scraping with a razor blade, and fusing with the heat gun. I searched through my painting archive and found a painting of a tulip that had nice bright colors. The original is 12” x 9”, soft pastel.

"Tulip", 12" x 9", pastel on EVA foam

"Tulip", 12" x 9", pastel on EVA foam

A quilt square named Delft Mill fit with the Tulip. Color scheme? Used Robert Burridge’s Goof Proof Color Wheel. I have the app, and it is a great tool! Working with plain encaustic medium, I scraped a bit from soft pastel sticks to get my color quickly. Sometimes you don’t need much, and it is easier than mixing. Worked great and I like the faint granulation.

Next, I experimented with the template pieces cut direct from thin encaustic medium. Nothing I did worked, and it made a mess on my Cuttlebug plates! I rolled it in pasta roller, put it in the freezer, and still had a mess. This was a simple pattern, so I took another path: Deli Paper to the rescue! I precut the pieces (minus the seam allowance), and dipped the required number of pieces into the same color mixture so it would resemble print fabric. Using tweezers, I mono-printed each piece on both sides.

Here you can see the pieces all ready for “quilting” onto the prepped board, and a trial piecing. Then I moved them to the board in position.

I decided what size laser print I wanted for the collage, then auditioned it for its just right position on the quilt.

Reversed the flower when I printed it

Reversed the flower when I printed it

This is how I resolved the extra space on the board since it was not a square proportion. Made some more triangle shapes and there you go!

First of many coats of clear medium.

I really enjoy the layering, scraping, and mark making. A couple freeform lines for a casual framing of the collage, carved and filled with contrasting color, carve the name “delft” and sign it (carve and fill) and victory declared! Encaustic is not an instant gratification medium for me…I love the process and will keep working as long as the piece has something new to say.

~*~*~*~*~*~*~*~*~*~*~*~*~*~*~*~*~*~*~*~*~*~*~*~*~

Author bio:

Vicki Ross is focused on sharing her journey to art and how life events can shape us through creativity www.Axully.com. Vicki has always been involved deeply in the creative arts, from professional soft crafts publications (knitting/crochet/needlework) to French Hand-sewing, stenciling to macramé, oil painting to encaustics. Whatever your leaning, she believes in the healing power of creating.

You can see more of Vicki’s work at VickiRossArt or via blog posts at Axully – Solid. Useful. Beautiful

~*~*~*~*~*~*~*~*~*~*~*~*~*~*~*~*~*~*~*~*~*~*~*~*~

Soft Pastel, Collage and Encaustic

This article first appeared in MixedMediaArt.net, written by Vicki Ross

After months of studying and researching encaustic techniques, collecting the supplies, and setting up a workstation in my studio, I was ready to ease into some serious play! Being an analytic person by nature, I always work from information to play, rather than play and learn-as-you-go. I made my first batch of encaustic medium (beeswax + damar resin) and ended up with 20 or so mini-muffin shaped cakes of medium. Won’t do that again in a mini-crock pot because it had three legs and was full- wax all over my counter. Miss Brain did everything right, down to micro-managing the measurements, but forgot a piece of newspaper on top of the counter. DUH! Did a few small 7″x7″ experimental pieces on watercolor paper mounted on foam core (materials on hand). A few got scraped off, and the used medium saved into a ball for later use…too precious to waste.

"Katherine", 12" x 9", Encaustic on Panel, © V.N.Ross 

"Katherine", 12" x 9", Encaustic on Panel, © V.N.Ross 

"Katherine Reflected", 12" x 9", Encaustic, Collage, Gold Leaf on Panel

"Katherine Reflected", 12" x 9", Encaustic, Collage, Gold Leaf on Panel

Now I felt like something larger…

Materials:

  • 12″x 9″ Luan panel
  • R&F encaustic gesso
  • Deli Paper (thank you mixed media artists)
  • soft pastels
  • gold leaf
  • encaustic medium
  • Razor Blade
  • Ranger Tacking Iron
  • Heat Gun

Prime the panel with two coats of clear medium, fusing each with heat gun. To get the surface as smooth as possible, alternate a Ranger tacking iron, scraping with a razor blade, and fusing with the heat gun. Next, I laid on a layer of tinted medium (melted with scrapings from the early pieces. To achieve an aged look, I  placed the panel on the heated surface of the griddle until the wax was moving.

In photoshop, I planned the position of my portrait (reversed), and made the same composition lines onto a piece of deli paper. With soft pastels, I painted the portrait on the paper, continuously checking my drawing.

Pastel Drawing on Deli Paper

Pastel Drawing on Deli Paper

Gently heating the prepared panel with the heat gun, align and place the deli paper pastel side down, and burnish it carefully and thoroughly.

Deli Paper rubbed onto prepared panel.

Deli Paper rubbed onto prepared panel.

Carefully remove the deli paper from the panel. If any non-burnished areas show, lay paper back over that spot and re-burnish. If the paper tears, begin peeling it from another direction.

Deli Paper after careful removal from panel

Deli Paper after careful removal from panel

As with the first panel, gently warm the surface with the heat gun. Carefully position the deli paper with the ghost image pastel side up this time, creating a mirror image. With the heat gun again, warm the paper. The underlying layers of encaustic medium will encapsulate the paper, rendering it almost invisible. Carve a circular halo, add more touches of gold leaf, and voilå! Katherine and Katherine Reflected.

The finished paintings, side by side.

The finished paintings, side by side.


~*~*~*~*~*~*~*~*~*~*~*~*~*~*~*~*~*~*~*~*~*~*~*~*~

Vicki Ross is focused on sharing her journey to art and how life events can shape us through creativity www.Axully.com. Vicki has always been involved deeply in the creative arts, from professional soft crafts publications (knitting/crochet/needlework) to French Hand-sewing, stenciling to macramé, oil painting to encaustics. Whatever your leaning, she believes in the healing power of creating.

You can see more of Vicki’s work at VickiRossArt or via blog posts at Axully – Solid. Useful. Beautiful

Is Mixed Media Crafts or Fine Art?

This article first appeared in MixedMediaArt.net, written by Vicki Ross

Which came first, the chicken or the egg?

The sky is the limit for scrapbooking and journaling. I’ve often said that if not for the scrapbooking industry, fine artists would be lacking some of the tools we have today. Manufacturers created design labs to meet the demand for more papers, embellishments, texturing tools, paints, stamps, inks, books, etc. These supplies gradually made their way from the internet to craft and hobby shops…in small enough amounts to not put a strain on anyone’s budget.

Where investing in fine art supplies can easily amount to hundreds of dollars, a small beginning of scrapbooking supplies can be much less. Of course, you can become obsessive/compulsive in collecting either one! For example, fine artists pastels—the kind Degas used—can run $15-18 each…and a color selection of 750+. Major investment. Sure, there are all kinds of variations, from student grade and mid-range artists grade, all prices, all qualities. This is an extreme example, just to make the point.

Whatever kind of creative outlet you choose today…if you trace their lineage back through history you’ll find it!

  • Markers with permanent ink—compare to ancient Sumi painting
  • GelliPlate—monoprinting without the press. Edgar Degas famously used monoprints as the base for his pastels
  • Collage—this term was coined by both Georges Braque and Pablo Picasso in the beginning of the 20th century. Just think what they might have accomplished with all the supplies currently available in today’s marketplace.
  • Encaustic—one of the newest darlings on the art scene, can be used with embellishments, collage, fiber, papers, and textured or glossy surfaces. Companies have developed single color bars and pans for ease of use. New? Nope…some of the earliest Greek art was encaustic and survives today. Now, we don’t have to work days to prepare our wax and colors! Have you noticed wax products in the Ranger line?
Portrait of a Boy, Roman period, 2nd centuryEgyptian,Encaustic on wood, Metropolitan Museum of Art

Portrait of a Boy, Roman period, 2nd centuryEgyptian,Encaustic on wood, Metropolitan Museum of Art


  • Acrylic Paint—developed in the 1930’s, and refined continuously, it is readily available in many qualities and for many uses beyond fine art and crafts.
  • Acrylic Mediums—Degas invented his own recipe for a fixative on pastels. It is today being marketed under the name SpectraFix and is a casein (milk) based formula.
Three Ballet Dancers, One with Dark Crimson Waist” Degas1899; Pastel on paper, Barnes Foundation

Three Ballet Dancers, One with Dark Crimson Waist” Degas1899; Pastel on paper, Barnes Foundation


  • Oil—used to require careful mixing by chemists, and prepared by apprentices in the studios. Each day the paint had to be prepared and used the same day. Early tubes involved syringes and pig bladders, then it became feasible to paint out of doors in oil.
  • Tools—while it is nice (good organization required) to have bright, shiny tools of any mark-making kind, be creative! You can make embossed patterns with mixtures of cornstarch and ModPodge—Pattern Rollers with Toot-di-doos (toilet paper rolls) and acrylic mediums—sticks from the yard—sand from the beach—old paintings recycled for collage pieces—makeup brushes and sponges for blending—textured paper towel for subtle repeat pattern. Anything that will make a mark can be used!
  • Zentangles—check out M.C. Escher’s work. I tried the tangles recently because all the marketing made the technique appealing.

Think outside the box! Be proud if you are a ‘crafter’…we all are! Fine Artists, thank crafters, after all, their demand helped create and bring back old techniques. No matter how intricate or simple your work, show pride in it. Research it online and you will more than likely find an old master who made his primitive tools and materials to create whatever he could dream!


Author bio:

Vicki Ross is focused on sharing her journey to art and how life events can shape us through creativity.www.Axully.com Vicki has always been involved deeply in the creative arts, from professional soft crafts publications (knitting/crochet/needlework) to French Hand-sewing, stenciling to macramé, oil painting to encaustics. Whatever your leaning, she believes in the healing power of creating.

You can see more of Vicki’s work at VickiRossArt or via blog posts at Axully – Solid. Useful. Beautiful

.

Updates!

As you know, I've been working on the completion of the Over and Over Again: Variations with Repetitions Hatchfund crowd funding campaign. What a lot of work! Not only the campaign part, but the execution of 100 'smalls'. 

The great news is that the process jump started me into new avenues for my self-expression. I decided to quit chasing national (and local) competitions after realizing it is just recognition of my peers. Expensive (entry fees, shipping), and can cause feelings about your art and its 'worth'. If you want to become a workshop instructor, or write books to gain followers, competitions might be a necessary evil, but that is not my path. 

The other revelation is that I was forcing myself to work in single medium paintings: only oil, only soft pastel, only watercolor. Curiosity led me to encaustic, which led to mixed media. The more I've explored and played, the more I enjoy it. I even coined a new phrase "ITPS"…it's the process, stupid". 

Art Journaling is more and more enticing every day. I can begin that process as experimentation for techniques that may find their way into gallery art. When I quit creating art for competition, I started to enjoy it more! 

Stay tuned for blog posts with all kinds of articles (I was asked to become a MixedMediaArt.net writer), and have picked up many new ideas to share.

xxoo

Vicki

Color Charts for Oil Painting

I've been asked to explain my love of color charts, and a simple how and why to do them. Made famous by Richard Schmid in "Alla Prima–Everything I Know about Painting", now in its revised publication. He credits HIS tutor, Bill Mosby, with the idea of charts. Who knows where Mosby came up with it...the why artists pass along information, so it will never die.

In a nutshell, you are exploring your set palette (the colors you squeeze out every time you paint, hopefully in the same order) and how any two pigments plus white make new mixtures. Yes, you can purchase these in tubes, but I can mix mine in the time it takes you to find the right tube! With only two colors, you minimize your chances of mixing mud, eliminating the guesswork and wasted pigment (and time). 

The entire article is available as a free pdf here: http://axully.com/art-workshops/

A companion article explores how color swatches on your computer can be put to use with the color charts. Enjoy!

xxoo


Keep Those Hands Busy!

When I read this blog post today, I immediately knew I wanted to share it here. Lynne Knowlton writes about how pulling out the knitting needles for an easy project helped her struggle over the grief of losing one of her hairy kids last week. 

Zakly (exactly...hey, a new wick-word) what we talk about here! How busy hands help your soul...when you are counting stitches, there is no room for anything else. Same with mixing paint colors...quilting a patchwork quilt...You know...all that 'stuff' we do for fun.

Enough of me...now here's a short snippet of Lynne's post (and she includes a free pattern!)

Knit A Chunky Wool Blanket. It Will Keep You From Unravelling …

February 28th, 2014 | 20 Comments | Posted in Design Your Blog Life

Thanks, Lynne! 

Thanks, Lynne! 

Would you lurve to knit a chunky wool blanket?  Good.  Me too.  I knew I liked you. This blanket can keep you from unravelling, one stitch at a time.


Whaaaa you don’t want to knit a blanket?


No worries, there is other juicy stuff in this blog post for you too.  Skip to the end of the post,  I need your opinion on stuff.  You are my trusted advisor, don’tcha know?  I count on you to give me the straight goods.  

Read the rest of the post here:

xxoo

vickisignature_sm.jpg

PS: Be sure to tell Lynn you read about it here!

Extreme Painting

Charles Reid right front, Randy in orange had and shirt center right. Friends from China, Australia, England, Canada...a veritable Olympics of painting! I was taking pictures instead of painting.

Charles Reid right front, Randy in orange had and shirt center right. Friends from China, Australia, England, Canada...a veritable Olympics of painting! I was taking pictures instead of painting.

Randy and I have painted with Charles Reid several weeks in Europe. While hardly painting at the top of a mountain after being dropped off by helicopter (Robert Genn has), painting in a group on a Salzburg bridge is close to extreme (for me)! 

If you were flat on your back, permanently or temporarily, would you rig a way to keep painting? I know I would think about it, but am afraid I would let my not-feeling-good mentality interfere. Here is an excerpt from someone I admire who did just that...a way to keep painting.

Robert Genn's writings were introduced to me several years ago...8-10? I don't remember. His were the first art newsletters I subscribed to on the internet, before blogging and social media. I soaked up his wisdom like a sponge. Even set my artwork pricing as he recommended at a time when most other artists avoided sharing their own theories. 

Since this blog is about the healing power of art, I particularly like the sentence from his post "The constant painting may have something to do with coping in the current situation." (Robert is undergoing serious cancer treatment) He is an inspiration to me especially because he keeps painting, knowing the esoteric benefits to his soul beyond making pretty pictures.· Enjoy his entire blog post by clicking on the link below.

xxoo
Vicki

Genn.jpg

Notes from the horizontal position 
February 11, 2014 

Dear Artist, 
After several weeks working at the Badg-easel I feel I'm a bit of an expert at horizontal
At the beginning lies a combination of remaining casual and yet paying attention to your vision. Working mostly in positive shapes prepares the way for the design to come. Insecurity rises, but also the thought of what may be ahead.painting, and I'd like to tell you about it. First, to clarify, I'm working with no reference, from the memories of places I've painted en plein air. While not totally accurate as to geology, it's been a surprise how the feelings of places are hard-wired enough that they come back with a little bit of effort.  Read More Here!

One person's chatter is another's gossip...

Buy prints and greeting cards HERE!"Outsdoorn Babes"12" x 16" pastel© V.N.Ross

Buy prints and greeting cards HERE!

"Outsdoorn Babes"
12" x 16" pastel
© V.N.Ross

This is a great article that appeared in the LA Times recently. Favorite cheerleader sprain her ankle before the big game? Didn't get a hoped for promotion at work? Painted a DOG (not the hairy kind)? 

I never seem to know what to say when someone else has their meltdown...this article gave me some good tips!

How not to say the wrong thing

(Illustration by Wes Bausmith / Los Angeles Times)

How not to say the wrong thing by Susan Silk and Barry Goldman, an insightful and important read.

(Illustration by Wes Bausmith…)

(Illustration by Wes Bausmith…)

It works in all kinds of crises – medical, legal, even existential. It's the 'Ring Theory' of kvetching. The first rule is comfort in, dump out. read entire article HERE

Susan Silk is a clinical psychologist. Barry Goldman is an arbitrator and mediator and the author of "The Science of Settlement: Ideas for Negotiators."

Copyright 2013 Los Angeles Times