Simple Watermedia Floral in Jigsaw Journal
I am a Video Creator for ColourArte Products, and am experimenting with them in some simple, easy to replicate paintings...Read More

Axully, Vicki Ross! Blogs on topics that capture my attention, that I love to share, or that catch my fancy!
I am a Video Creator for ColourArte Products, and am experimenting with them in some simple, easy to replicate paintings...Read More
aslkdjfowieurpoasjdflkas;iurpoiwejflskdfoiwuermjf;laskjdfurjkalskjdf;aieru
Thanks for being patient with me while I simplify things over here in Wicki-Land. I haven't touched this blog post design and the MailChimp RSS fee for two years. High time to change it, right? Hopefully my subscribers will be able to get here easily, and make comments…I hope so, anyway!
Now that I have totally jumped into my left brain, I might just clean up the Axully.com website. I KNOW not to try to paint right now, because it will take a couple days to switch back to the creative brain. Whew! It is scary in there :)
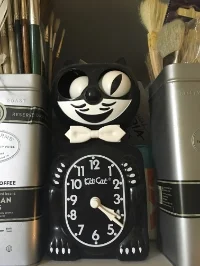
One of my best friends growing up, Retta Finn, had one of these in her kitchen. I always liked it. RanDEE found this one at a garage sale. Doesn't work, but you get the drift!
xxoo
I use SquareSpace for my web and blog management because it is easy and the templates beautiful. Squarespace integrates with MailChimp for subscriber list management. So when you subscribe on the left, MailChimp is the "handler" for privacy reasons as well as legal reasons.
That seemingly
Sea and Sand Abstract Paintings
I worked on these 24 x 20" canvases off and on for several months. When I had a call for two paintings for someone's dining room, these were the perfect size and beginning. They are very fond
My $5 Patrons on the Patreon platform get a digital file with three versions of one of my original Doodle Coloring Pages CLICK HERE. You can purchase direct for $7.50 CLICK HERE.Or, if you are in Rogers, AR, The Rusted Rooster Antique Mall on Walnut Street has two prints for $8.50.
Whew. The more I paint, the worse my computer skills get. After doing computer design since the dial-up days, I sure hate to lose that edge. But not enough to give up painting and talking about painting and teaching about painting!
I average 3-4 hours a day in my studio, including this kind of work so I can use my desktop computer. Couple hours a day on mobile with social media, and that still leaves a few hours with the TV on as evening dwindles down to bedtime. I sure hated losing those hours playing Angry Bird! When Shannon Green LINK HERE posted a YouTube video about her doodling practice, I immediately jumped on the bandwagon. I could sit and doodle in a 5x7" spiral bound mixed media journal with just a pencil, kneaded eraser, and a black pen. WhooHOOO! Log down another couple hours creating art.
This was just because. I wasn't trying to make a product AT ALL, but when my online friends said they would make great coloring pages, it still took me a month or so to figure it out. By creating digital files 8x10"-ish, I could print one at 100%, 50% and 25%. Enlarged just a bit created larger white spaces for coloring. Printing in 25% allowed coloring on top of the black design. The 50% version works great with gel pens over the black design.
Printed on cardstock at home, or at a Staples, I designed it to leave plenty of room for binding (also at home or Staples). Do a version in as many colors or ways you can think of: color on top of the black lines with colored pencil or gel pens, color only the white areas, or do both. Hours of entertainment. I also want you to use these as practice for your own free-form doodling.
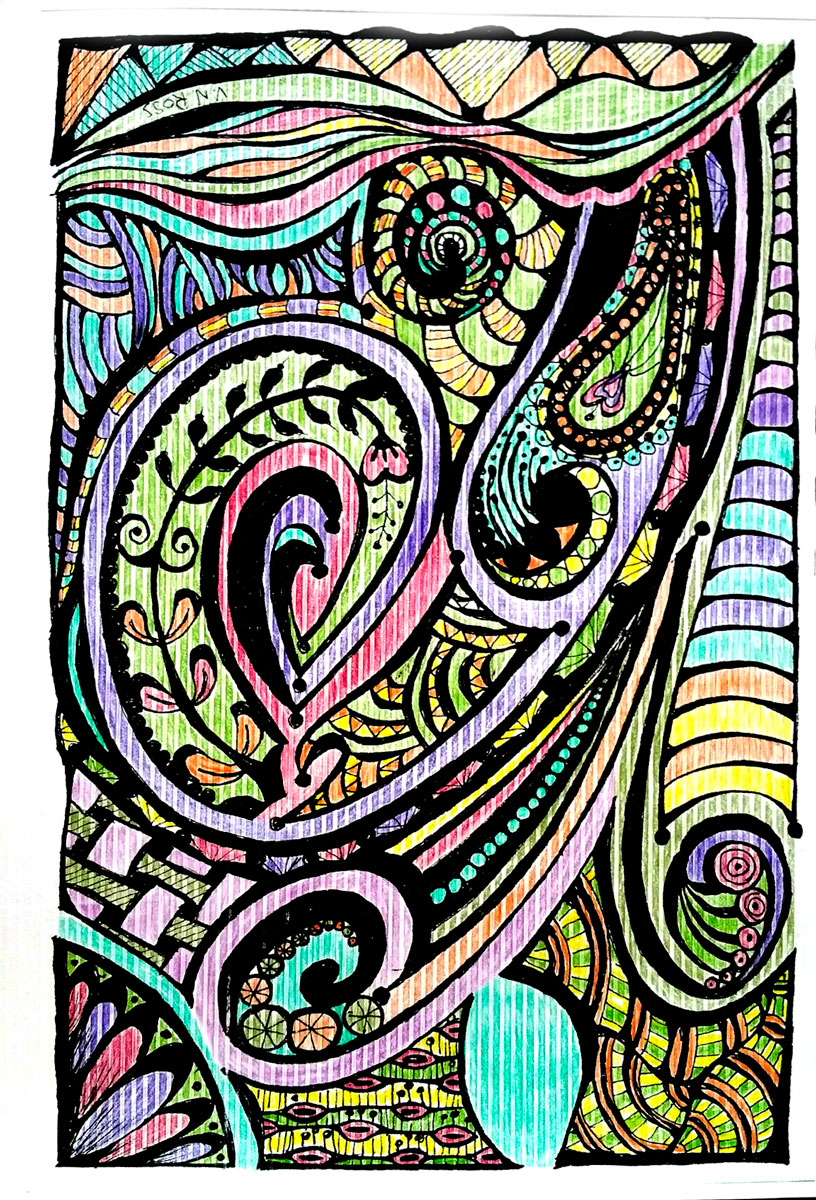
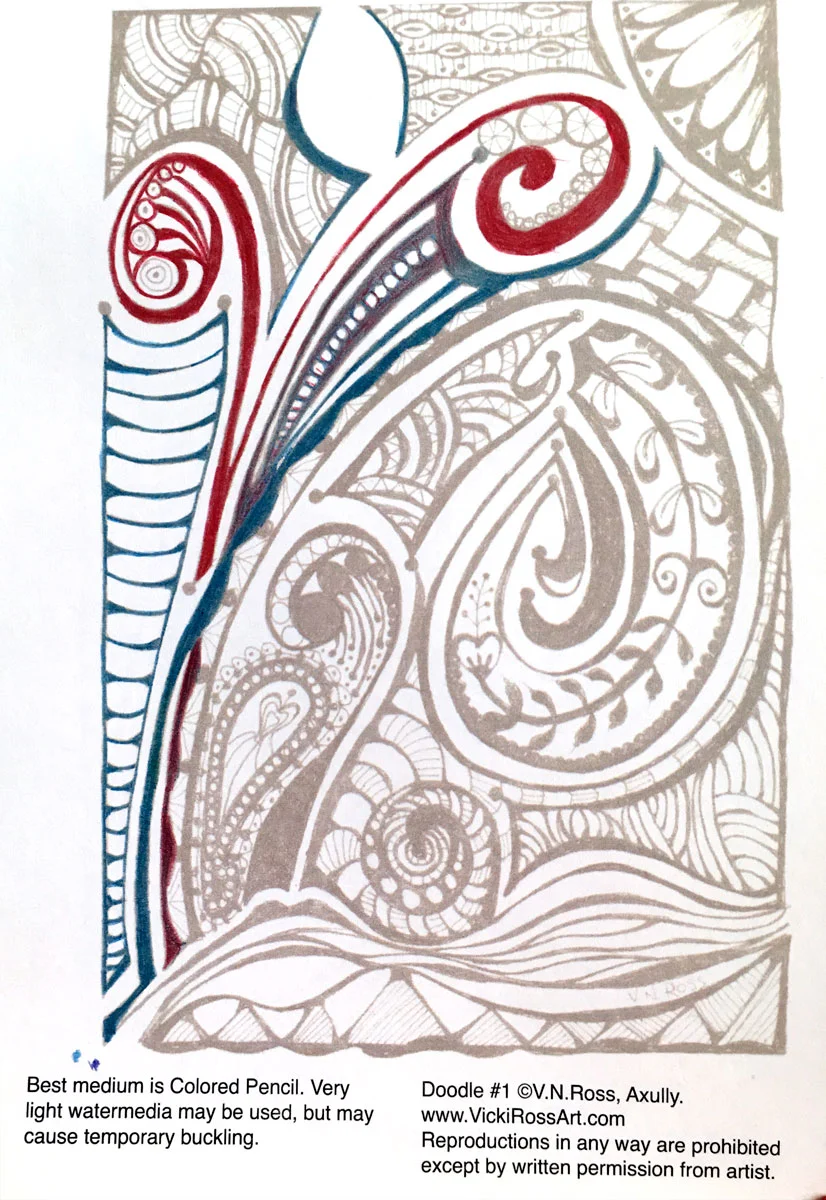
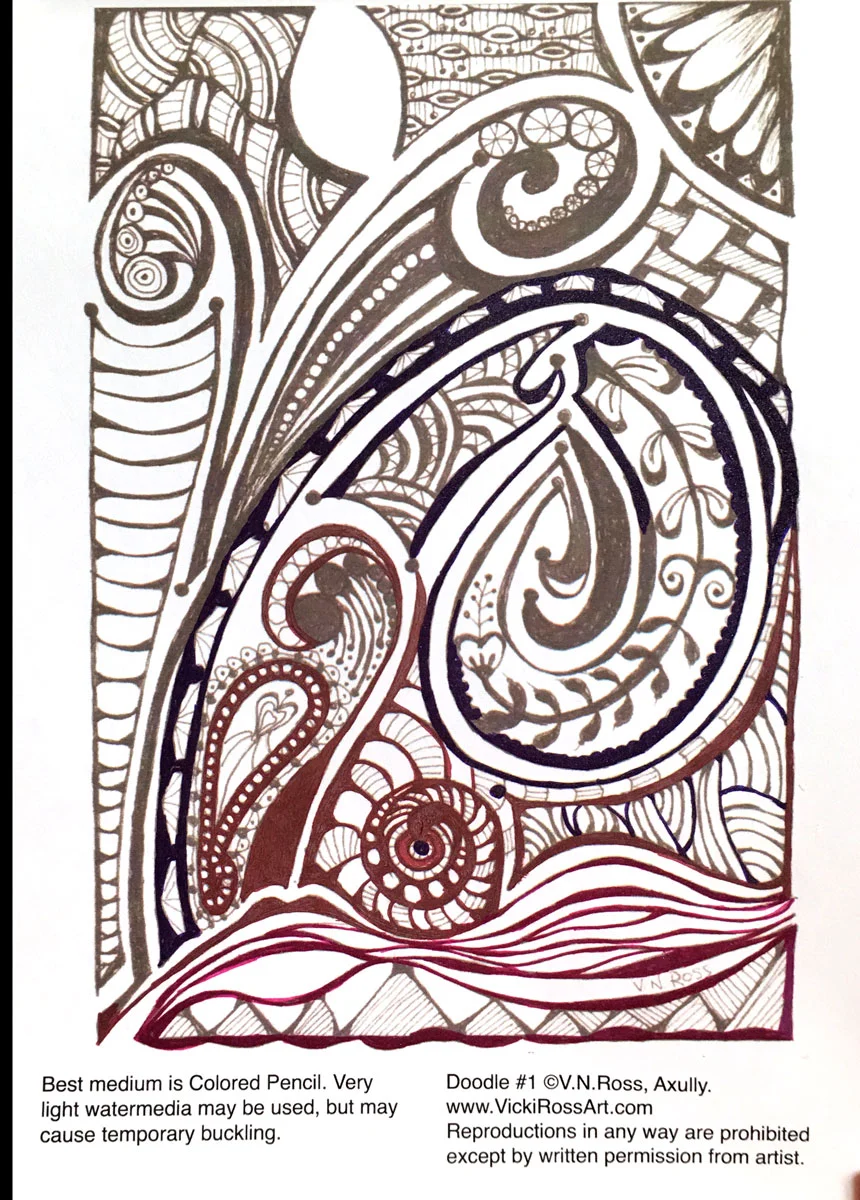
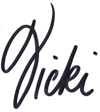
The first one above is printed on a specialty paper called Wide Wale. It has a suede-like finish and took colored pencils beautifully, coloring in the white areas. A life-long friend of mine did the colorwork on this one. The second is colored pencils on the black design, and the third is using gel pens. Those aren't finished.
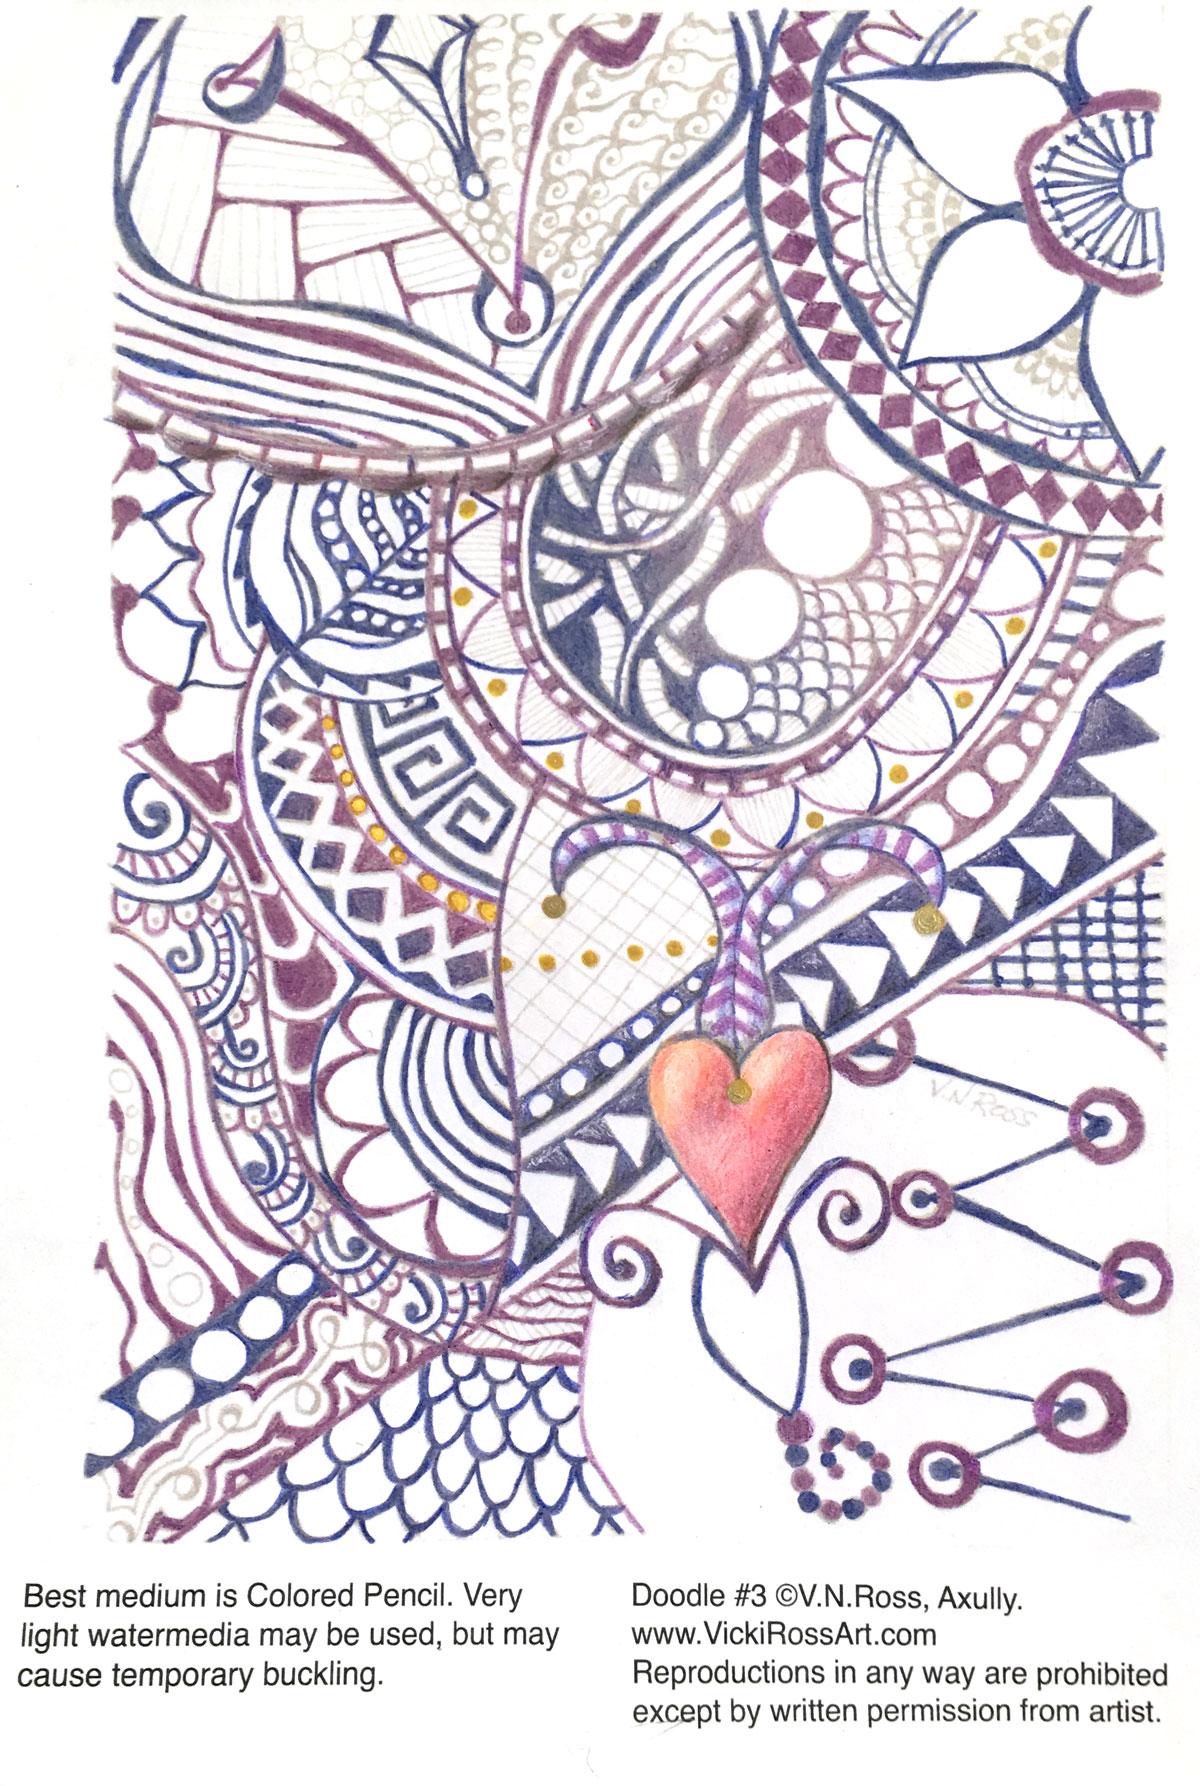
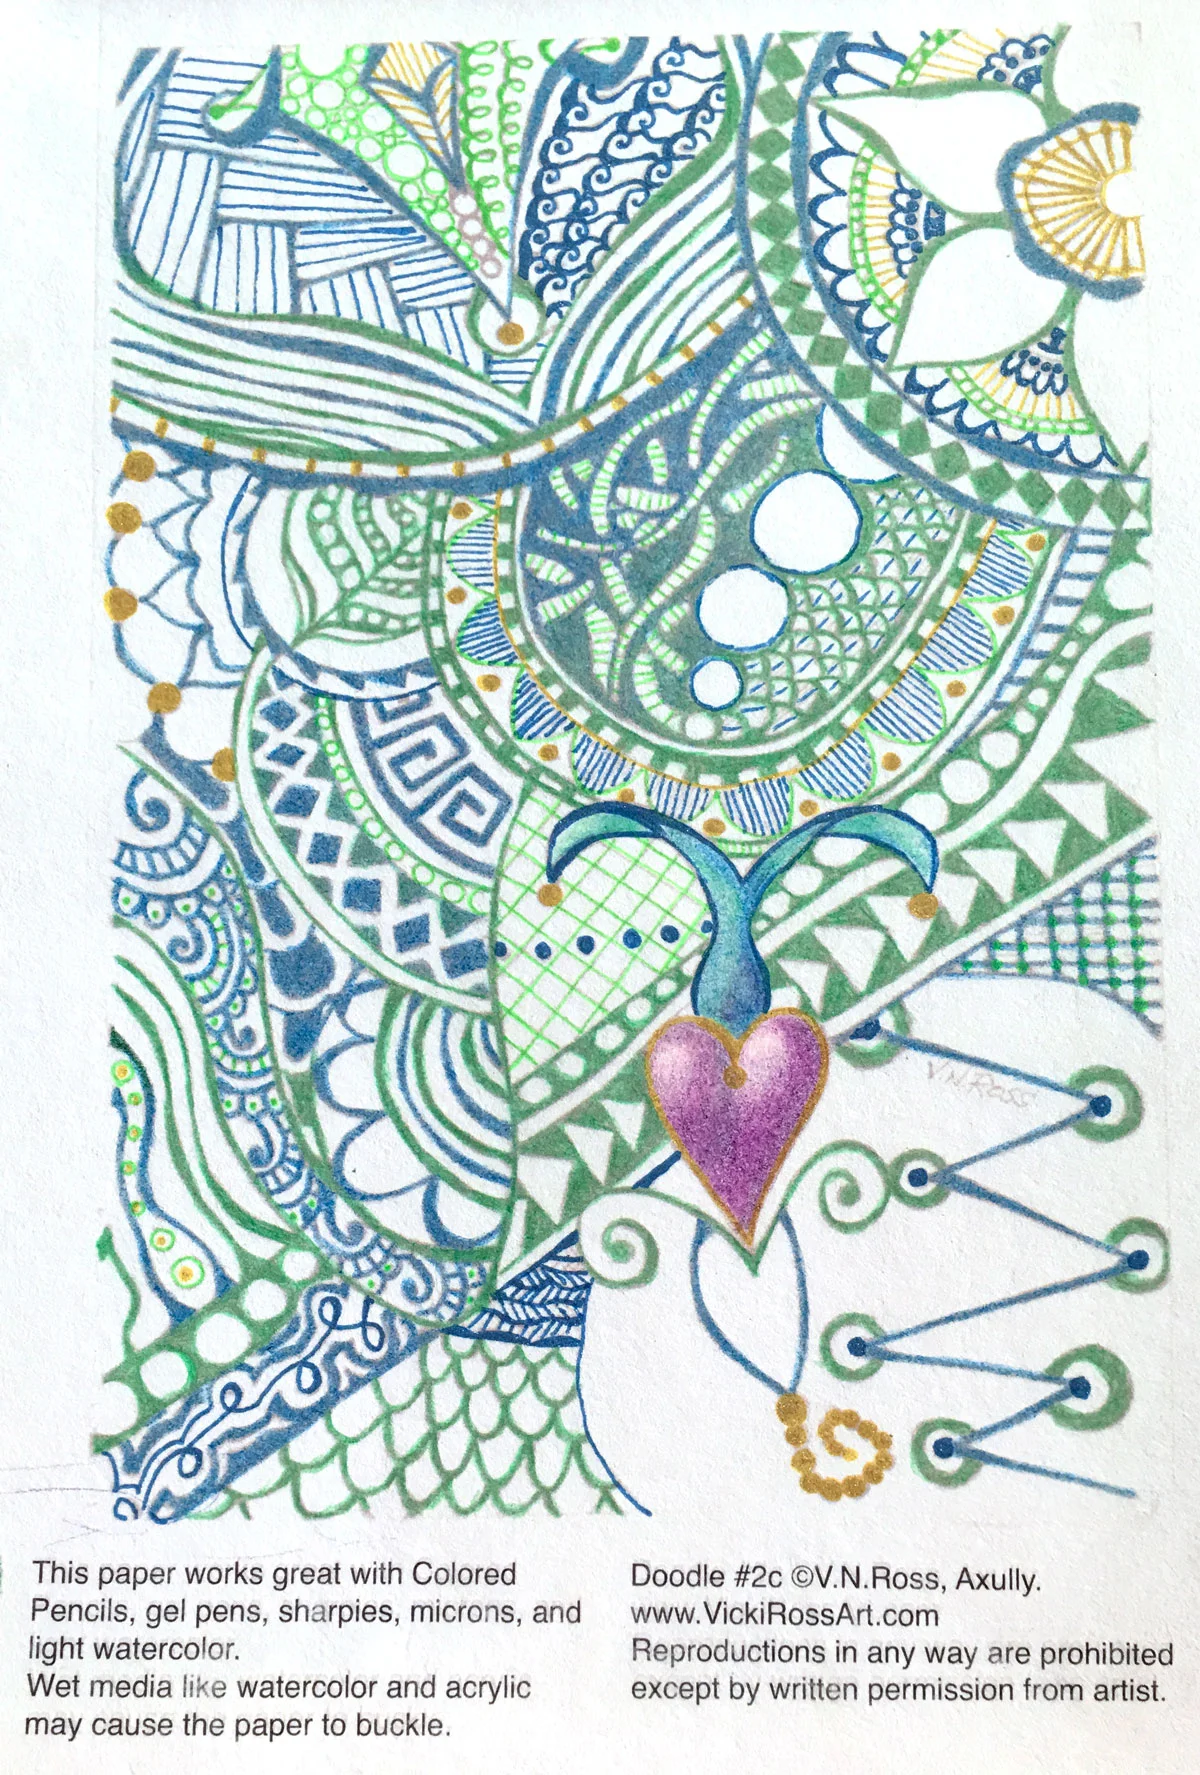
Both these versions are on plain cardstock, with colored pencils and a gold gel pen. I used a Purple and a Blue pencil on the main black areas, combining them to obtain the third purple color. The heart was layers of red, orange, yellow and purple pencils. The second one is mainly a Blue and Green pencil, and the heart is Purple, Red, Blue. Both have accents in gold gel pen.
I could come up with more versions of these two for fun! Yellow and Red, Green and Yellow, color the white areas…possibilities are endless! I used a selection of 12 Crayola pencils and generic gel pens on these so it would be easily achievable on any budget.
Have fun, and I'd love to see your results!
xxoo
I have so many irons in the fire it is hard to figure out which one to pull out first! I've got over 700 subscribers on YouTube LINK HERE, and have found that it is easier to have conversations there than comments from blog posts. Besides, the comment button here is confusing...some people reply to the automated email they get and it doesn't appear with the original posts.
I started blogging back in 2009 when I was in the throes of learning as much about painting as I could...entering competitions, getting juried into some big shows, working toward signature status. One day I woke up and realized that I was painting for that purpose, and not exploring as much. Not only is that practice expensive with framing, entry fees, shipping, etc., it was limiting me. The minute I decided to take another path, I started having more fun with my art.
My studio still has my oil taboret setup, and my pastel section. I just added a flat workstation for mixed media. Then started collecting all the way cool supplies available for the more crafty side of art. Papers, paints, ephemera, sprays, stencils, stamps, die cutting and embossing machines…and then figuring out how to organize them so you can get right to them for using (and learning to use them).
It was a gradual shift…I started and fell in love with encaustic. I could use pastels, oil sticks, oil paint to mix my own colors like I do with oil. Collage is encouraged, mark making with any kind of tool…it was a great segue into mixed media!
Most of my art up to this point was realism…I didn't have an abstract bone in my body! Everything was as controlled as I could get it: compositions planned on the computer, colors mapped out, drawing perfected. Very rigid. I became curious about art journaling. Glueing junk mail onto a page in a book that you might make out of a plain old composition book, or junk catalog is non-threatening and requires NO planning. In fact, Shannon Green YouTube LINK HERE came up with a process she calls "Journaling by 5's" LINK HERE. Twenty pages, 15 minutes to apply paint, 15 minutes for a stencil, etc. When you finish all five stages you have a journal-ish book you can keep working in, or put away.
It worked! I was slapping paint, glue, colors, trash from my desk onto my pages, whatever was within arm's reach that could keep me under the :15 limit. Since then, I've done canvases using a glue gun for texture, modeling paste for stencils, sanding to show underlying layers and, in general, having a ball. Everything is possible. Anything goes.
Coloring for adults entered the scene, but I didn't want to manage a bunch of colored pencils in my TV chair at night after spending several hours in the studio. That was too much like work. Shannon came to the rescue again with her doodling pages. Simple, easy-peasy, only one color to mess with...black. I fell in love and was all of a sudden doodling several hours at night.
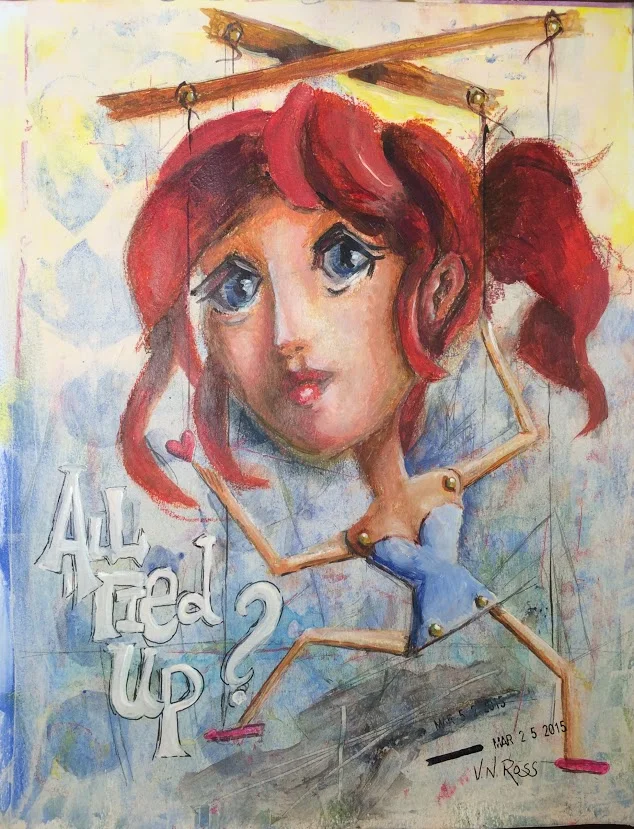
The piece at the top is a prime example of one of my free-form doodles. Then I printed it in 50% black and in 25% black and colored OVER the black areas. I could go back and keep going in the white areas if I want, or quit anytime I want.
Anyhow, after some encouragement from some of my admirers, I am offering these for sale CLICK HERE. All three versions are available as a package. You can print them for your own use, not for sale or claiming as your own of course. If you do, the Muse will turn her back on you forever! They are cursed :) Print with a laser printer or inkjet printer. Laser is permanent and inkjet will bleed, so test first if you want to use watermedia.
I was also encouraged to set up a Patreon Account LINK HERE. Consider it a tip jar for artists who provide free content via YouTube. Monthly subscriptions as low as $1 a month get you access to special content, and rewards. These coloring page sets are available free at the $5.00 a month level.
Join me on YouTube, Facebook, Google+, Pinterest, Instagram, and where else I can't remember offhand. Go to VickiRossArt.com for all my social media links.
A full process video and blog post showing the development of a group of orchids painted with Twinkling H20's by ColourArte.
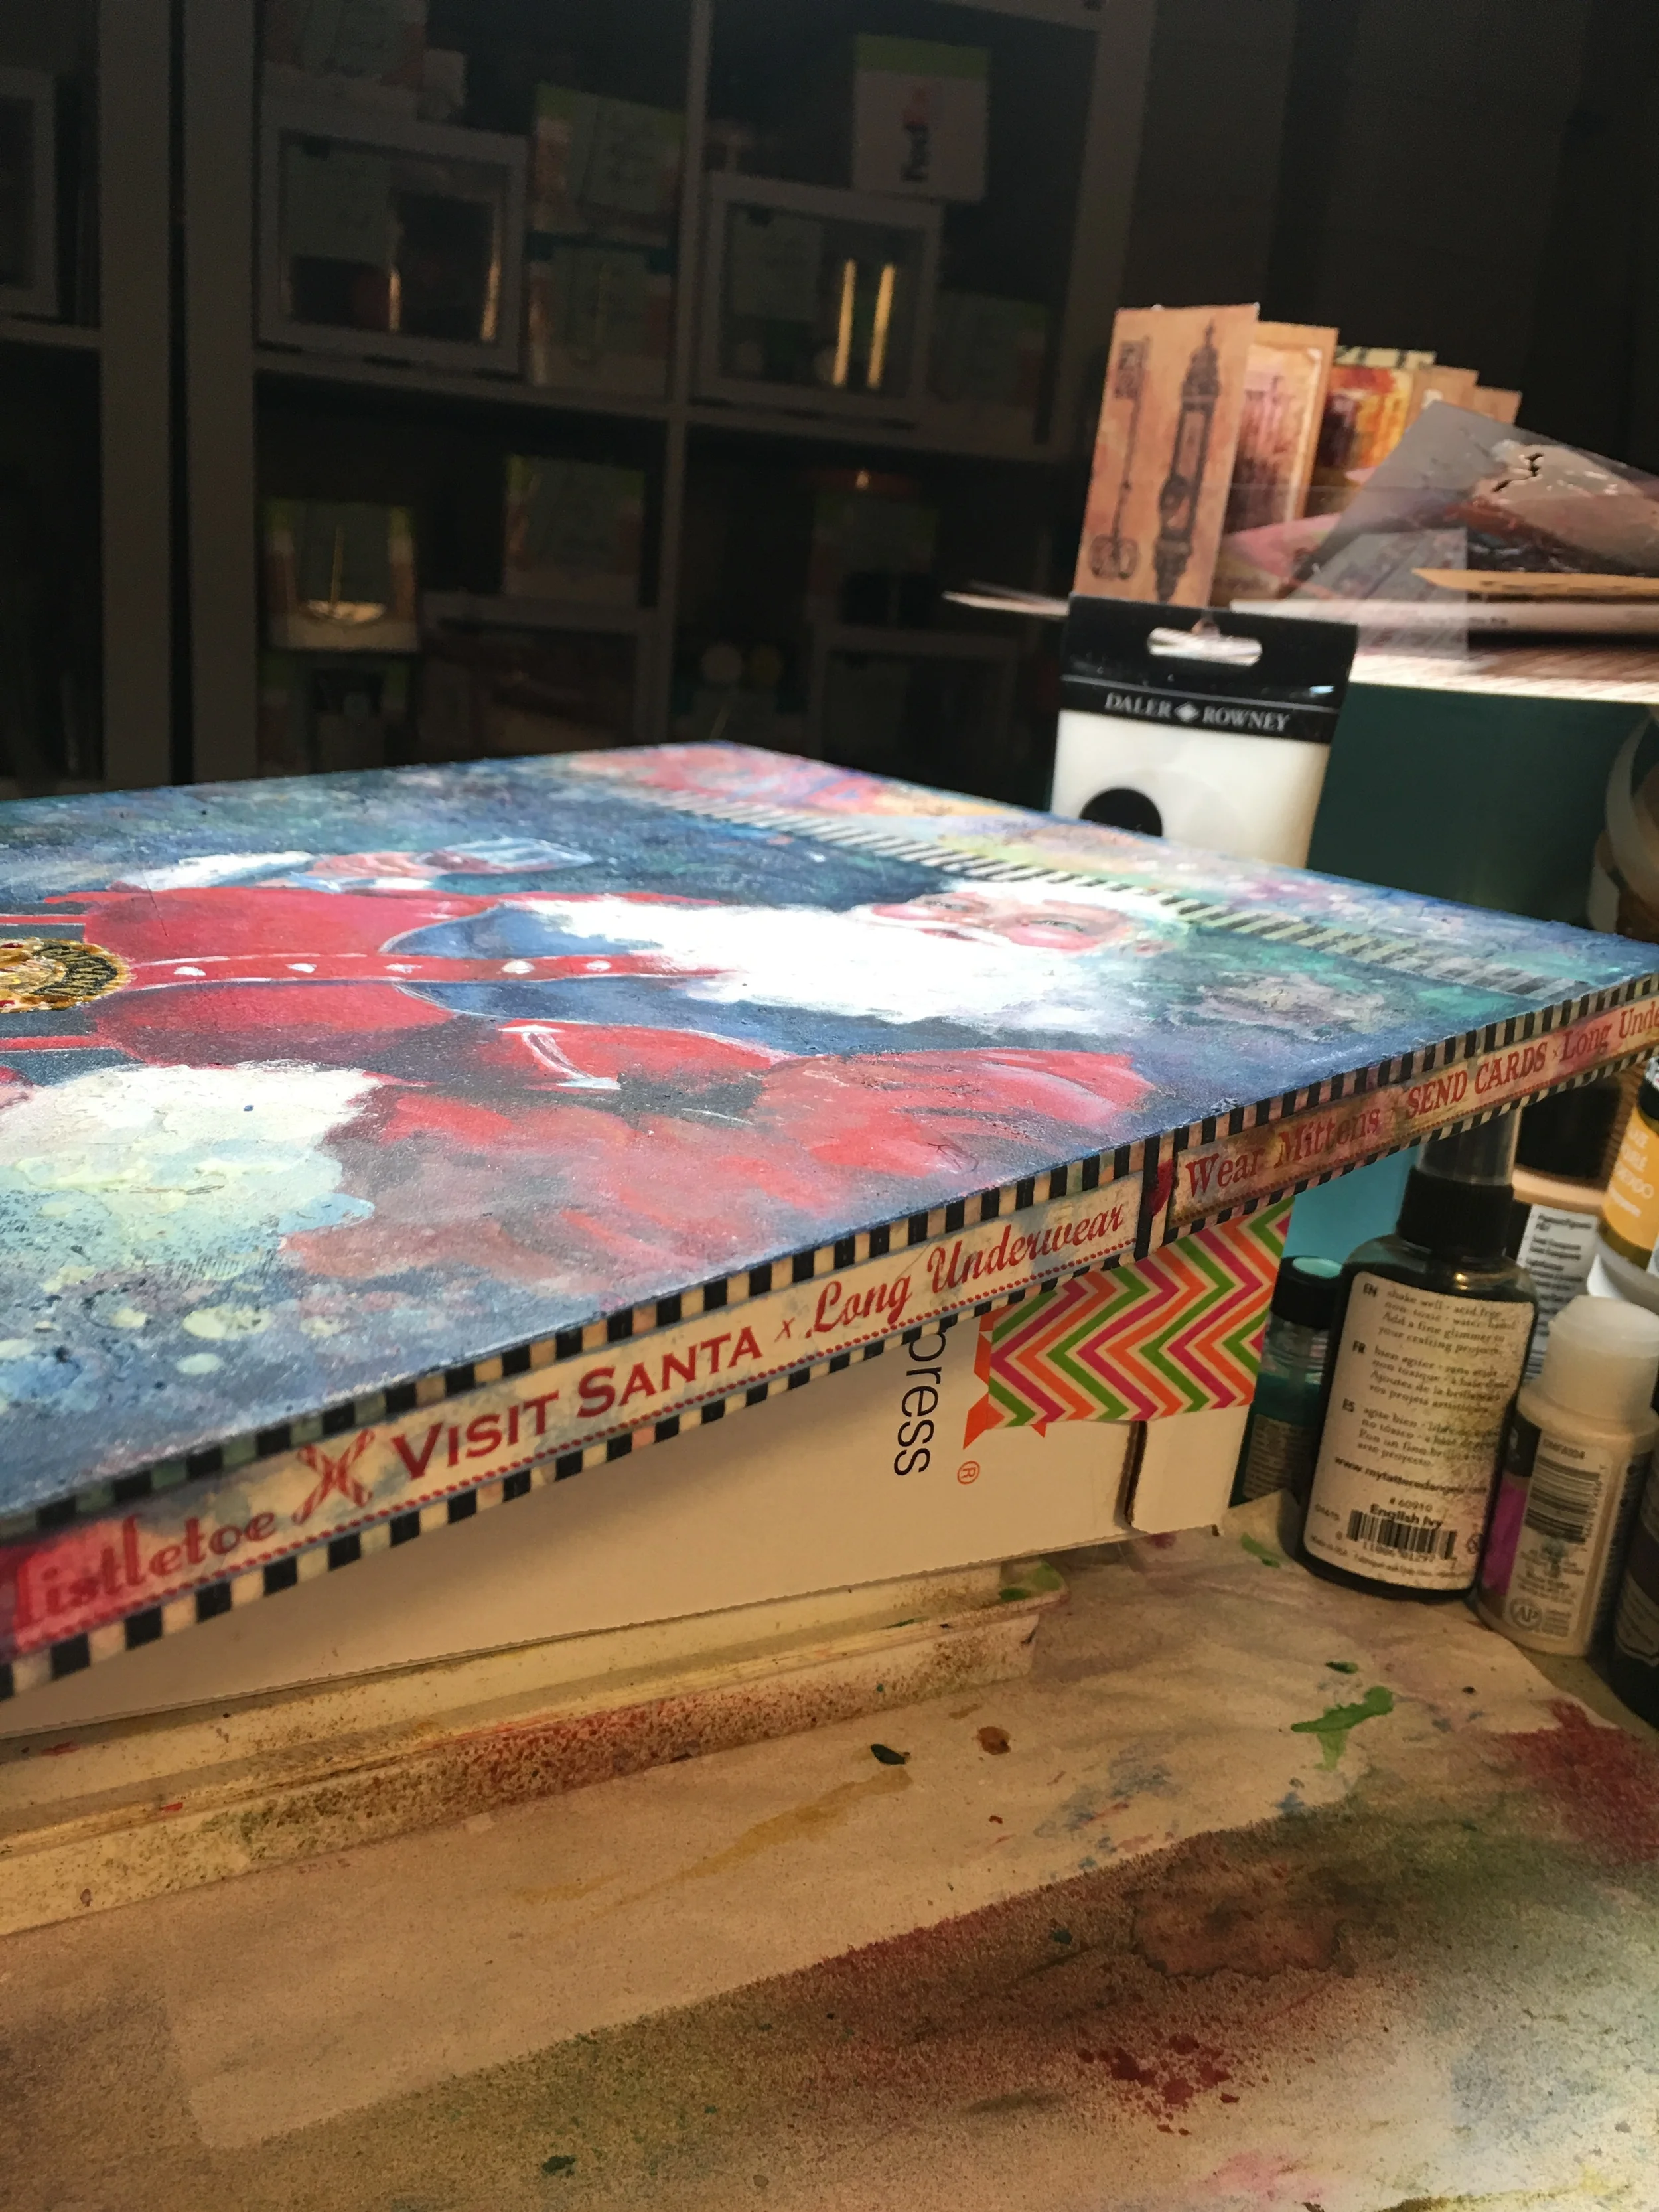

"Cowboy Santa", 14" x 11", Mixed Media on Canvas
Prints of all sizes, on canvas or paper, metal, shower curtain, pillow, iphone case! Not to mention Greeting Cards!
2015 has almost ended, and has been an exciting year. Since I started playing seriously with Mixed Media the studio has been turned inside out to accommodate all the bits and pieces. I'm also a DecoArts Artist (their Helping Artist Program) and had to make room for all their product lines. Their artist quality acrylic is fantastic!
I have over 500 subscribers on my YouTube channel, and have joined the team at Canvas Corp Brands as Creative Media Muse. 2016 kicks off with a bank at CHA in Anaheim in January.
Please continue to follow me on my Wicki-Wacky Adventures in Art!
xxoo
Video Link Below!
Shannon Green came up with a crazy idea to invite 12 of her YouTube subscribers to participate in a Video Hop. Bloggers do these all the time, but I think this may just be a first for a YouTube Hop!
Three (including Shannon) are large channels, with over 10,000 subscribers. 5-6 of us are in the mid-range, and a few are new and have smaller channels. There will be three groups of three, with some from each size channel. All 13 will be links in each video, just in different order. This is to even out traffic, since typically the large channels get sorted to the top of a viewers list.
The plan is to direct viewer traffic to ALL thirteen channels so the small channels will get their share of new viewers. Way to go Shannon! And thanks for inviting me!
Illustrated PDF file here to explain Japanese 4-Hole Binding Technique
I have been accepted to join a group of YouTube Art Creators for this fun and exciting event! #Cinnamon Cooney dreamed up this ongoing event that will showcase artists who use the hashtag #LoveSummerArt. From fiber to painting to mixed media to card making, sewing to stained glass to encaustic to weaving to washing cars! No kidding, if an artist has a novel way to wash a car, you might find a link here!
Starting on July 17-20, this group of creators will be releasing videos with the #LoveSummerArt in the title. All you have to do is search for #LoveSummerArt and you'll see videos on all kinds of creative channels. And it will be fun! Some silly, some tutorials, all done in the unique style only artist creators can do.
Oh, please subscribe to my own YouTube Channel HERE! I'm told I have some very informative, short, sometimes goofy, tutorials.
xxoo
If you've ever had a desire to be looser in your art creation, take a look at this! Shannon Green developed this challenge to solve the issue many of us have about overthinking every move. Journaling by 5s has become very popular, and there are videos all over YouTube about those who were curious. So far, I've prepared 3 journals, ready for coloring! One was a small composition book I had already junqued up. The second was a full size composition book, and the third was a blank paper spiral bound notebook I found in Randy's room...an advertising specialty item...complete with a holder for a pen!
I promise, you will get messy and your muse will be able to create something without your nasty left brain trying to control it!
Shannon explains it fully, so I won't do that again,,,but, each has 20 pages (5 pages glued together). Yes, it takes some time. But, an hour a day with this cathartic exercise becomes almost meditative.
This first video is stage one. Yesterday I spent several hours getting ready for stage two, fussy cutting pictures from magazines and collecting bits and pieces of collage materials.
xxoo
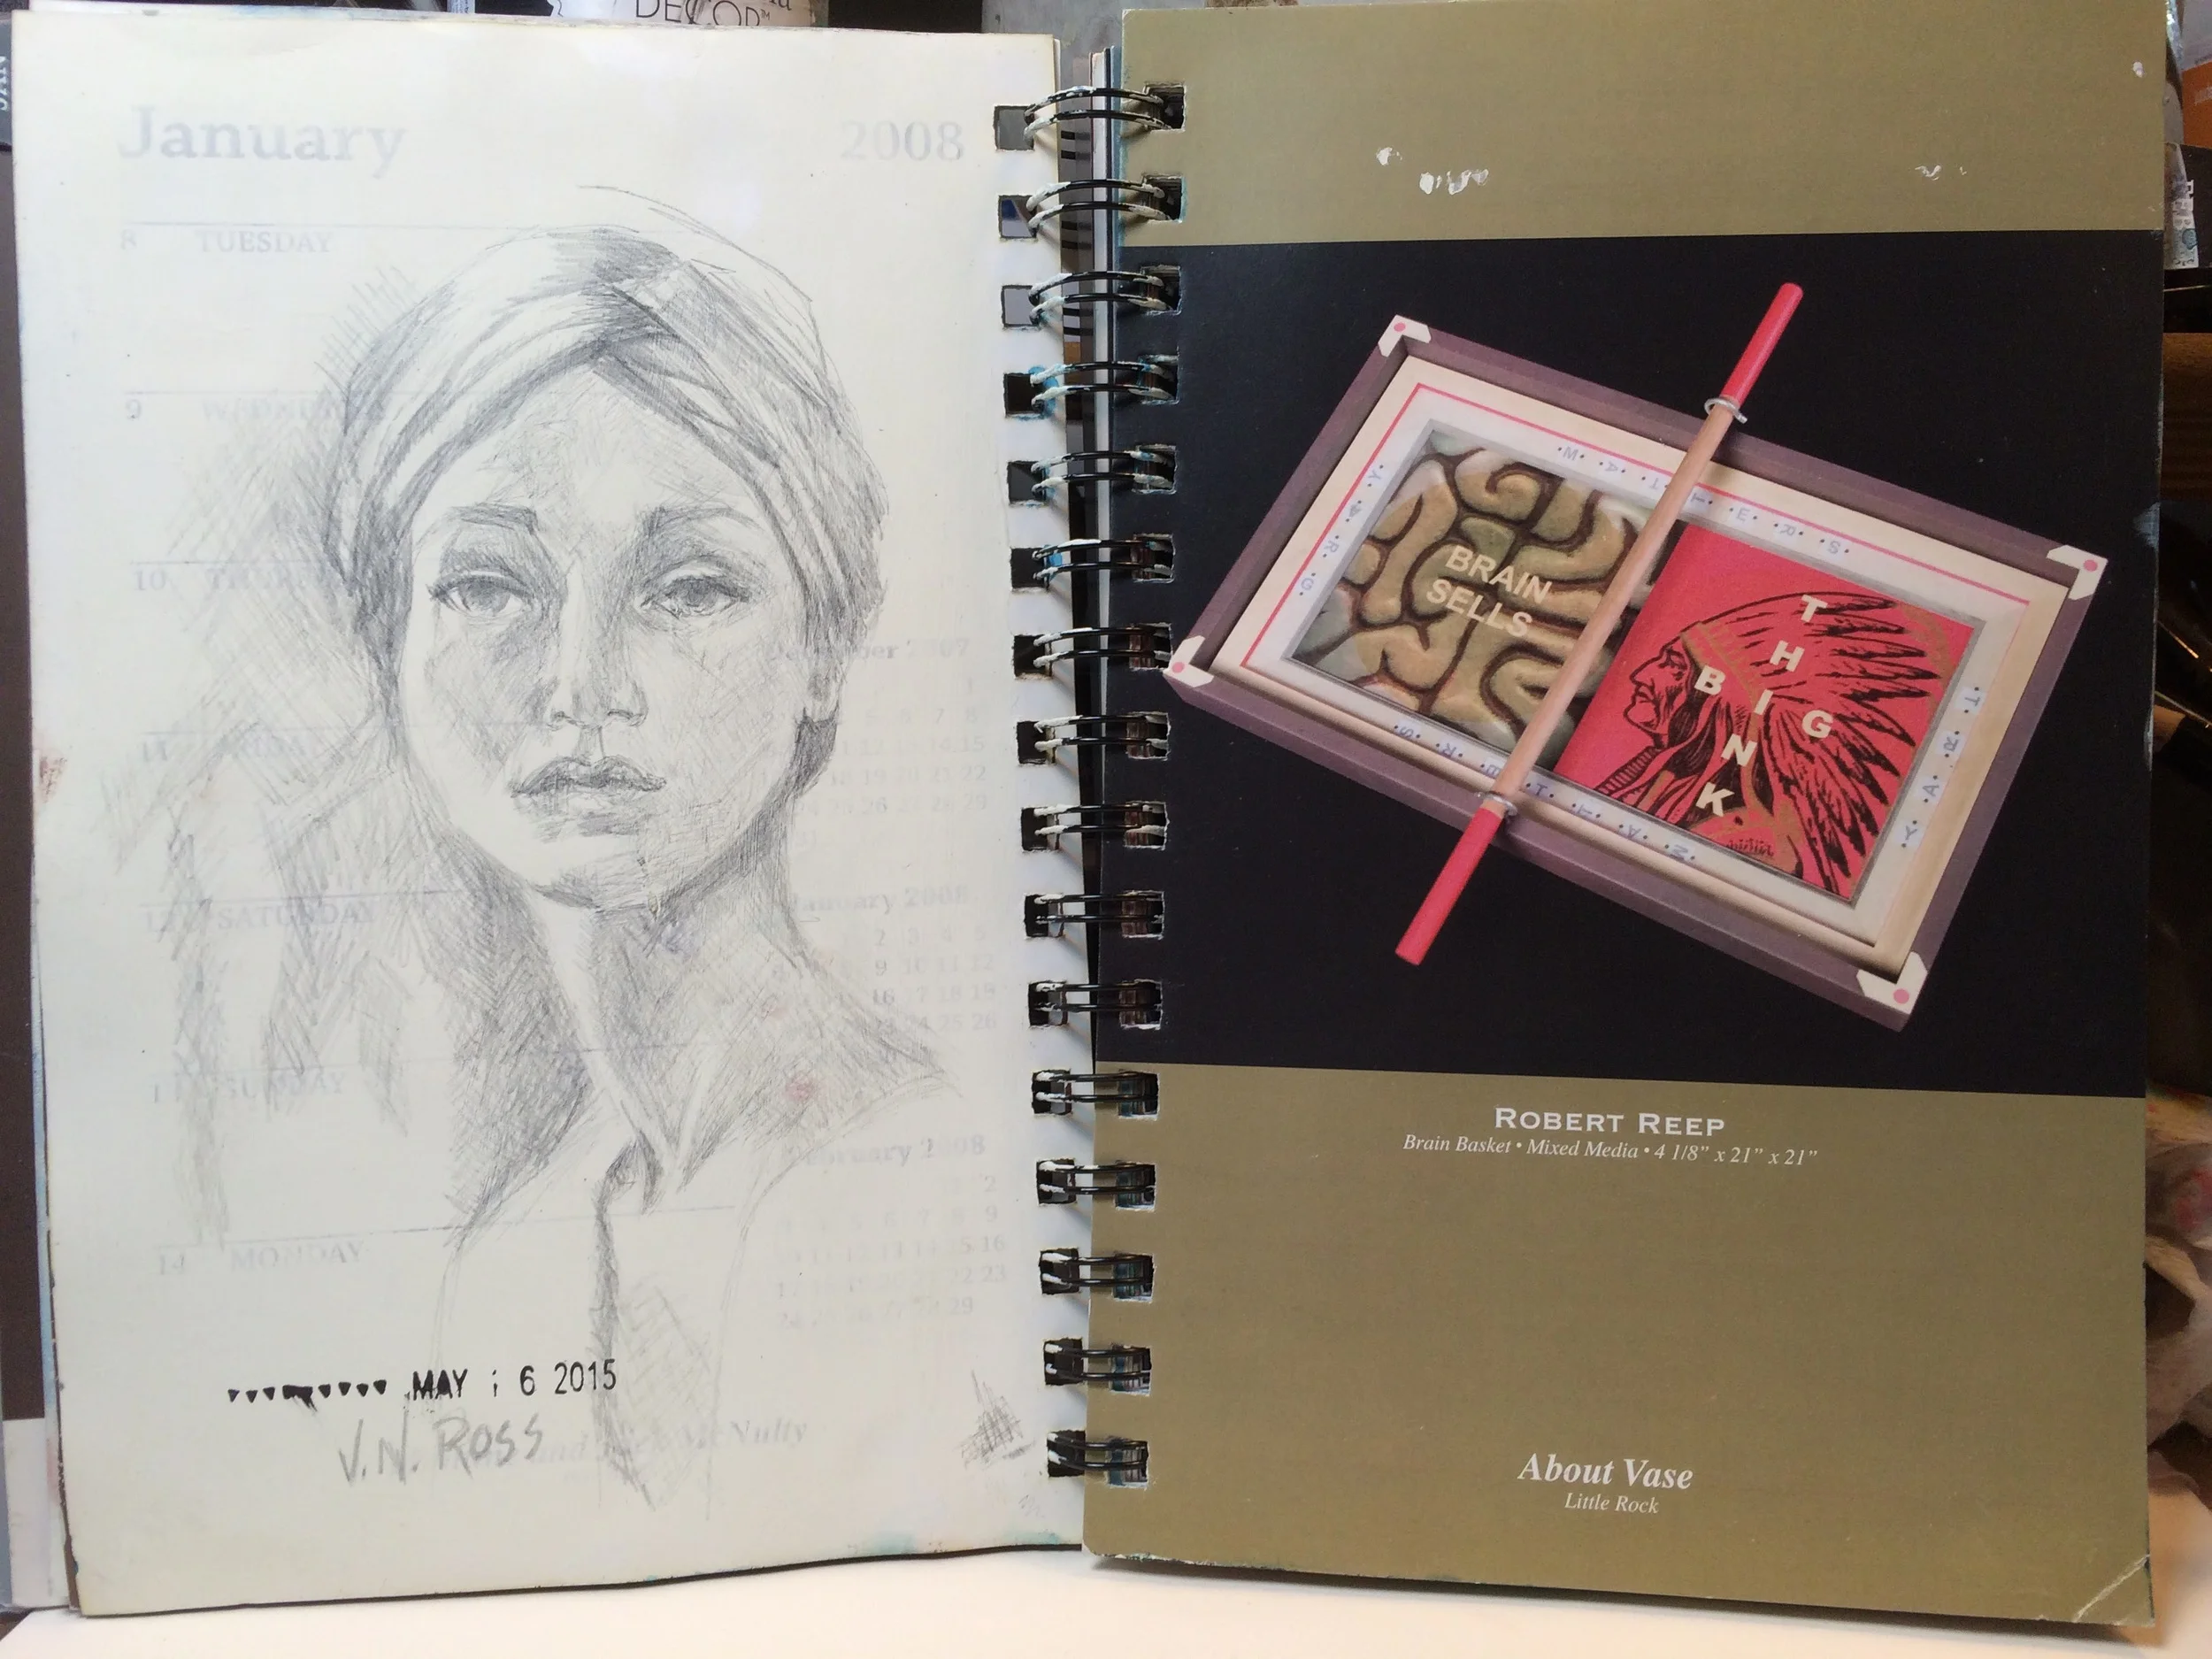
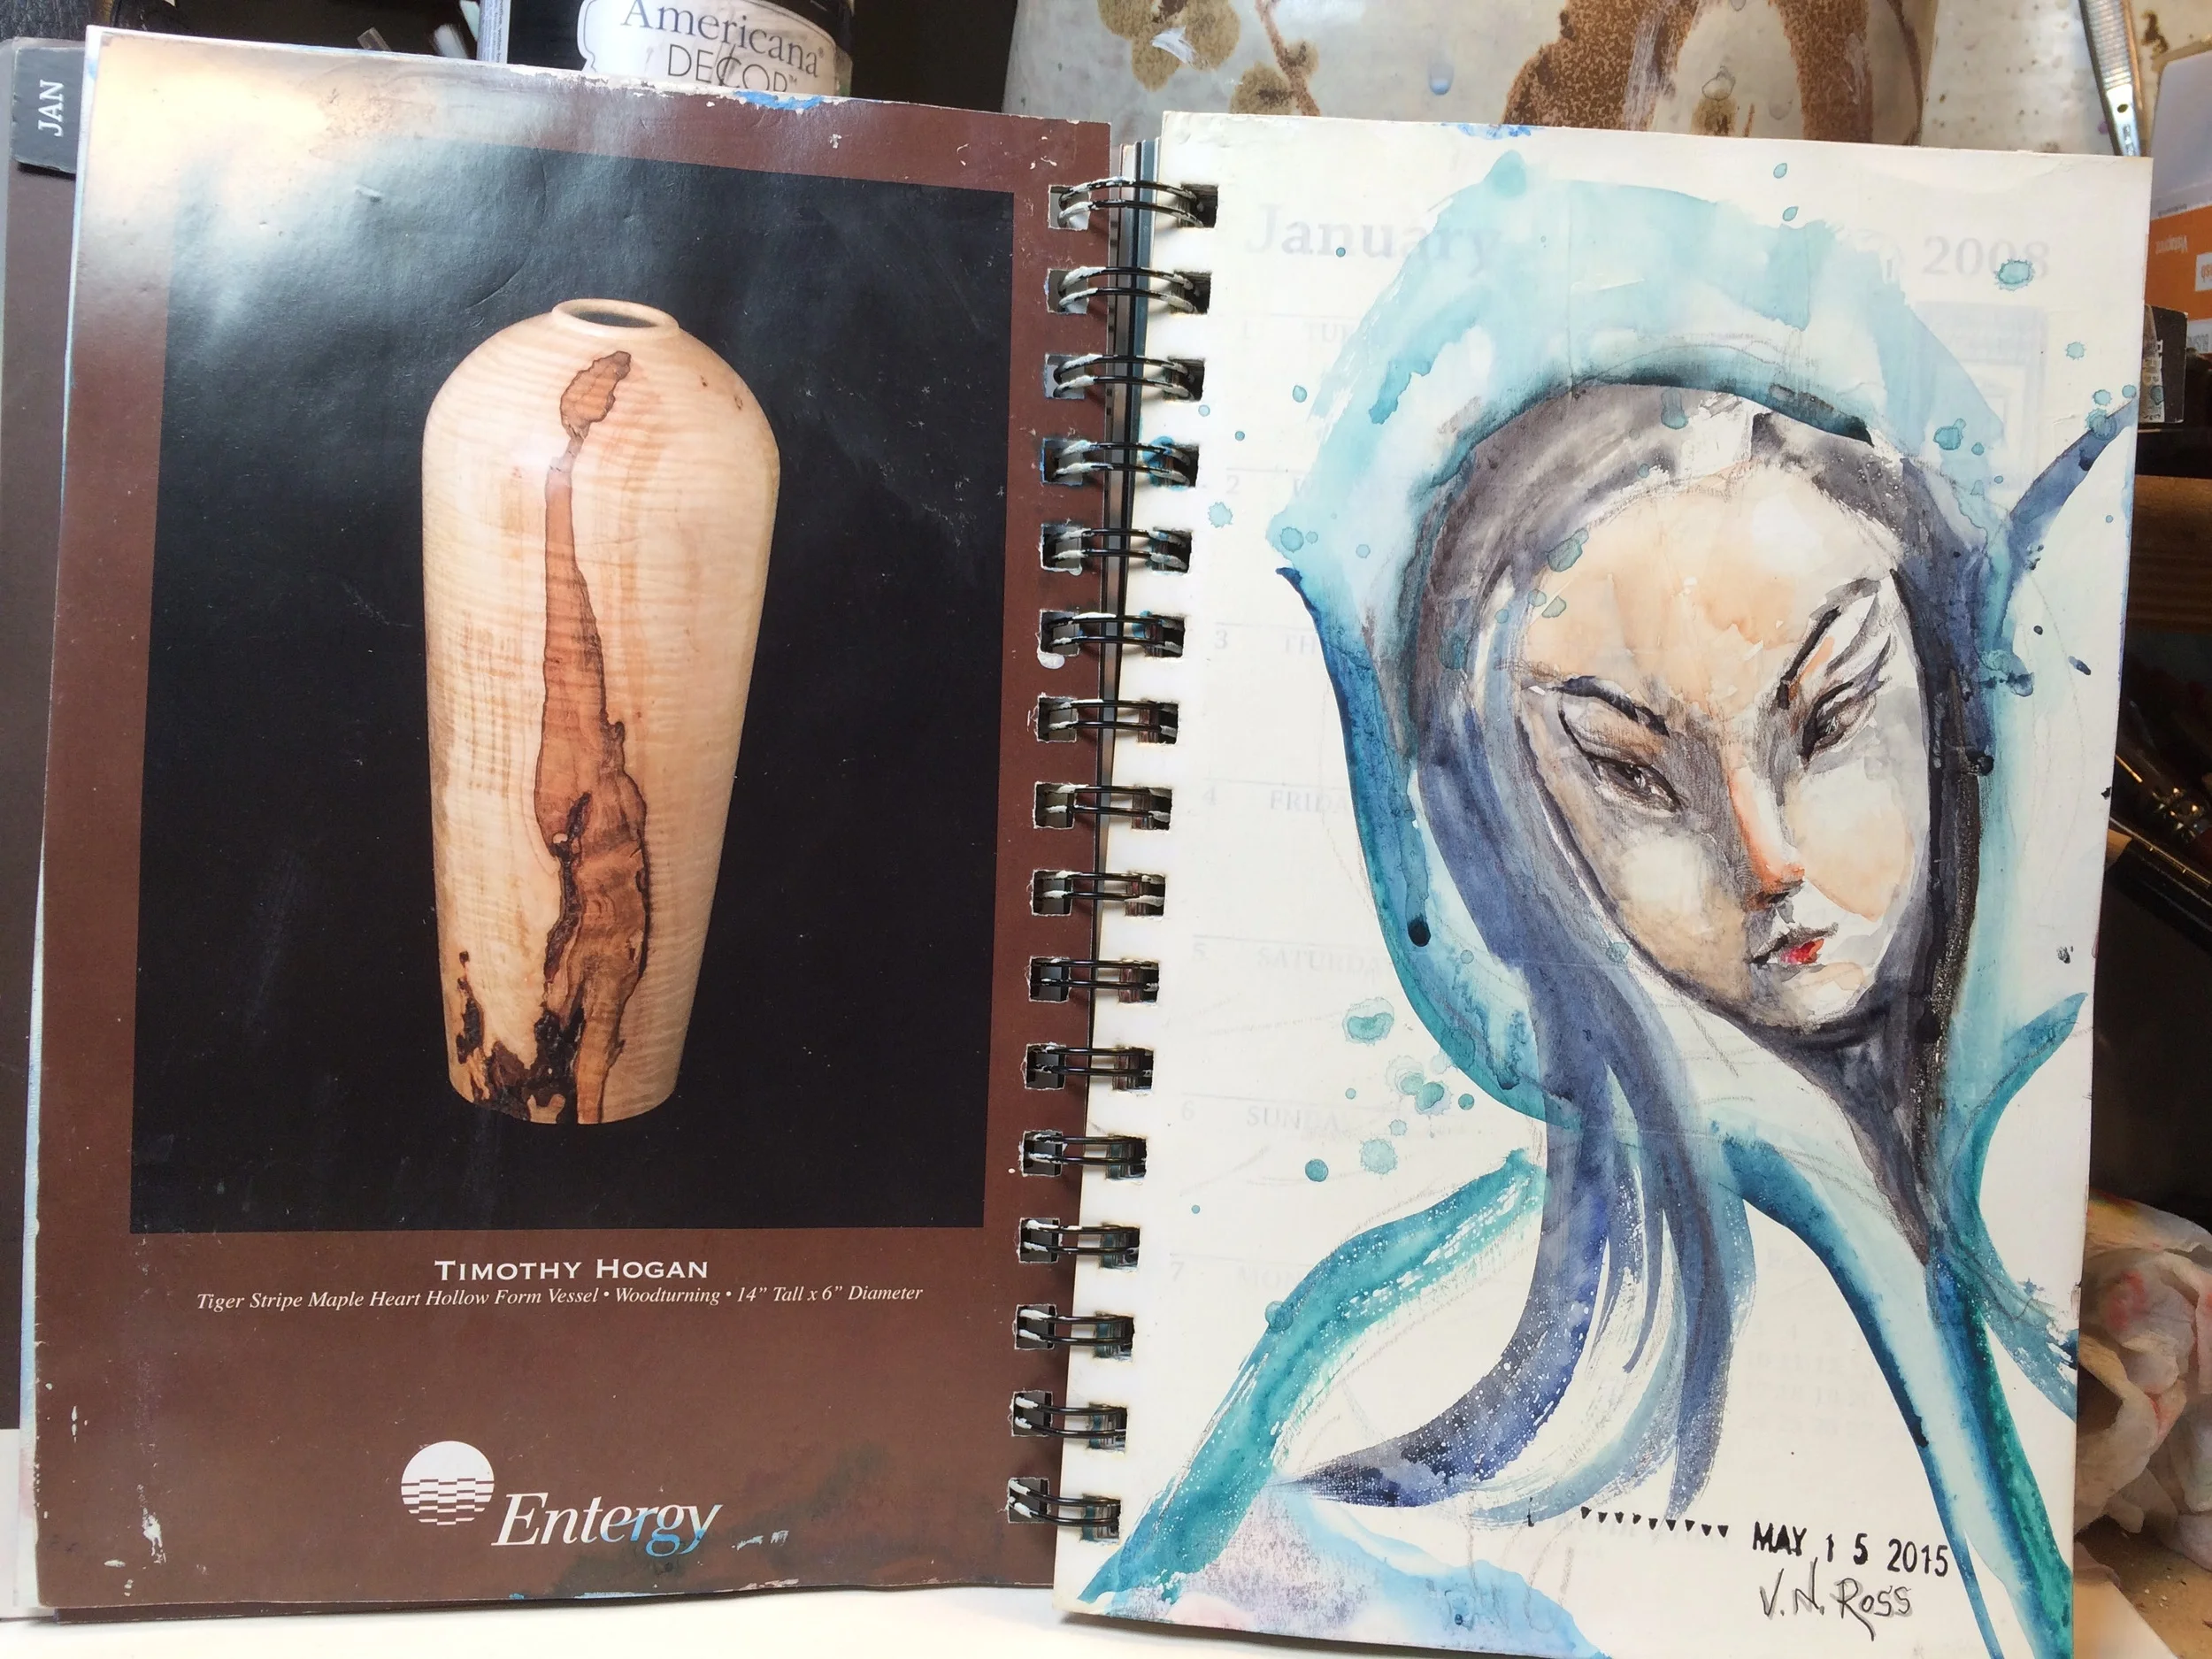
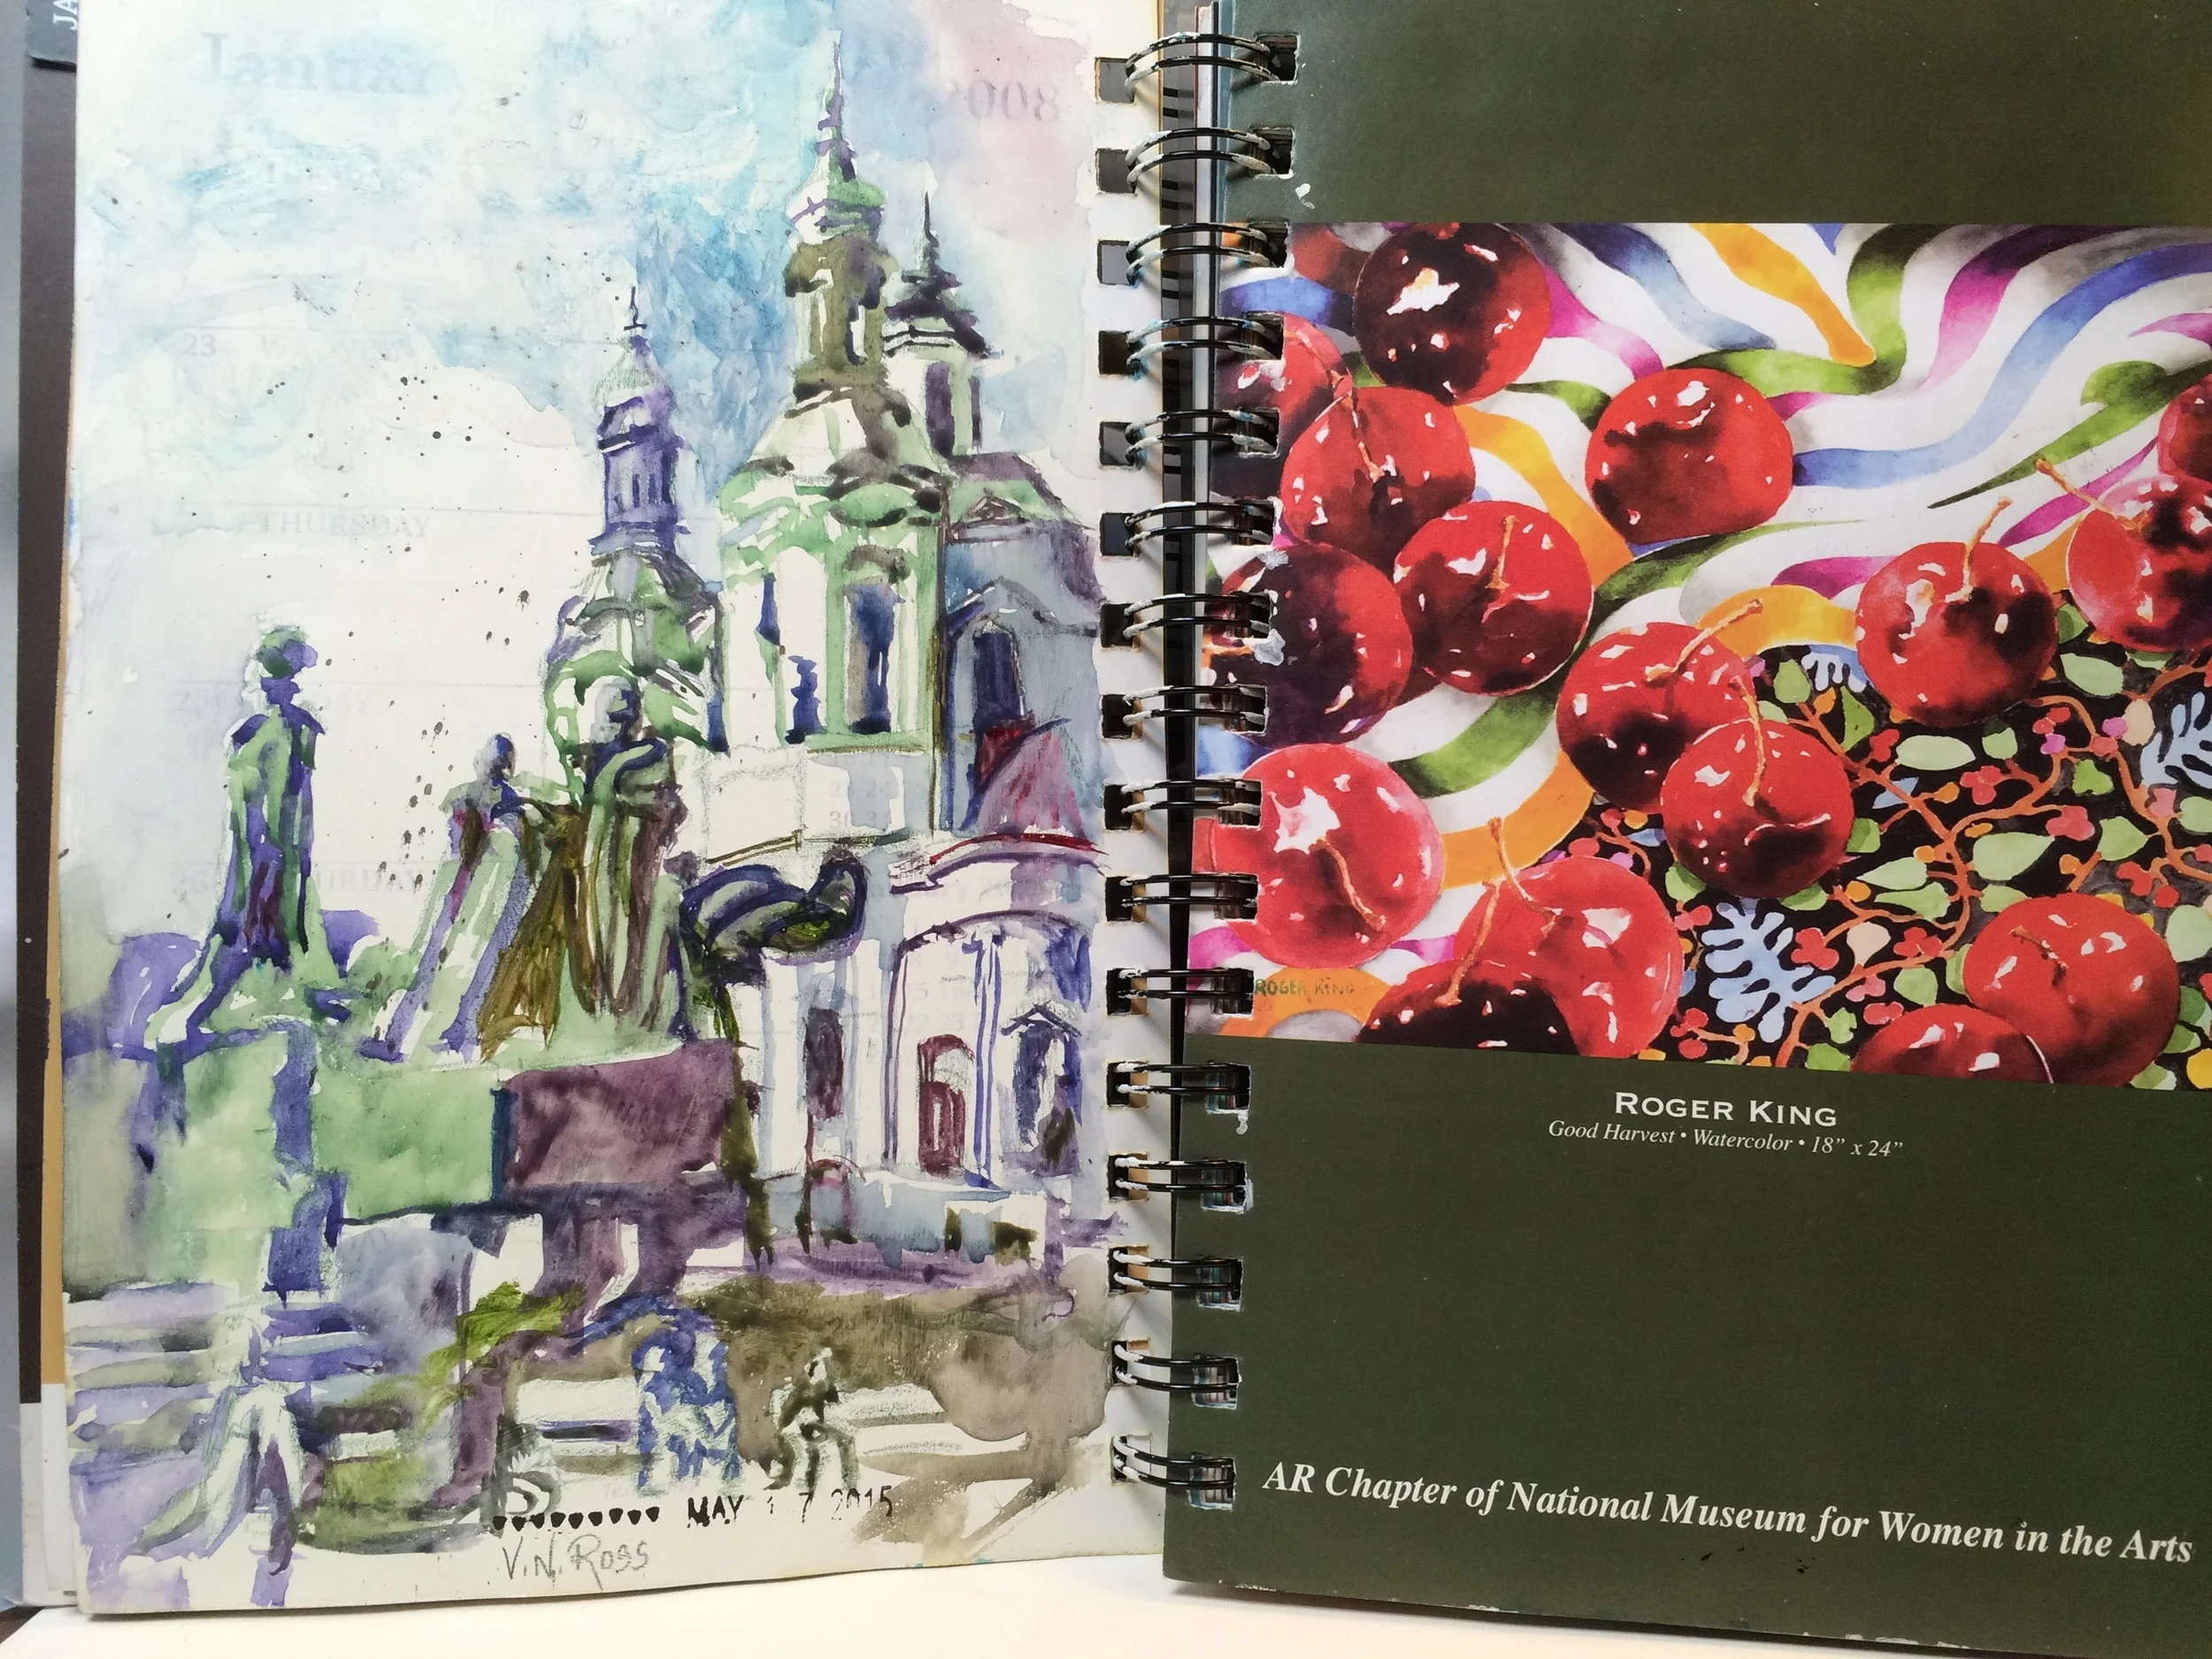
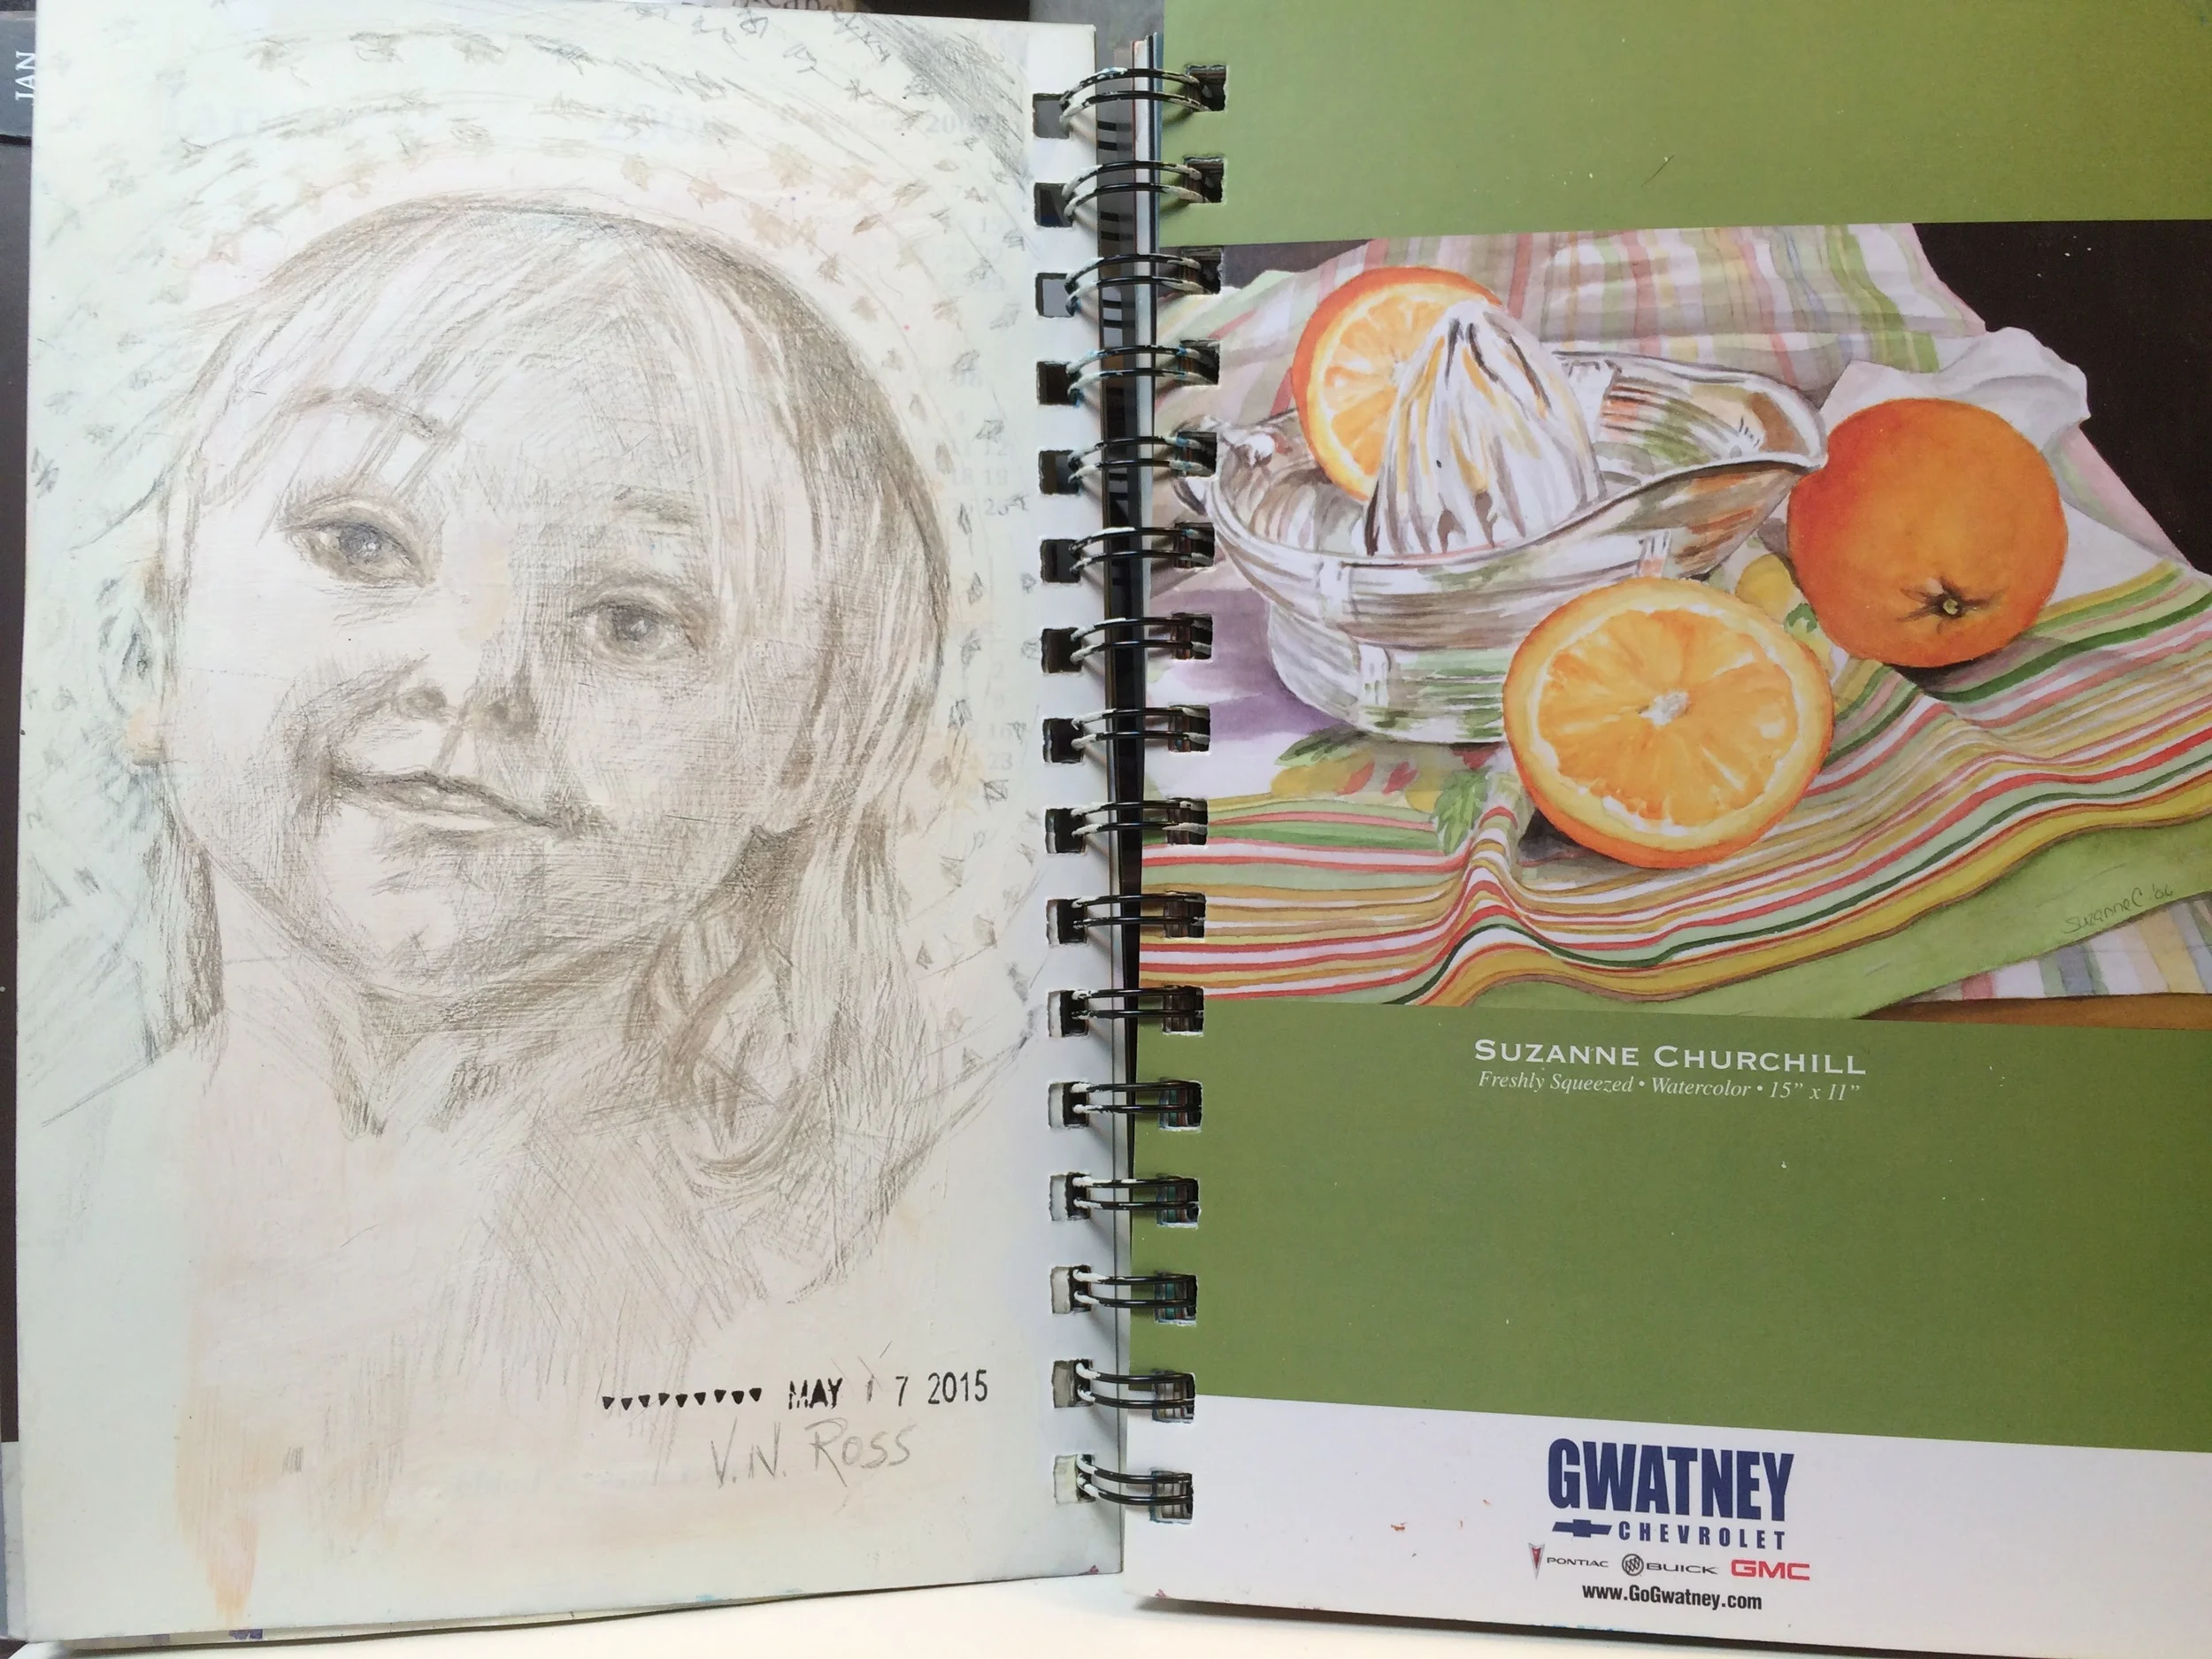
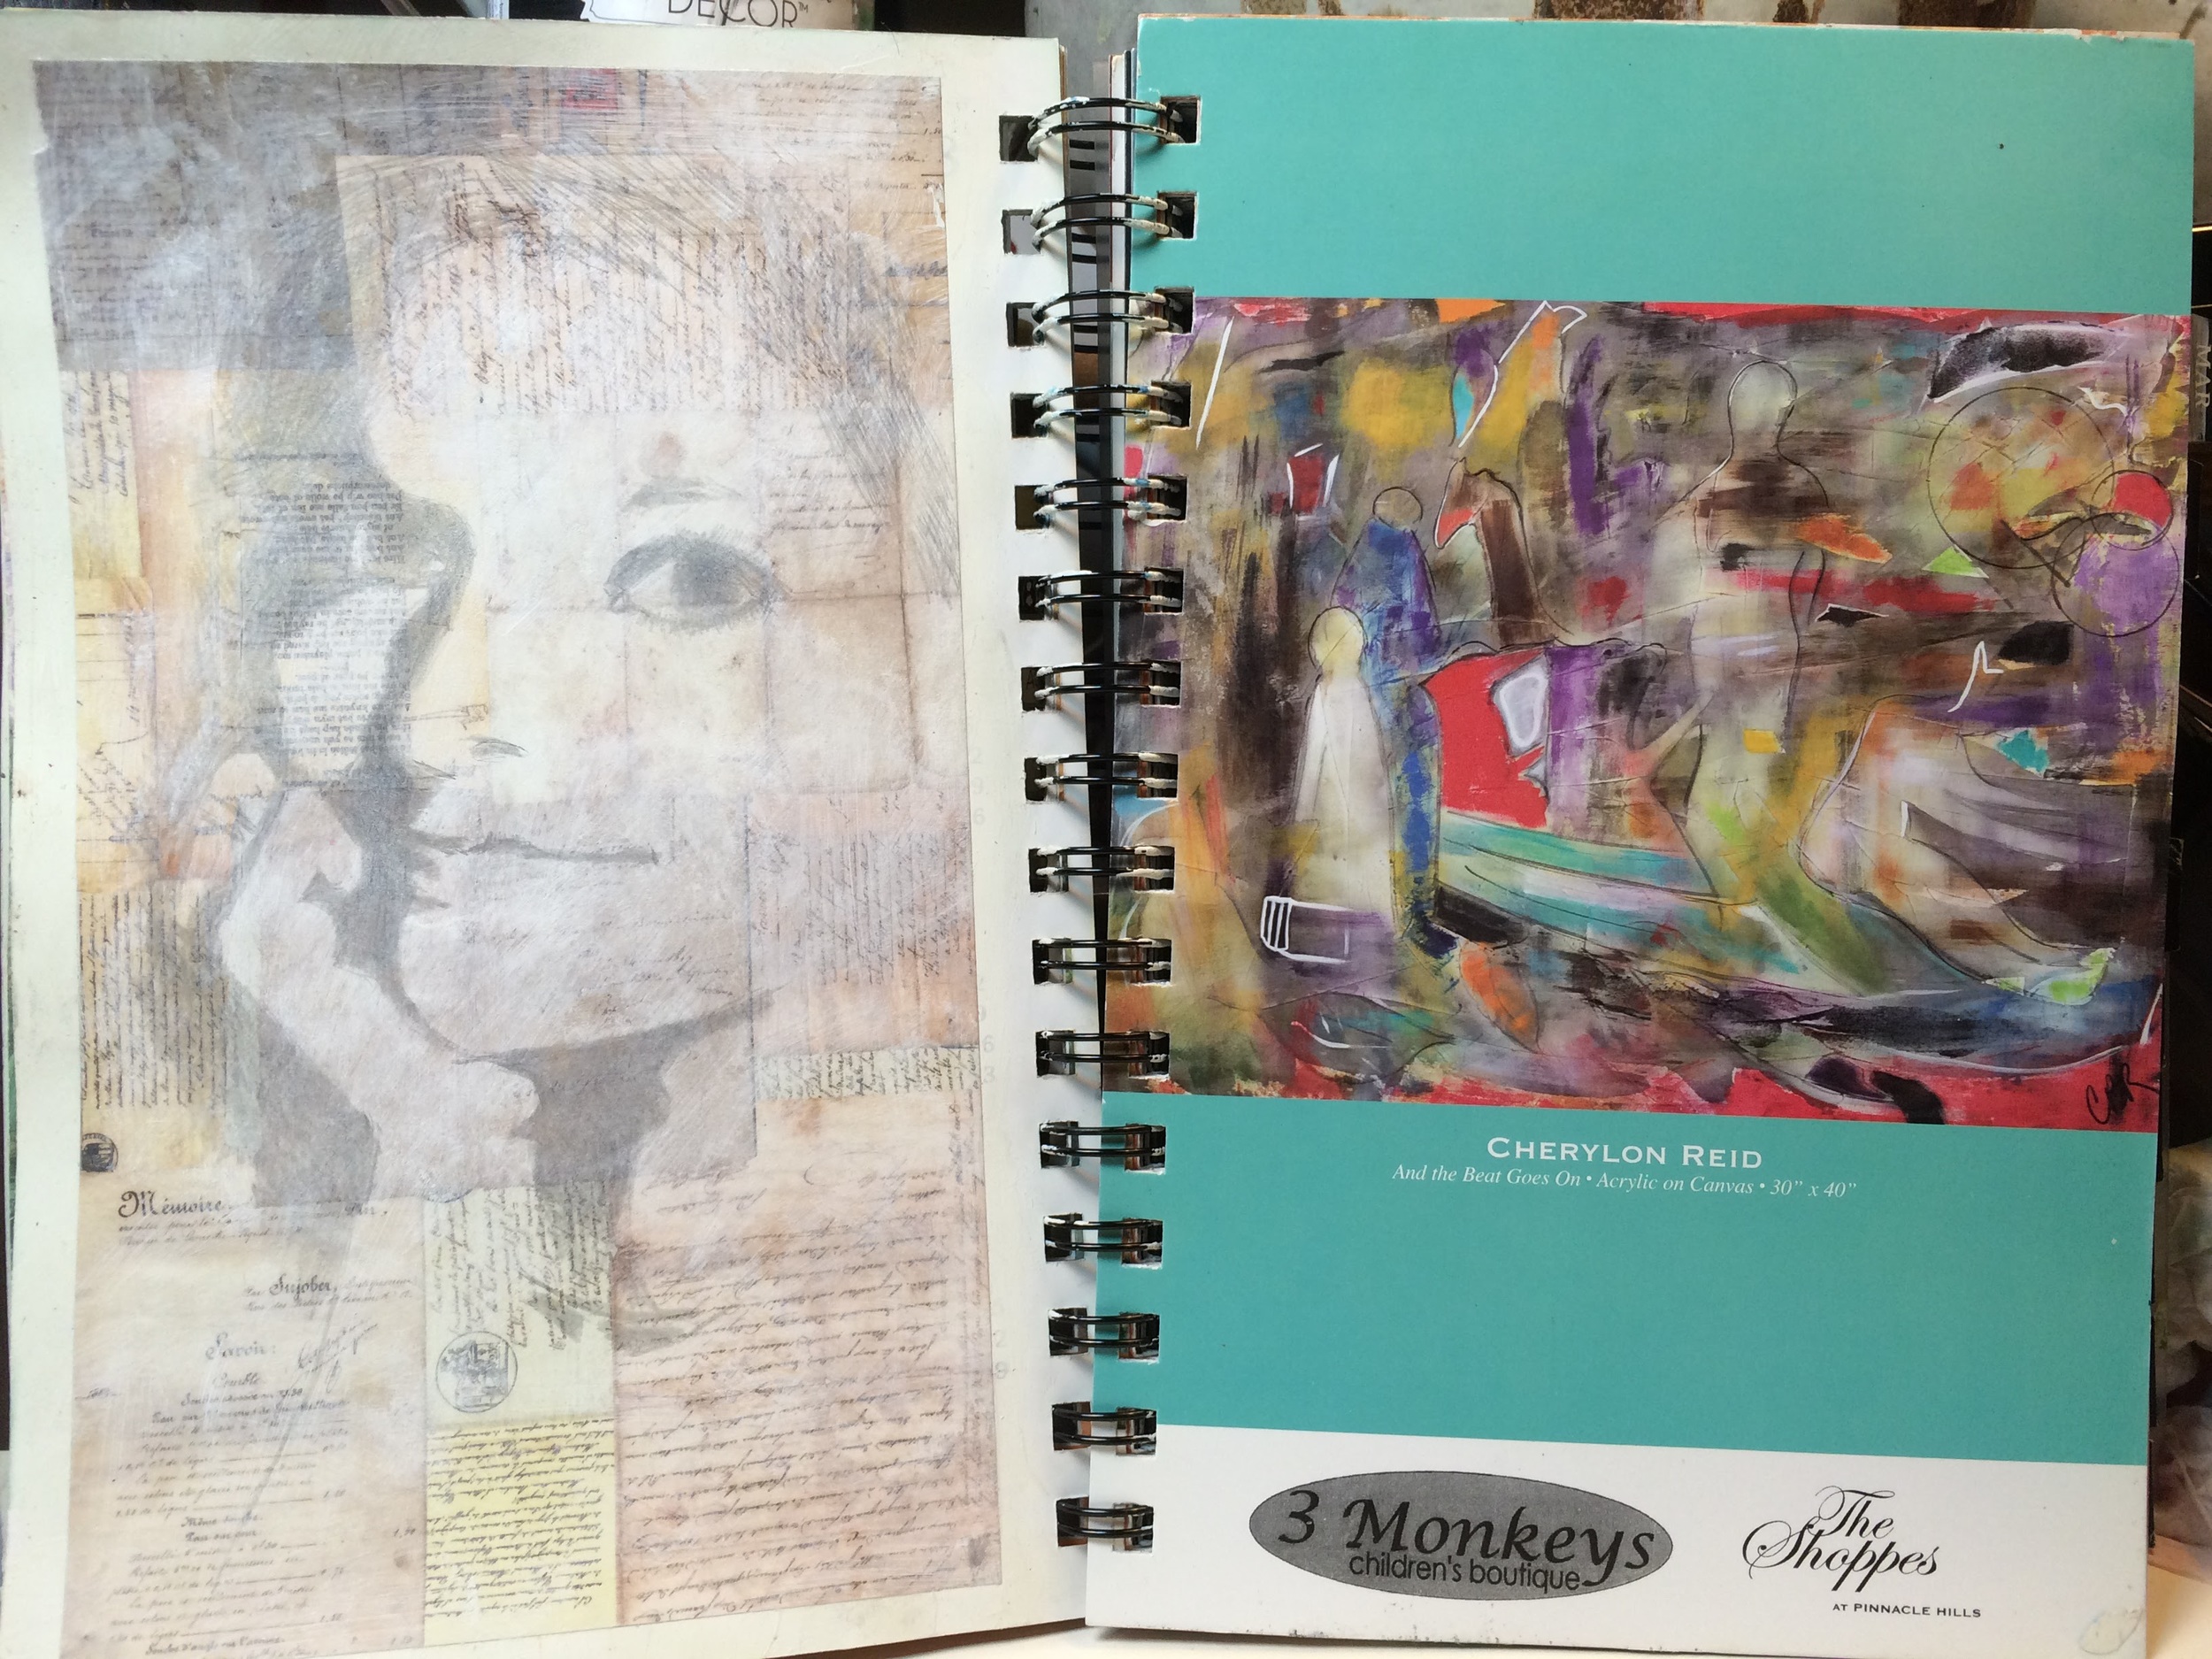
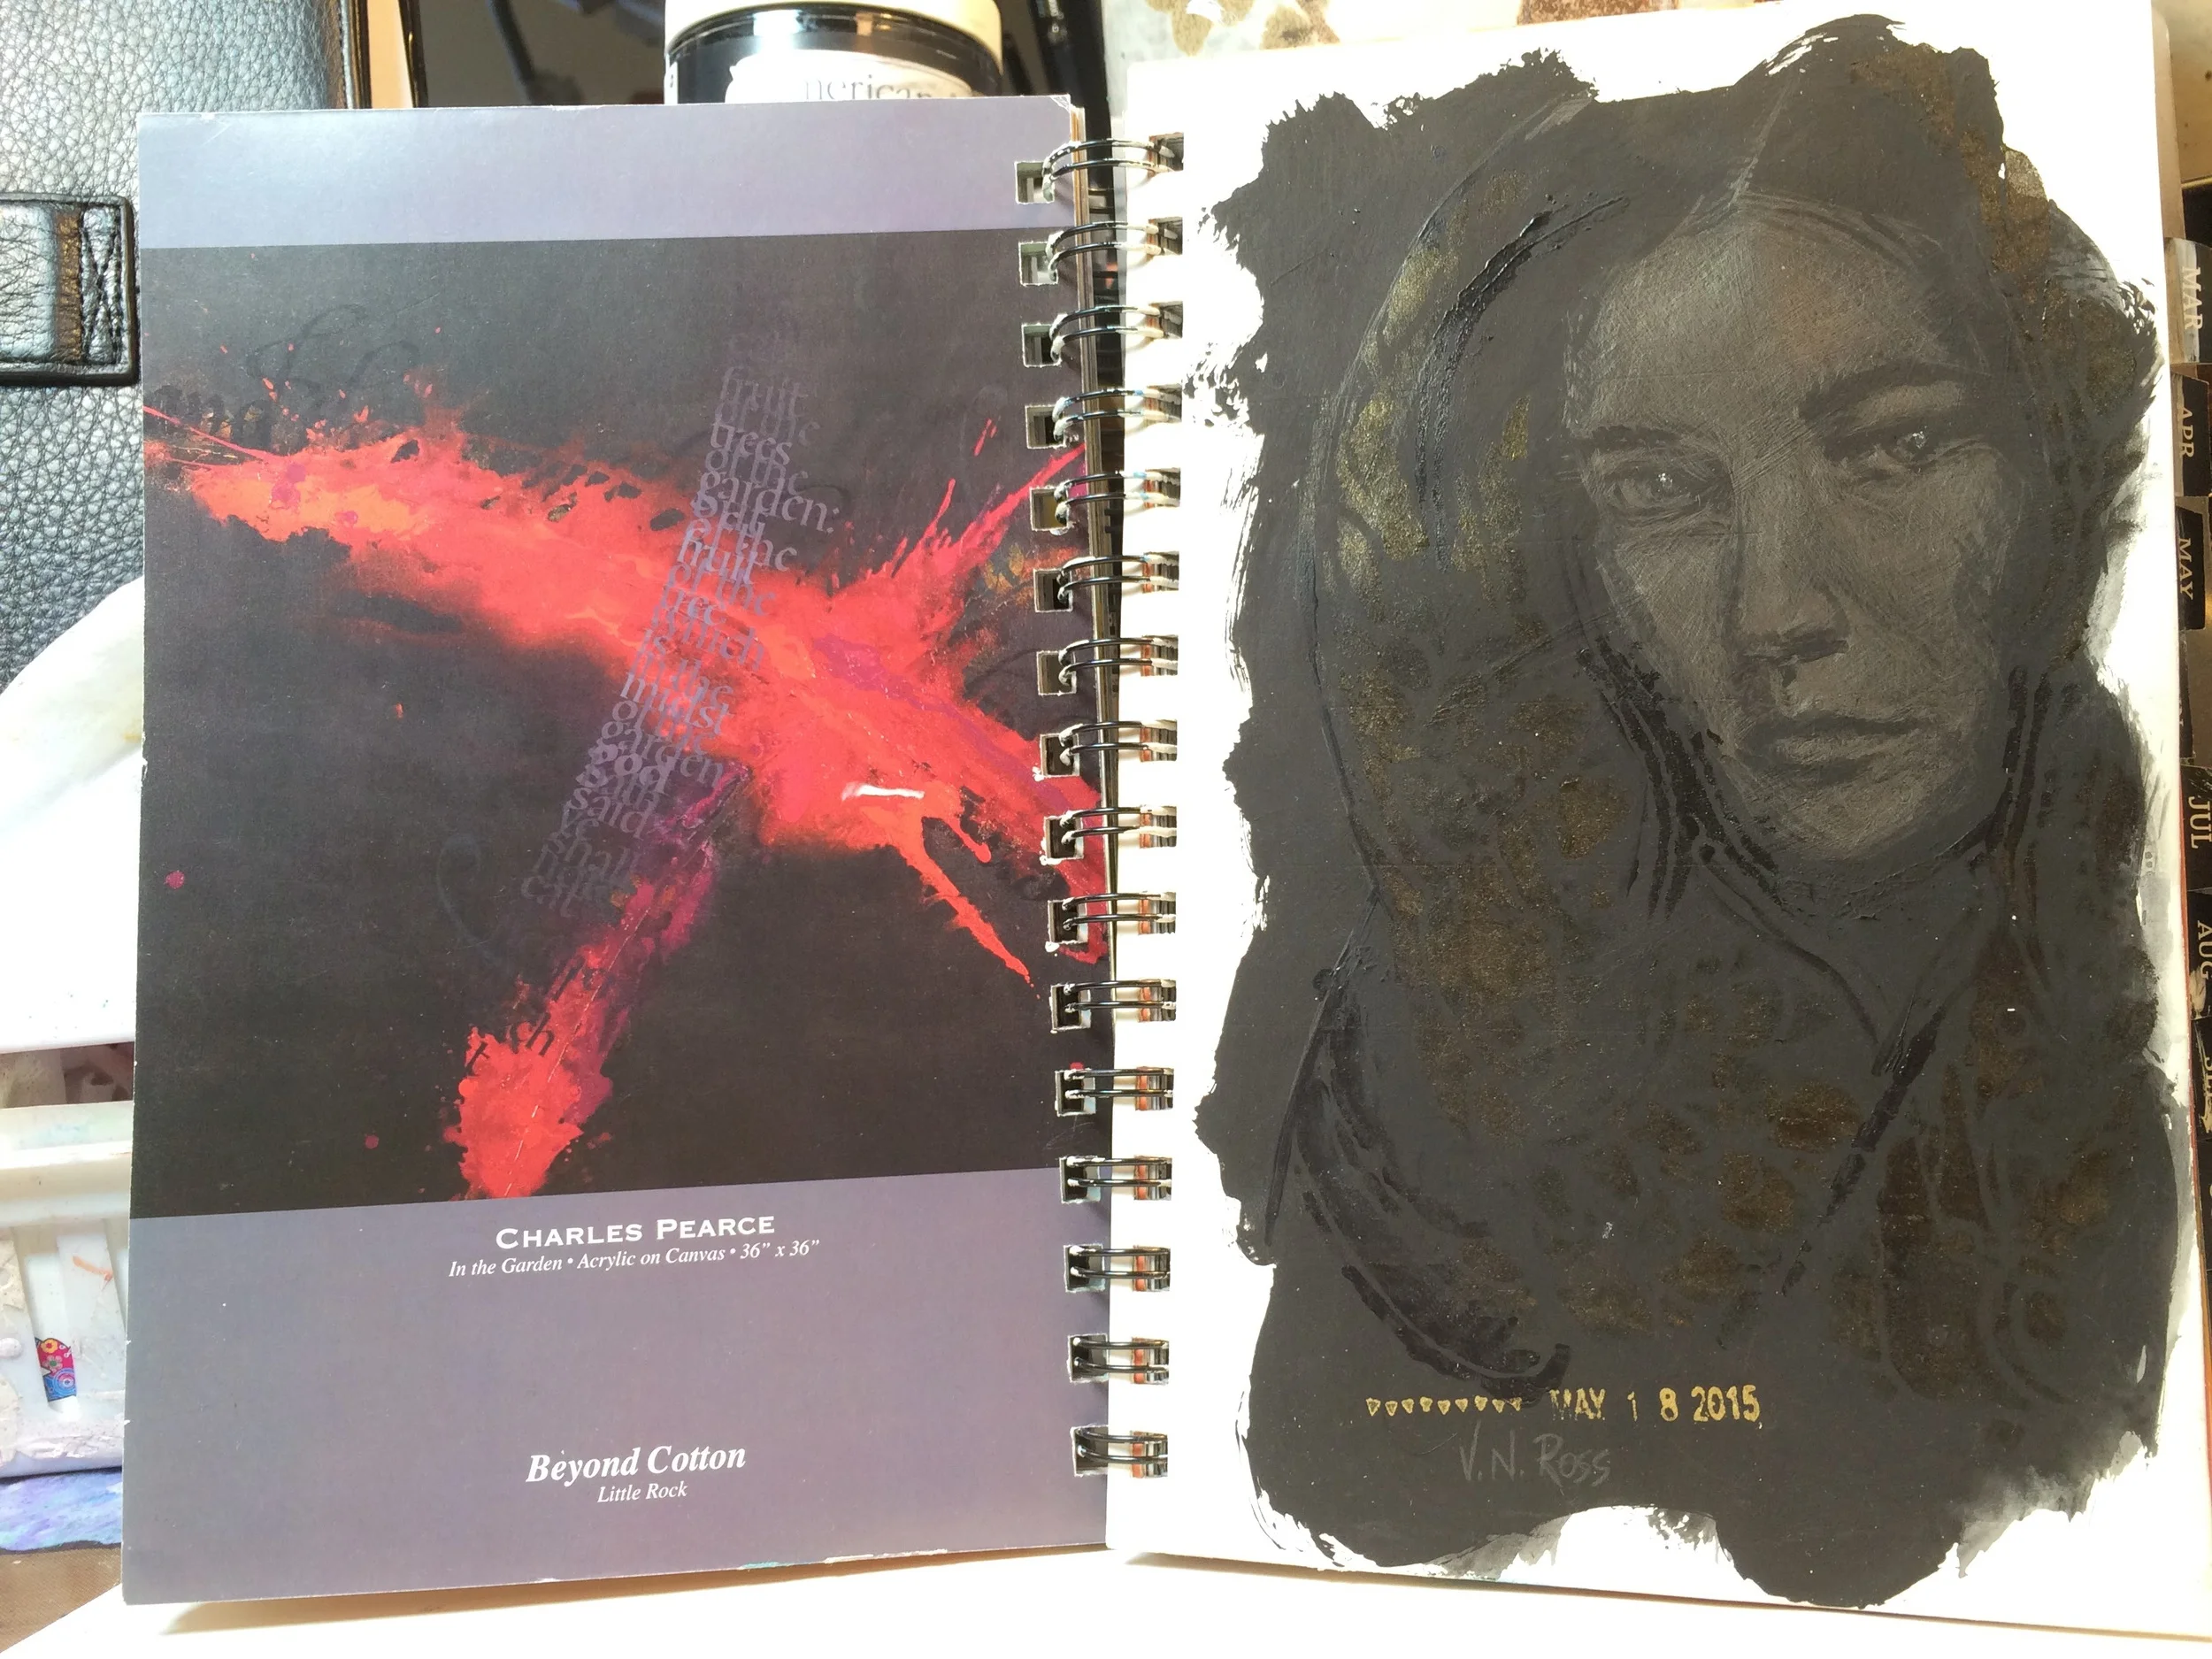
While looking for my prismacolor set...you'd be surprised at what other things I've found during the search...I came across this calendar from 2008 that was filled with high quality full page prints of notable Arkansas artists. It was a project of the Govenor's office and was signed by Ginger Beebe, former first lady.
Storage is a premium, and everything has to have a reason for taking up space, but this was too good to pitch. I brought it into the studio for some creative thinking. Fifty-Two weeks/pages, and my art could be in there along with the others who only got one page.
I did a video talking about my process, although basically I painted over the calendar pages and picked up a brush for the first exploration. There are some current images below because I add one or two a day to the book. Enjoy!
xxoo
Some of my mixed media artists are beginning to explore new media, including encaustic. I offered to share a few tips about working with it.
RULES:
Some of my encaustic art can be viewed here:
I've written several blog posts about processes.
http://axully.com/axully-blog/2014/8/27/soft-pastel-collage-and-encaustic
http://axully.com/axully-blog/2014/9/11/origami-and-encaustic
http://axully.com/axully-blog/2014/8/27/delft-encaustic-and-collage
xxoo
Adonis prints and cards available HERE
My evolution as an artist has brought me full circle. Almost every painting I did for 13 years was suitable for framing and competitions. When I figured out this mindset was doing me no favors, I drifted into mixed media. That art community was having so much fun...and the products designed for them were fascinating.
I had to completely change my direction, it seemed at the time. Playing? Not in my vocabulary. Turns out that was exactly what I needed to add. I've had a ball, and now have four+ journals going...when one dries, pick up another, turn the page and keep on going. I've been studying techniques learned in workshops and from tutors I always meant to delve into.
Attendance in a class or workshop is great, but you cannot learn in a few hours what a particular tutor has taken a lifetime to perfect. You have to go back to your own studio and practice until the something different becomes part of your vocabulary. I did so much study I never took the time to do the real work.
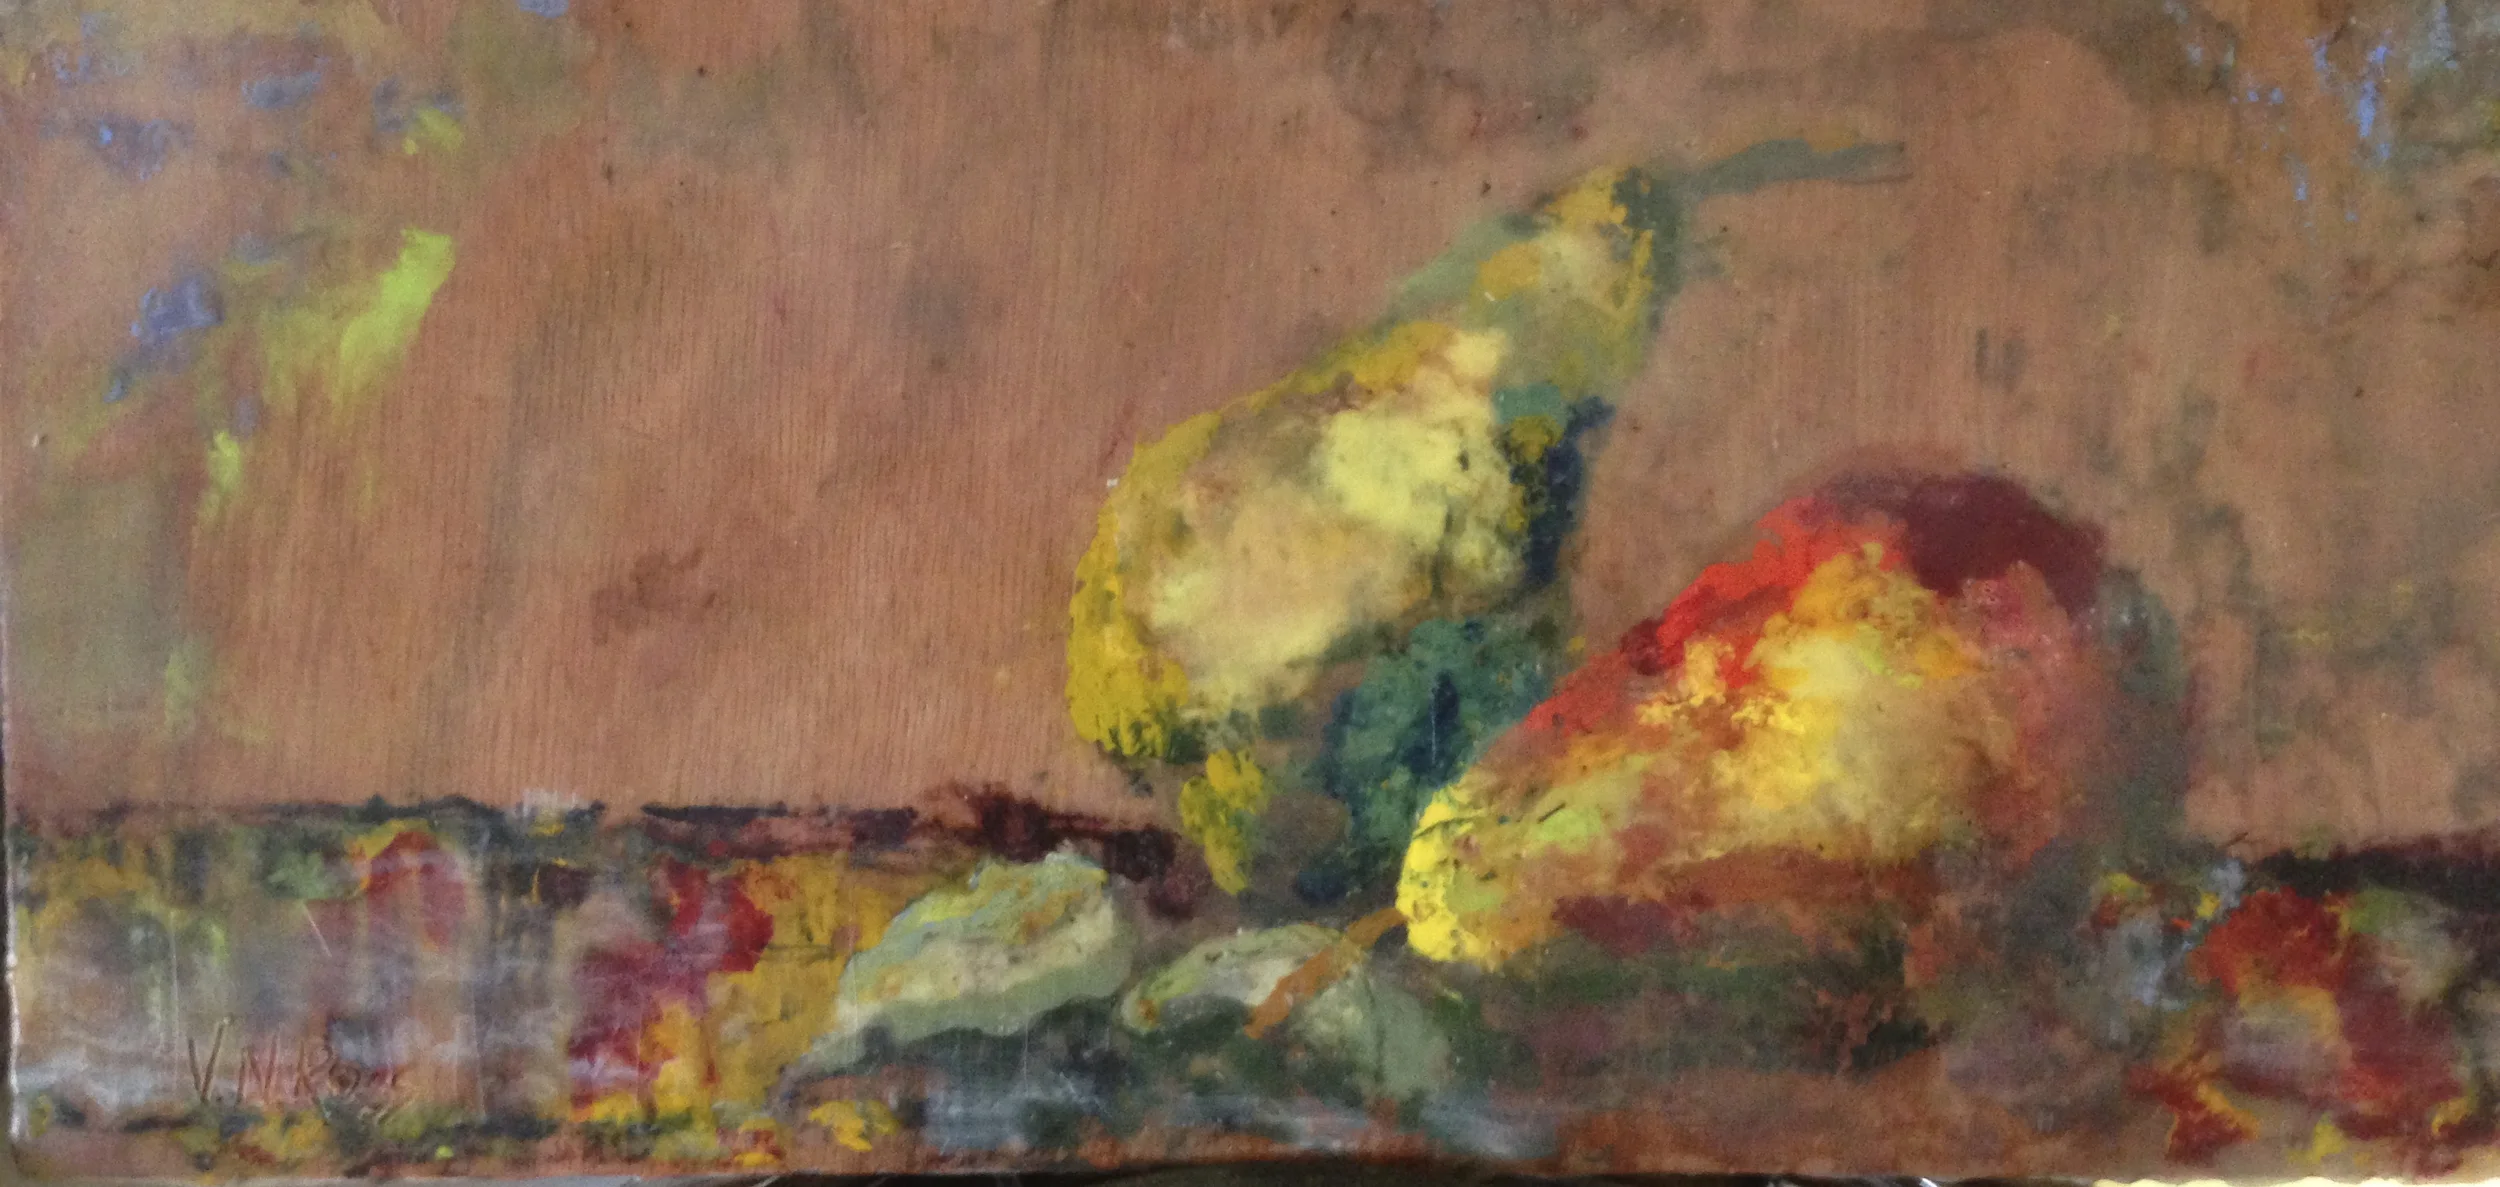
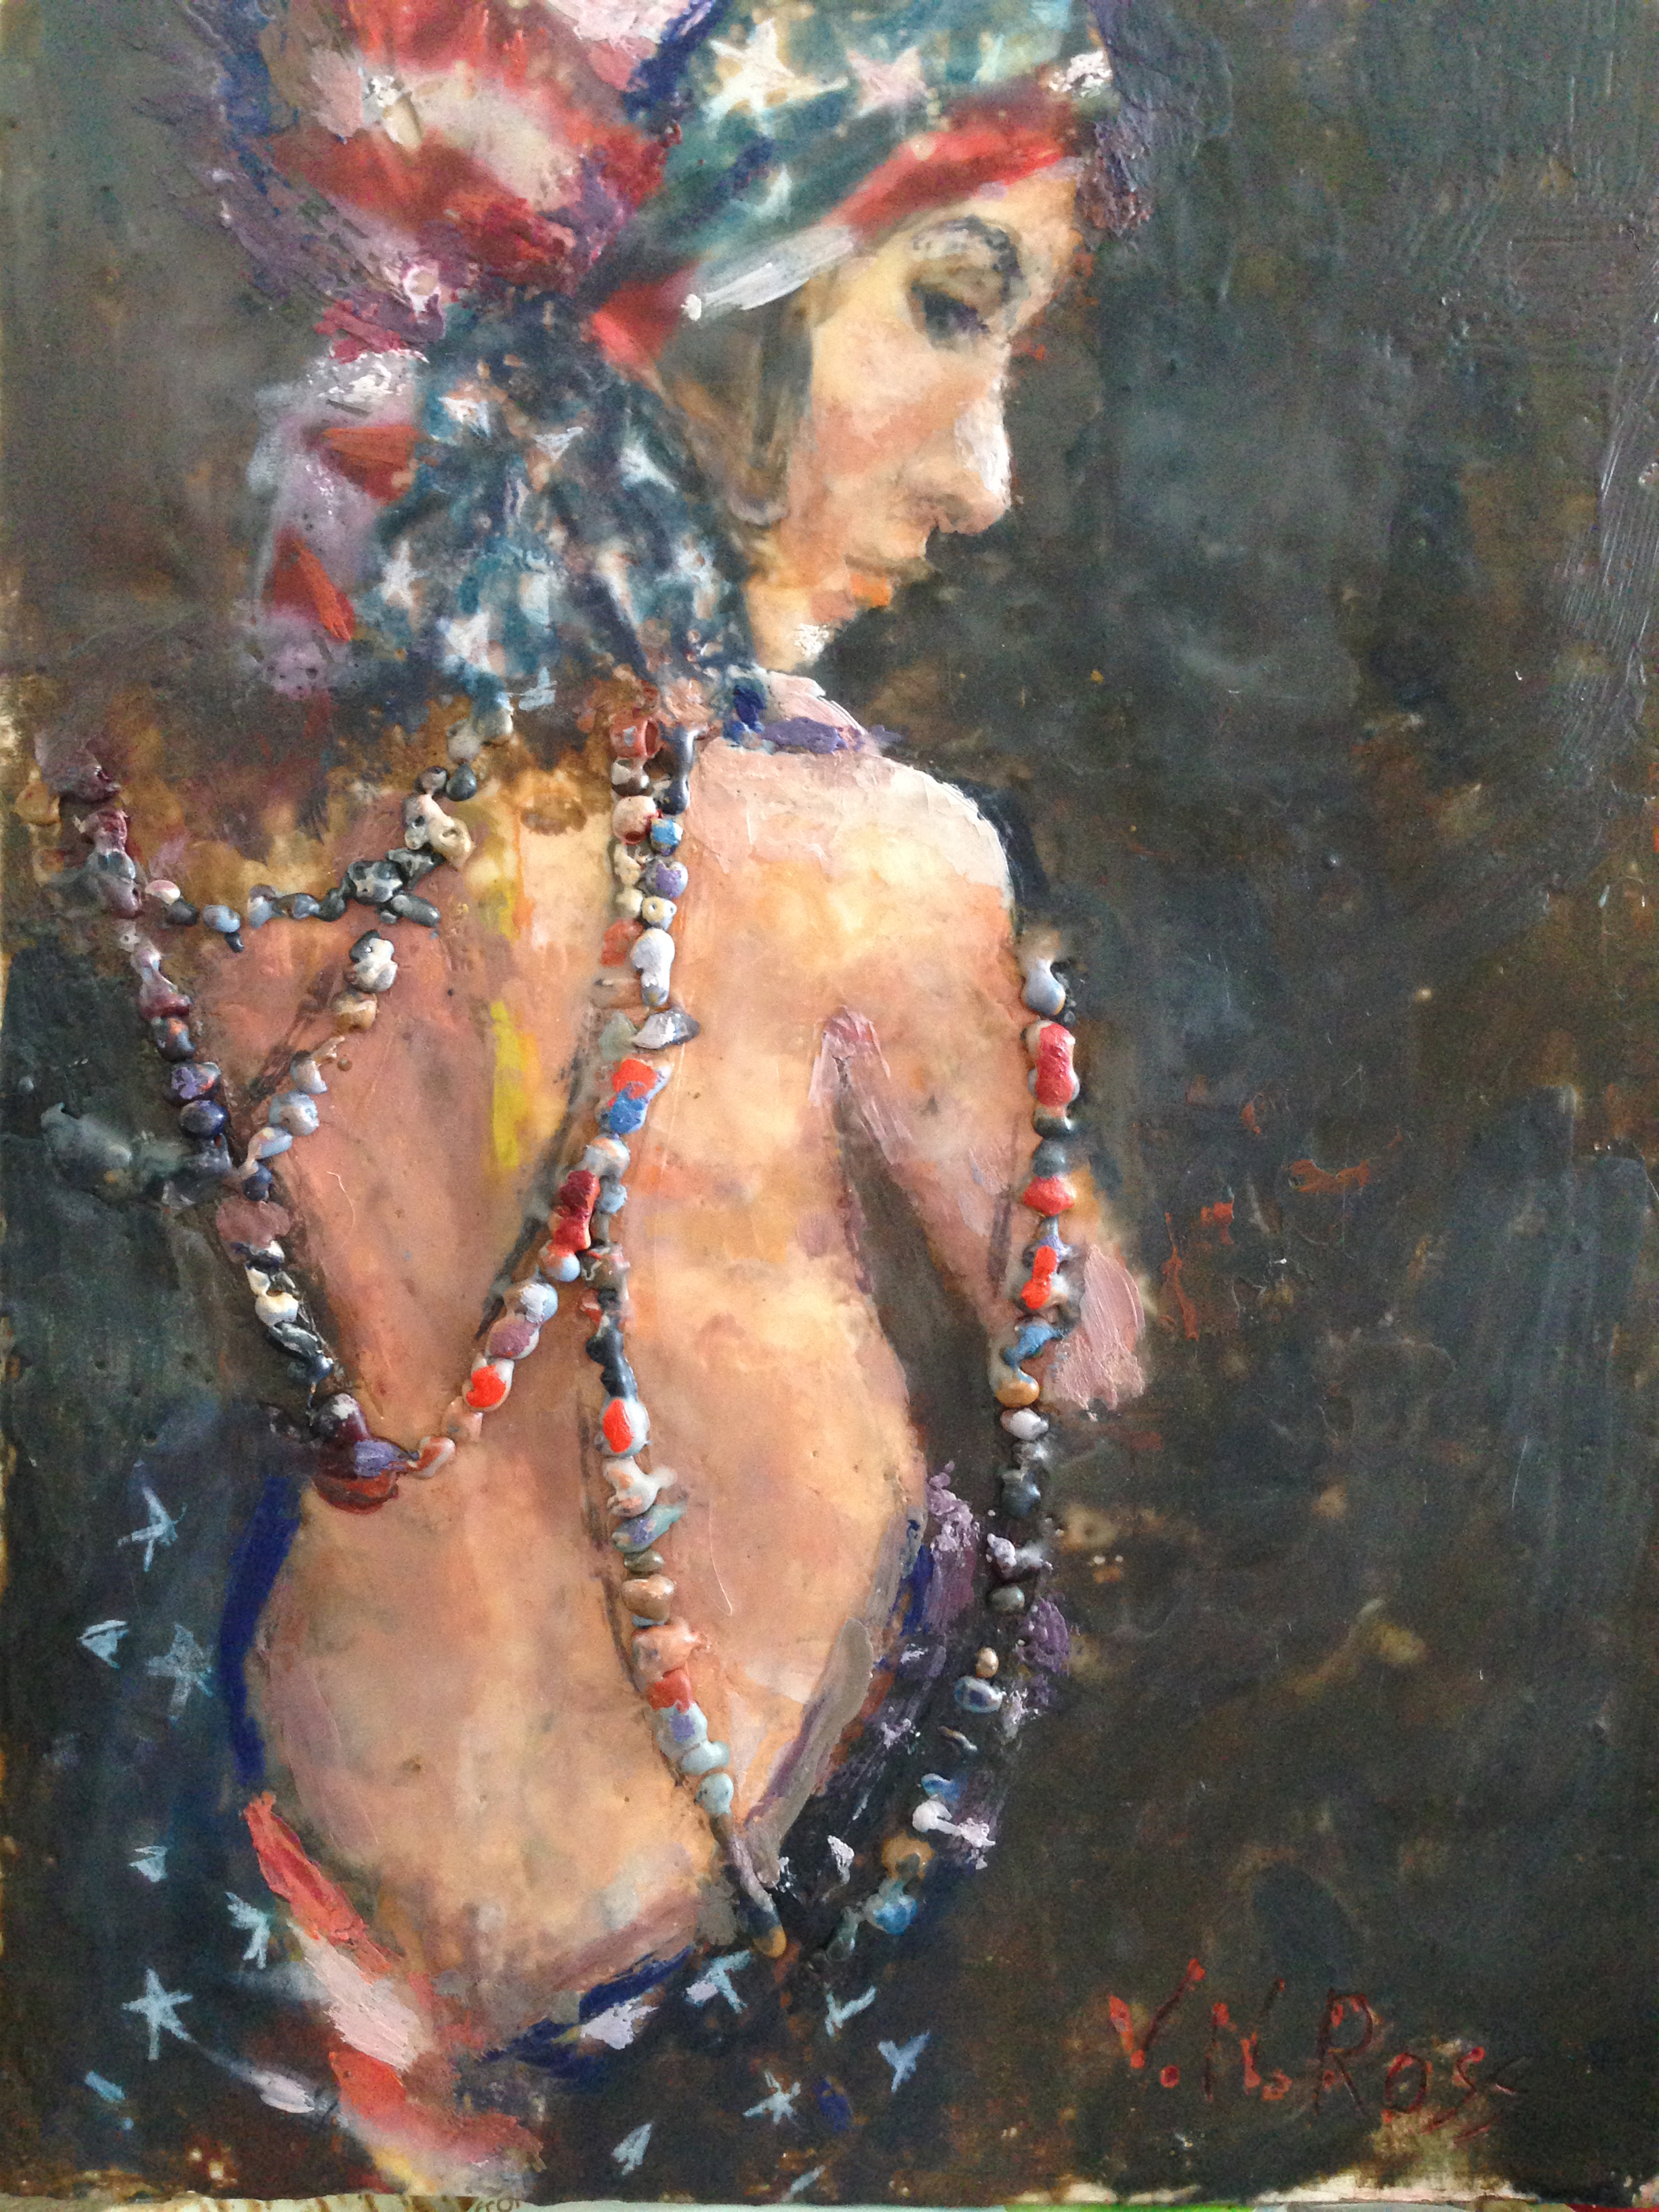
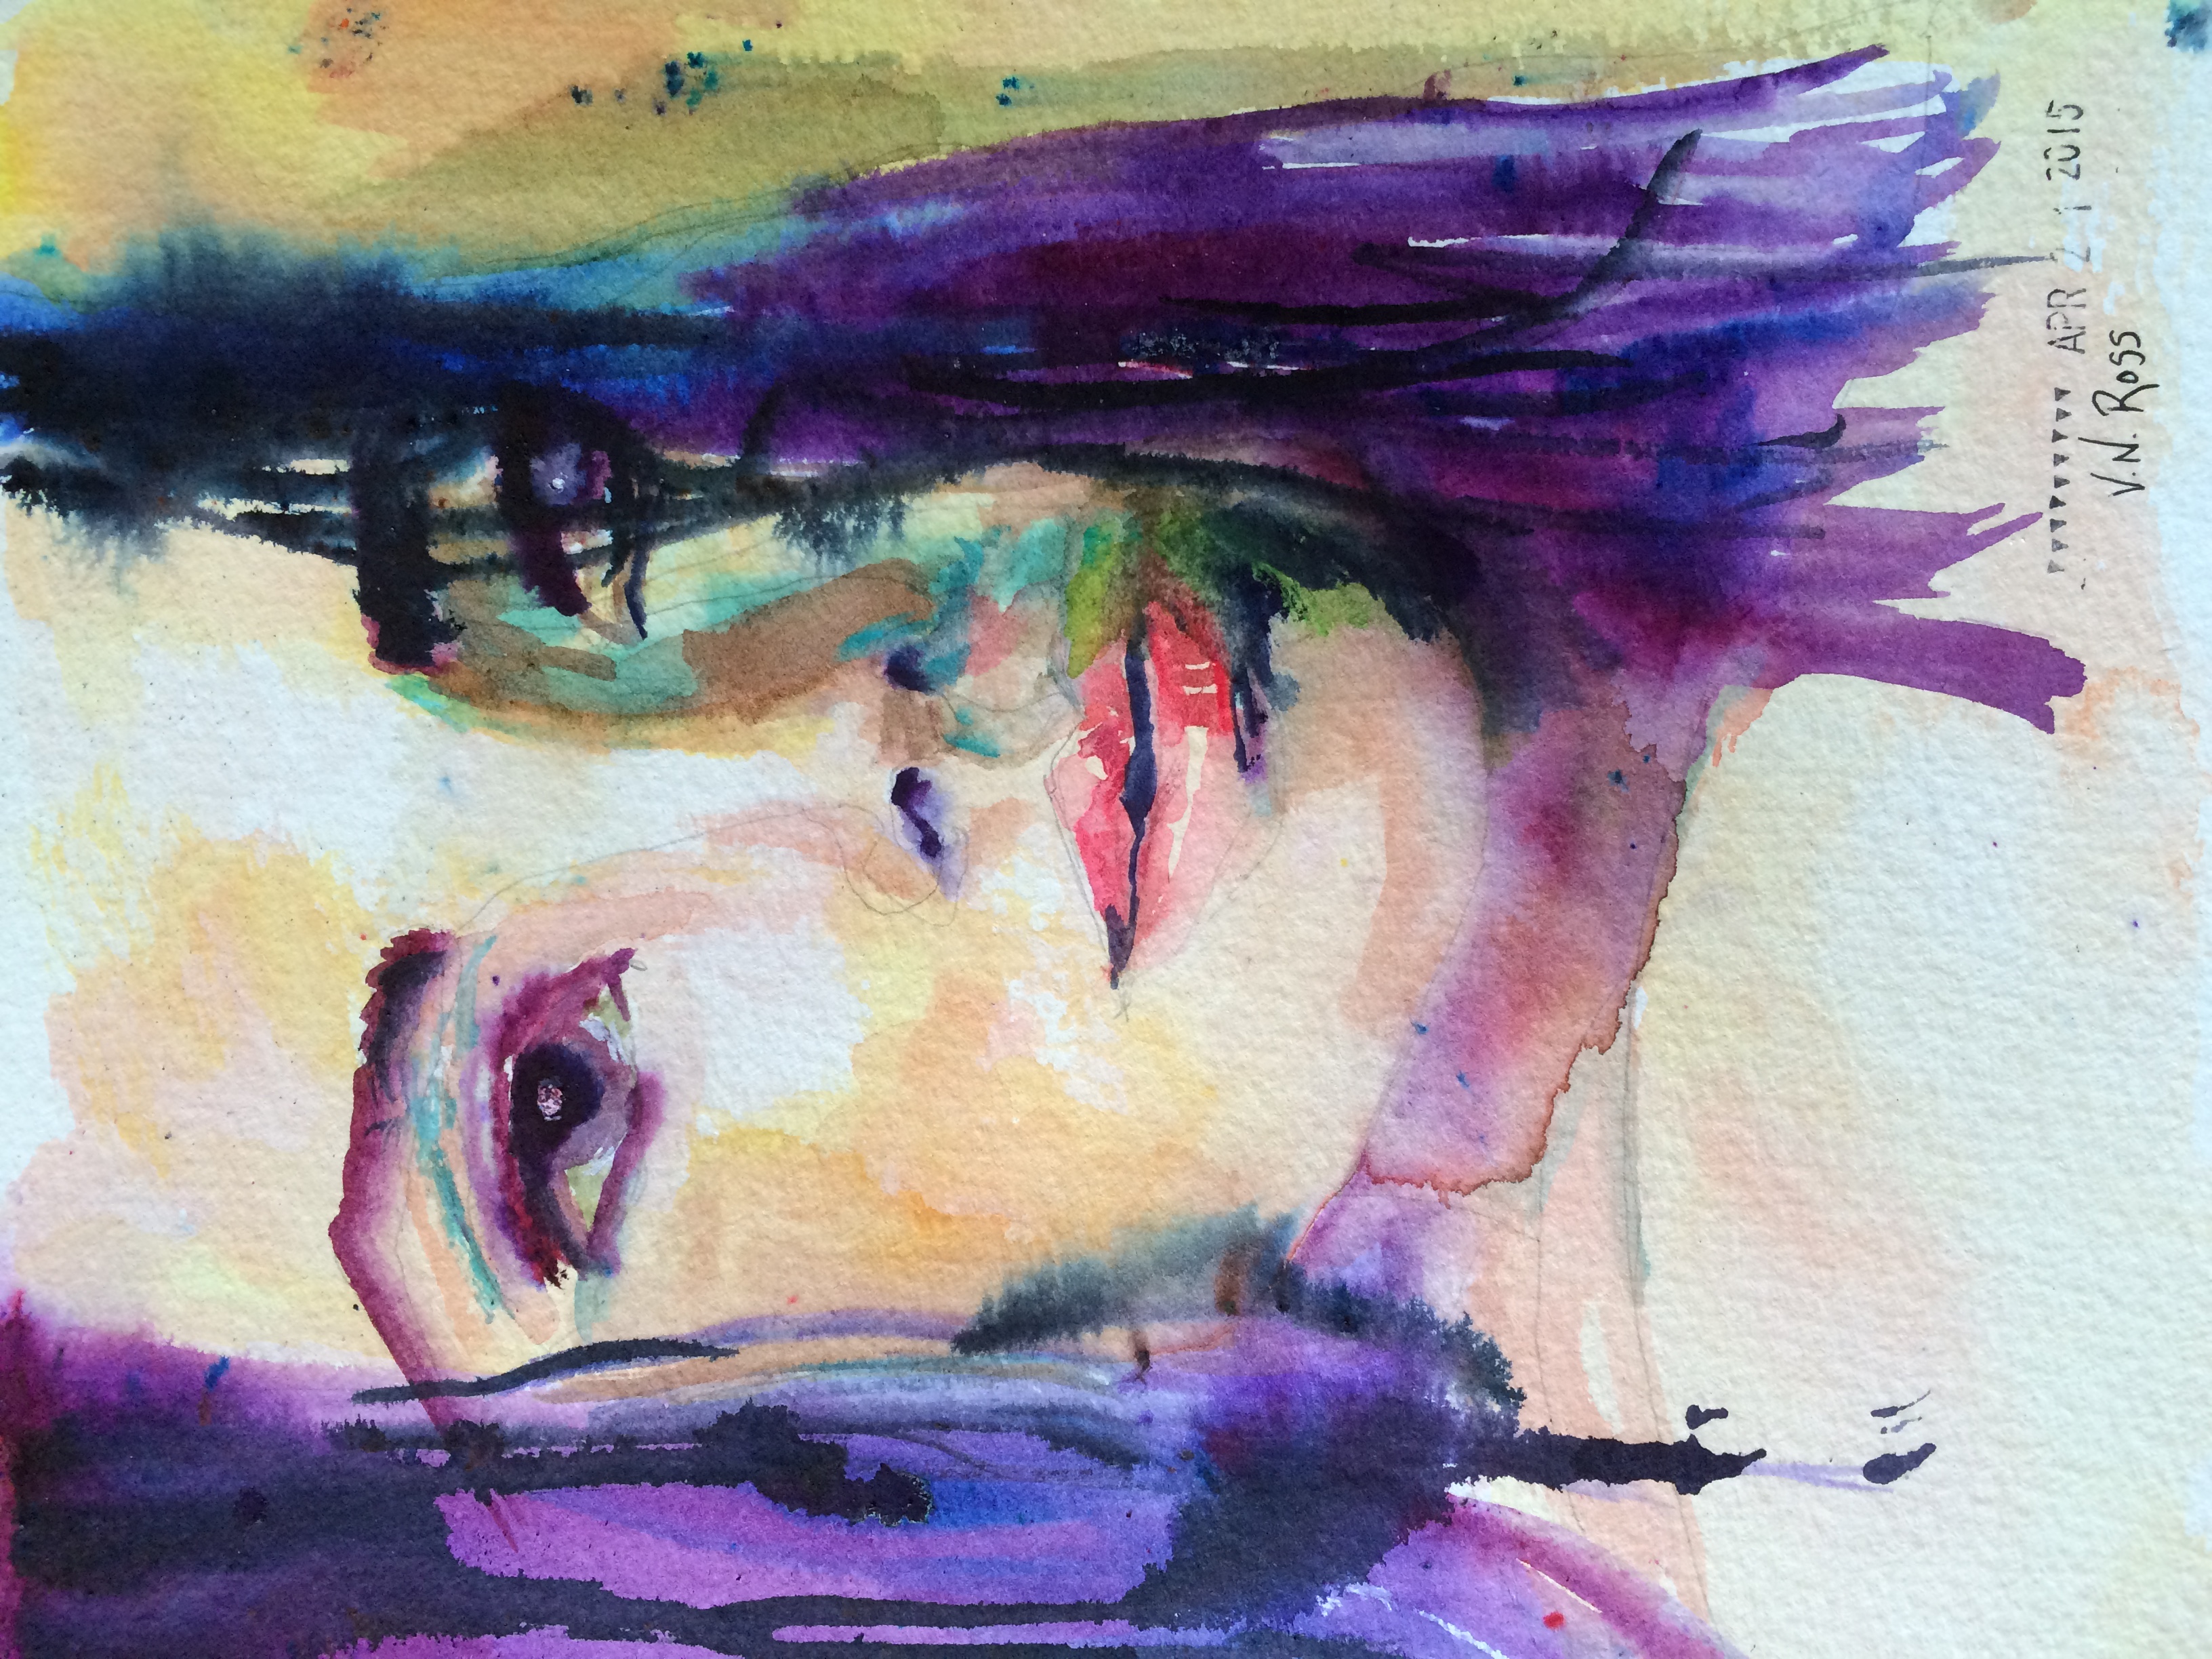
Slowly, I picked up watermedia again. Always liked doing faces, and now have a journal devoted to watercolor figurative works. Here are a few:

xxoo
An article with a practical tip: how to fix bubbles in collage.
Sometimes, even with the best practices (glue on support paper and on collage paper, squeegee) you still get a pesky bubble or two. I usually just go ahead and work over them to see how nicely they want to play with the art.
BUT, in this case, I was using a thick wallpaper for an experiment. Note to self: Heavier paper may not cooperate when glued to lighter paper. Since the play was with the wallpaper, I made it work.
Here is one solution: LINK TO VIDEO Be sure to share and comment!
xxoo
Kara Beth is a new friend on Google+, and is very eager to crawl in my head and learn what is there. Might impossibly scare her :) I had a student once who said if she could just find where to put the cable in my brain so she could download what is there. I convinced her she'd have to take it all...not just the art stuff, so she quit looking.
Her blog is Art+Java in the morning, and she has done some very good artist spotlight articles. I'm pleased to answer her questions.
Here is the link. Please subscribe to her blog and leave any comments so she and I will both there is someone out there.
xxoo
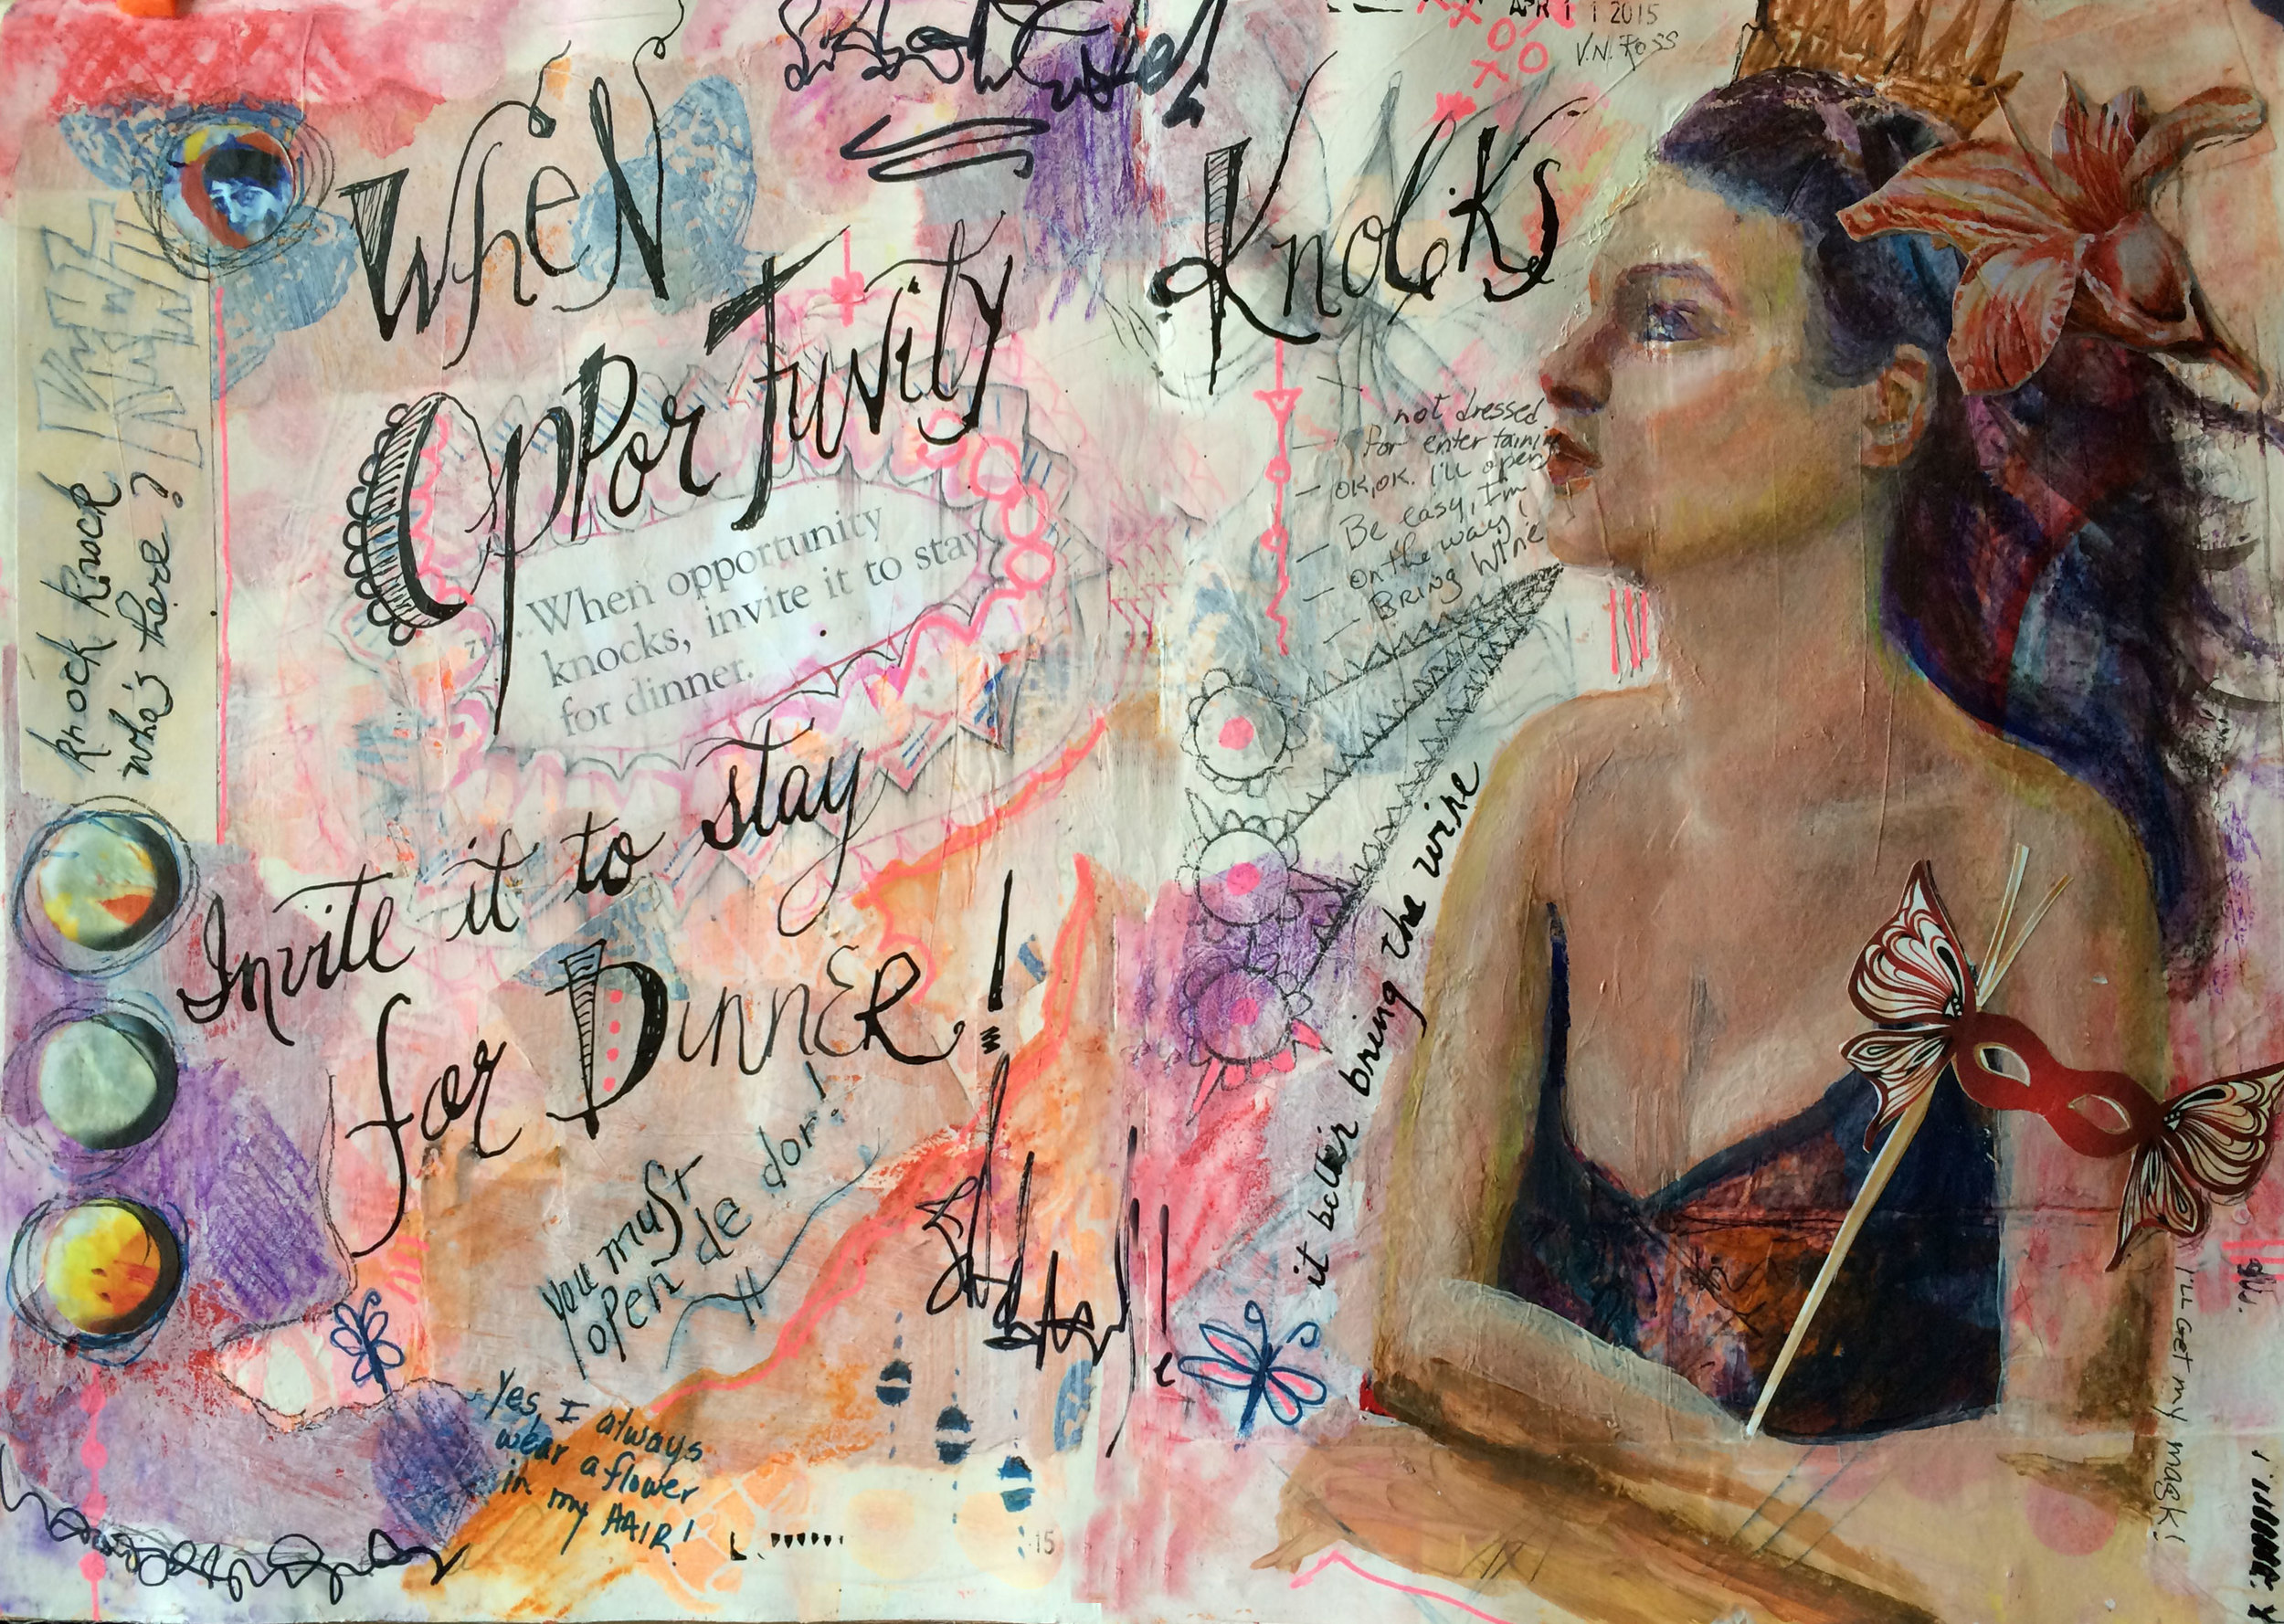
I am SO glad I took up art journaling! It gives me an excuse to PLAY, really play! New materials, wonky ideas, practice techniques and methods. Even got out my first love, watercolor, last week.
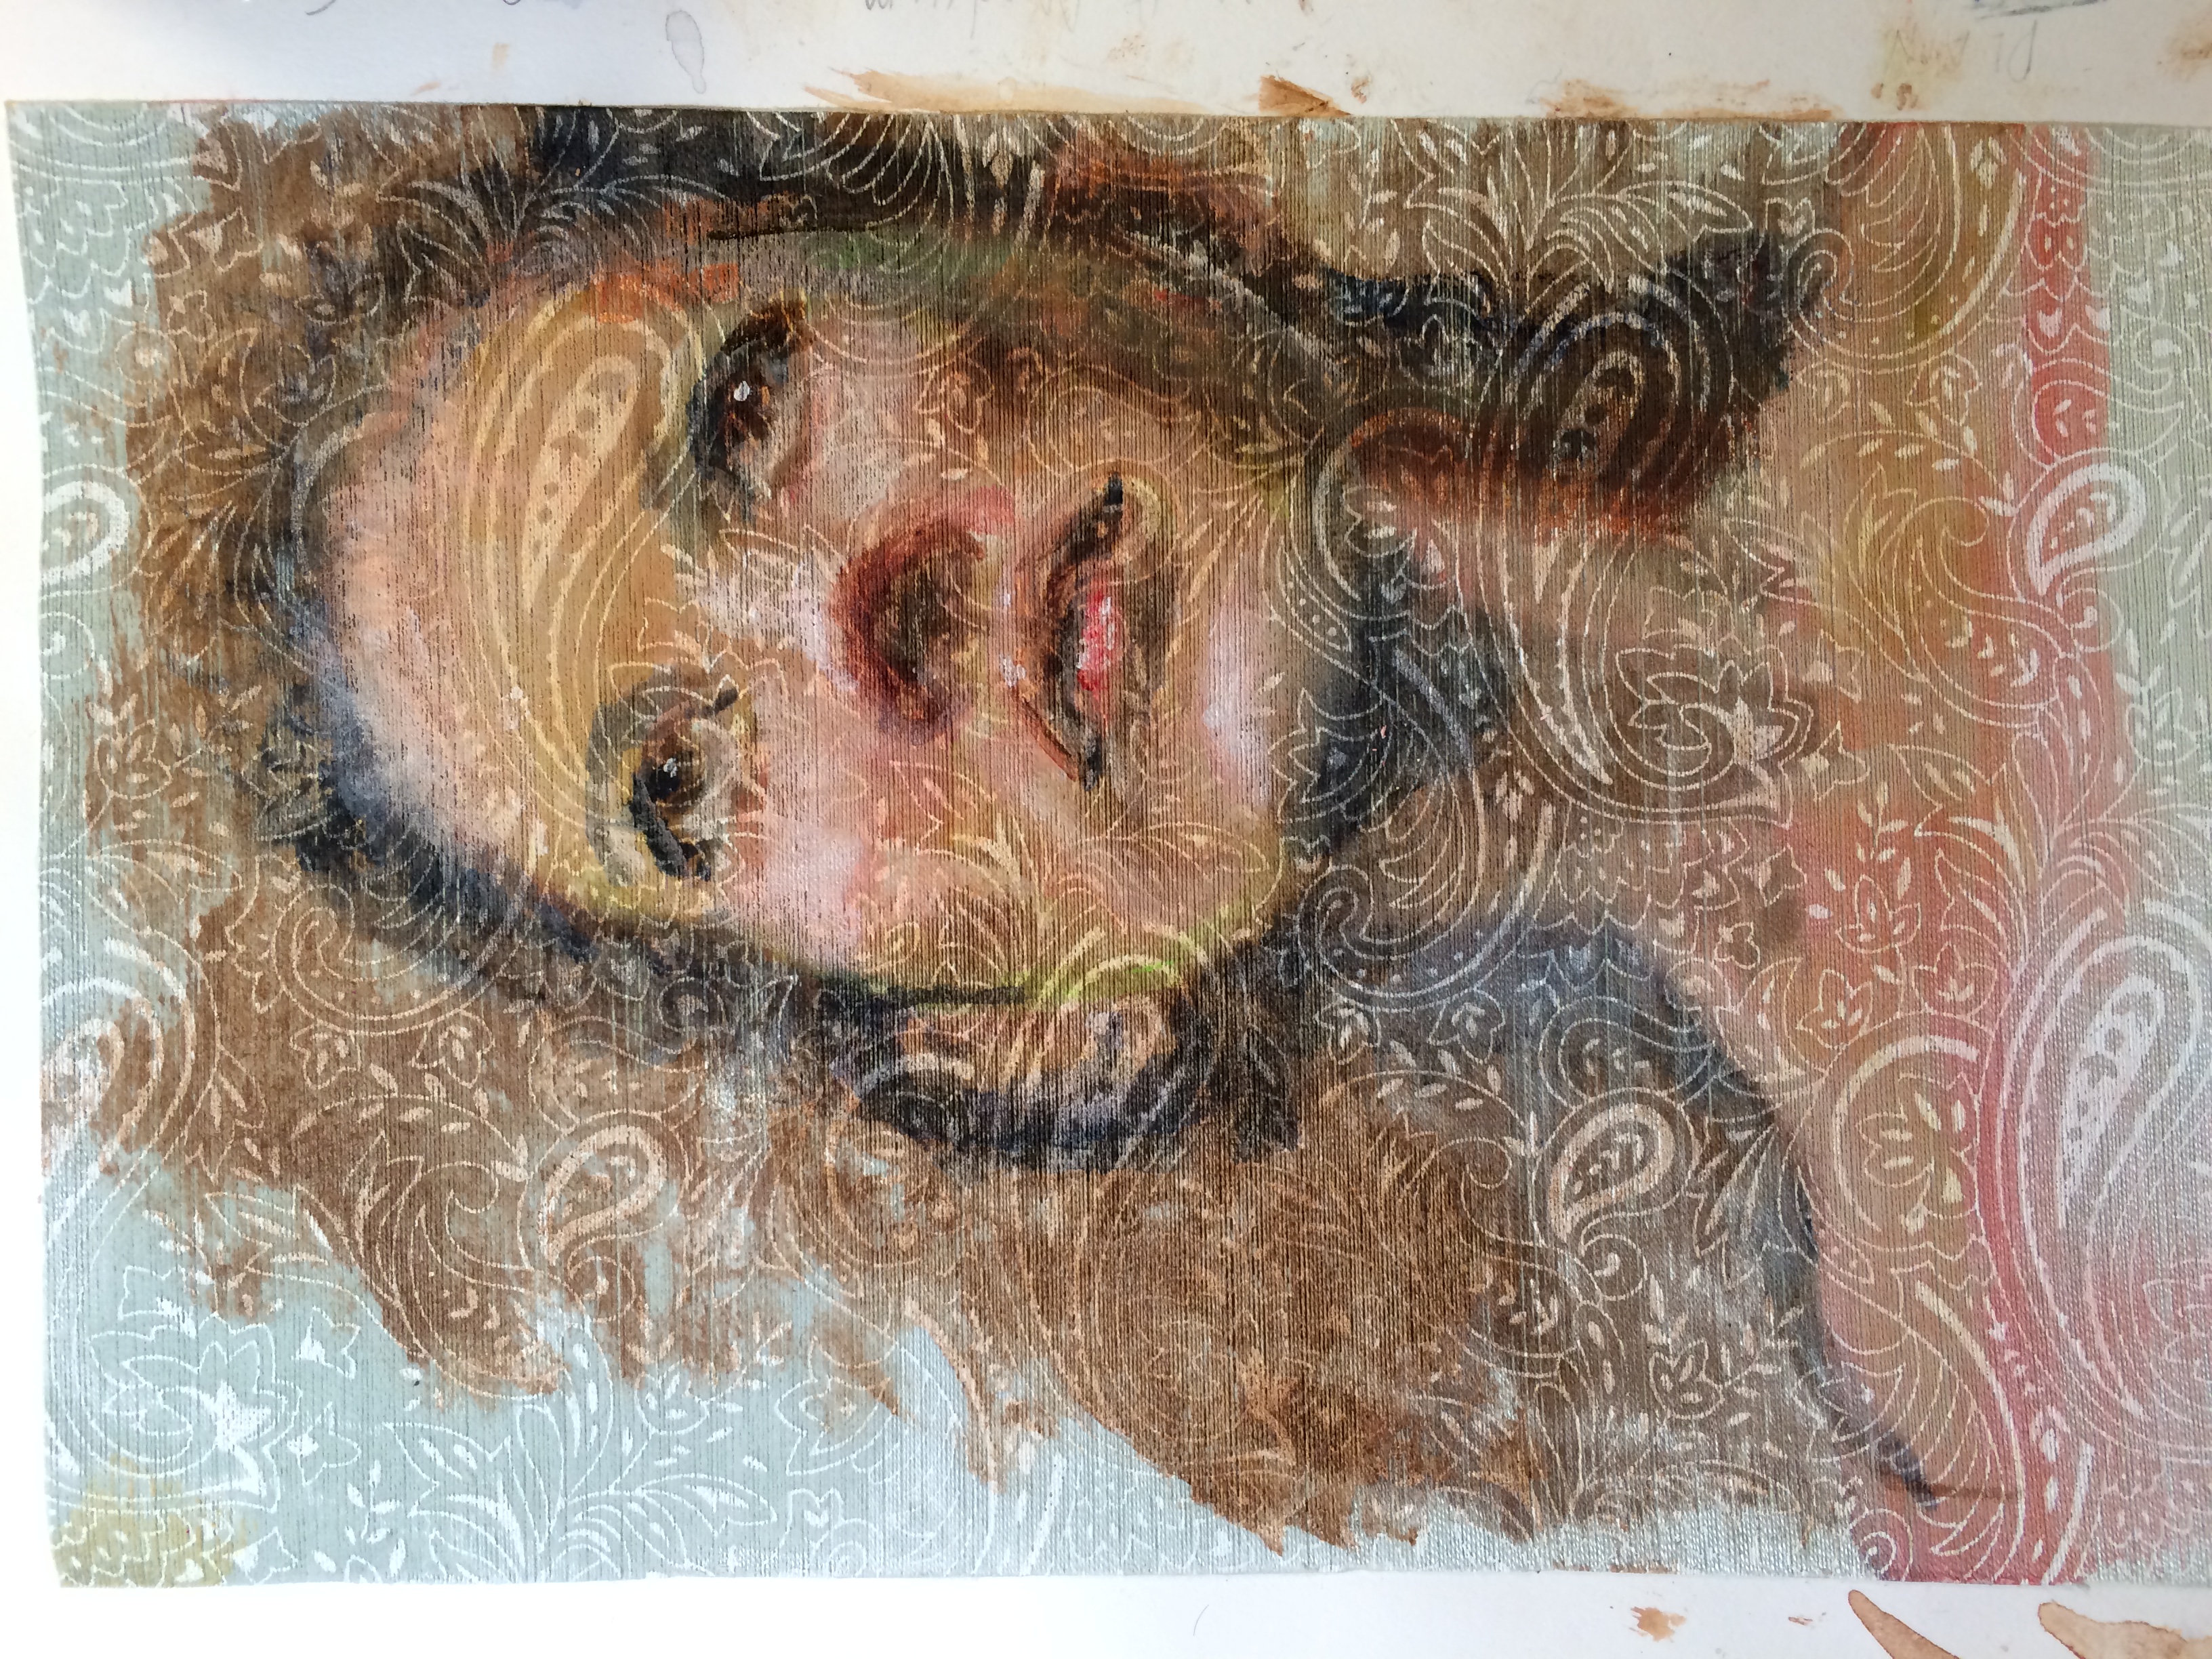
Had a request from a google+ community member for a video explaining how I achieve my skin tones. The pieces in question were more illustrative than painting, so I pulled out my most familiar color techniques.
As part of this new adventure, I am participating in some great online workshops. This was for one of the weekly suggestions from LifeBook 2015. I highly recommend this year long resource! I've found that all my study and tutoring in fine art meshes beautifully with mixed media.
In these videos, please keep in mind that I was merely showing a few techniques to achieve skin tones, not to paint the perfect face. Had I been doing a 'real' painting, it would have taken much longer than an hour or so.
Enjoy! Subscribe to my YouTube channel to stay on top of what Wicki is doing.
xxoo
Wicki is guest designer today on StencilGirlTalk!