
"Beauty" in Water Media

"Beauty" Watermedia on Fabriano 140# cold press
I filmed this demonstration for ColourArte, home of Twinkling H20's and Primary Elements and Silks, AND the new Vivids! www.Colourarte.com. The video is in more detail, HERE, and I have written out some instructions below.
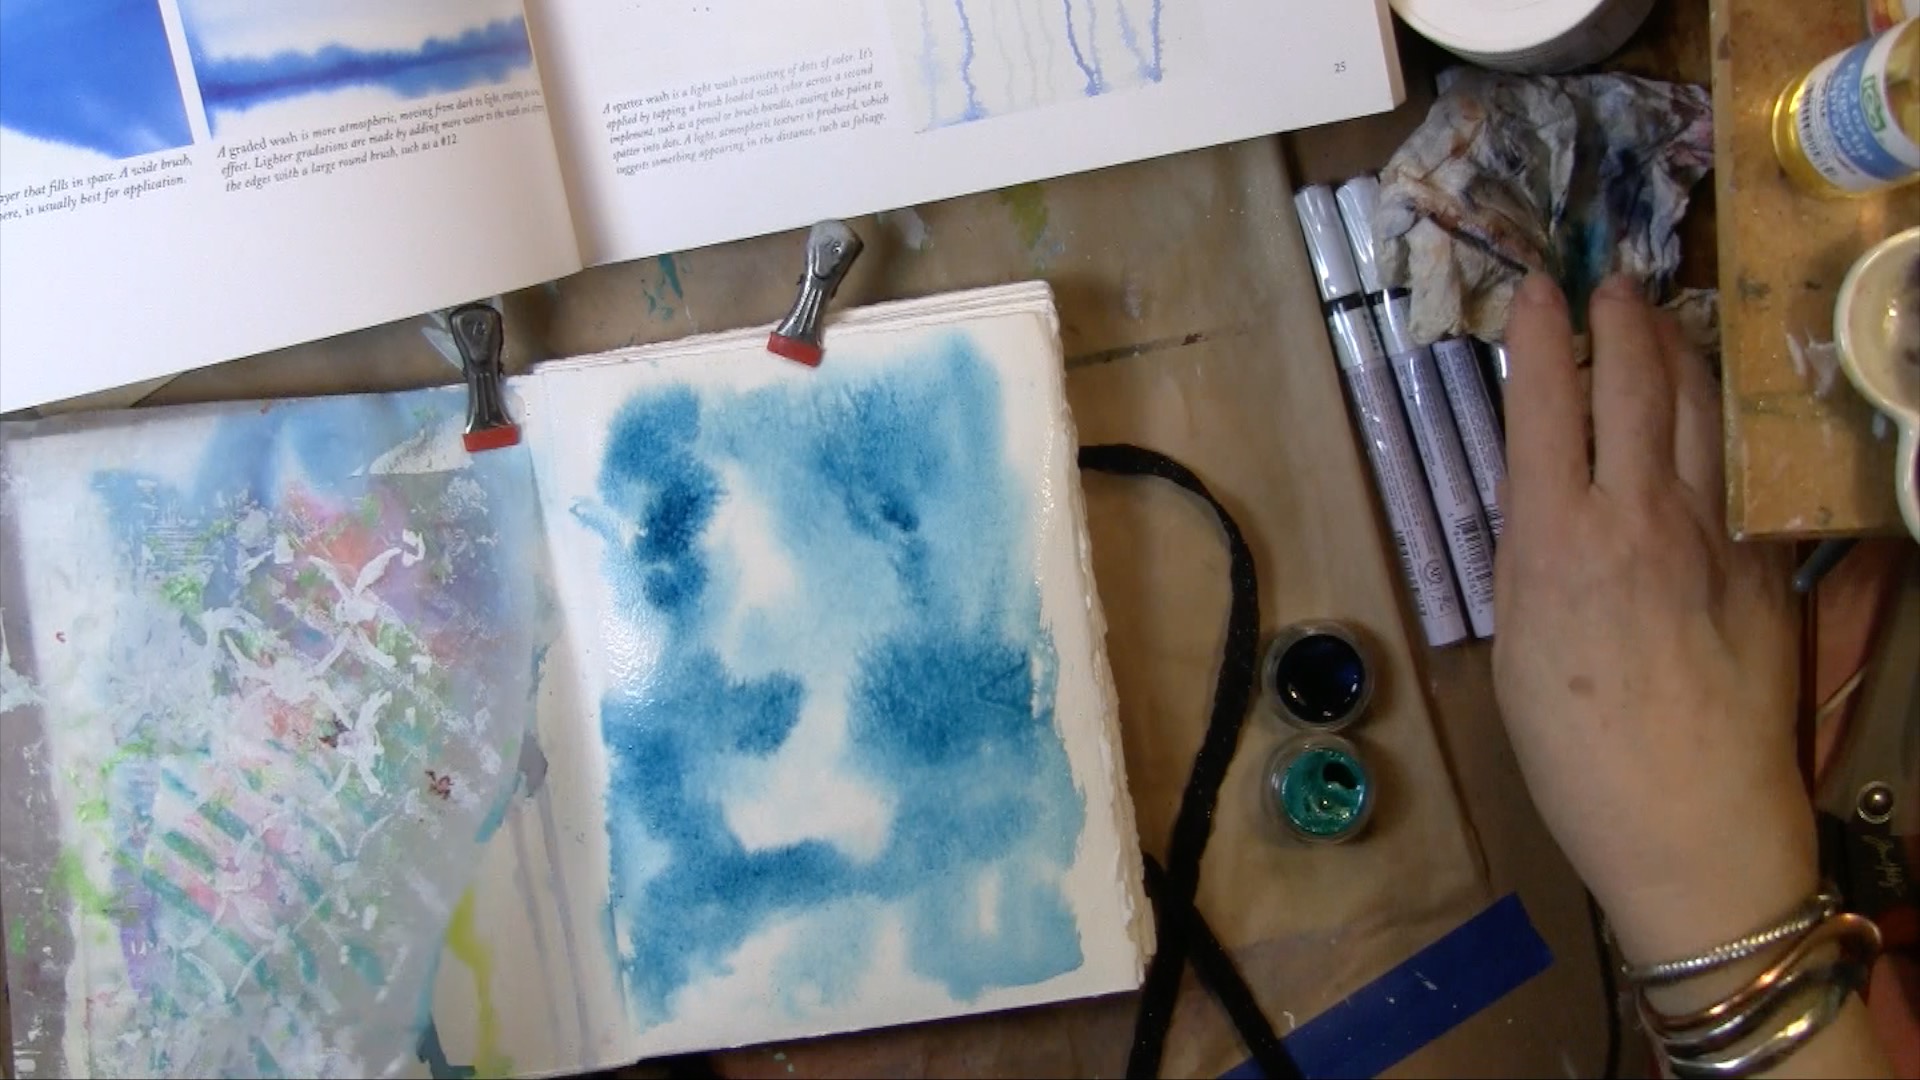

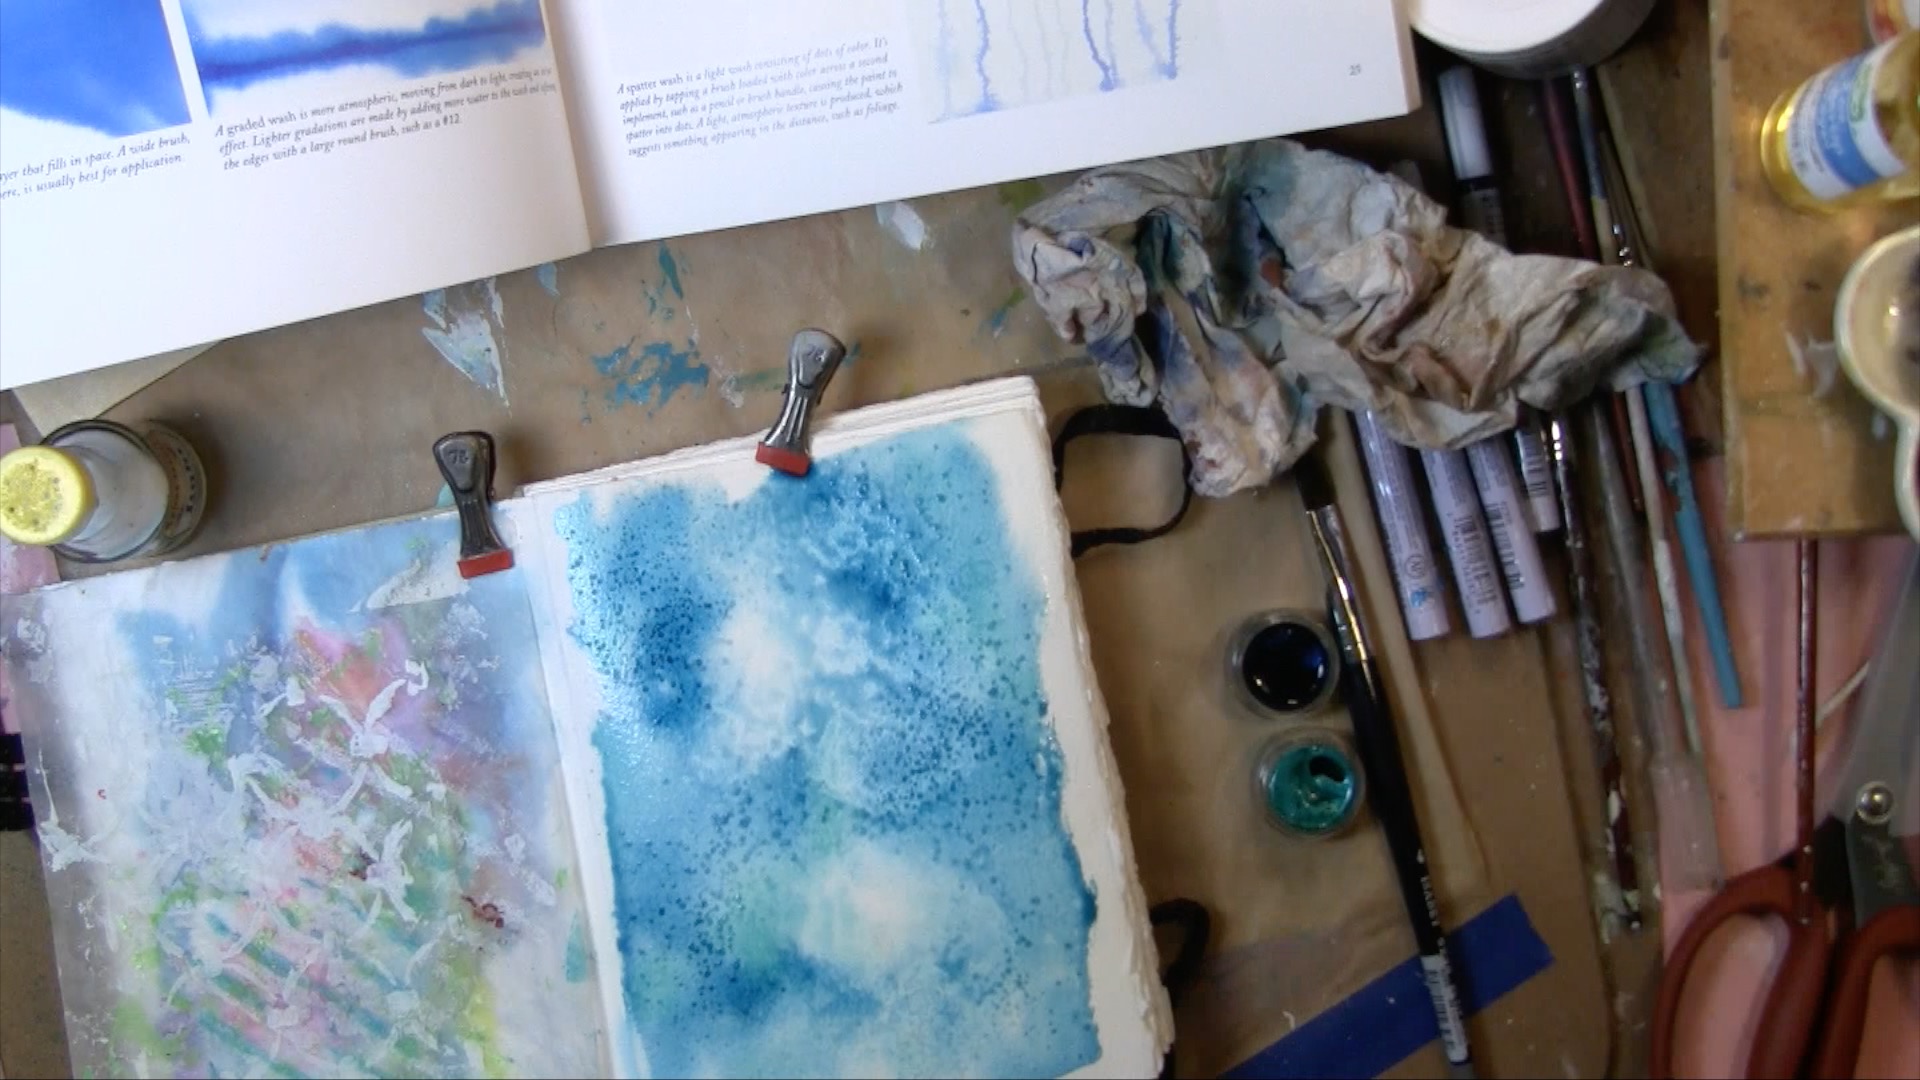
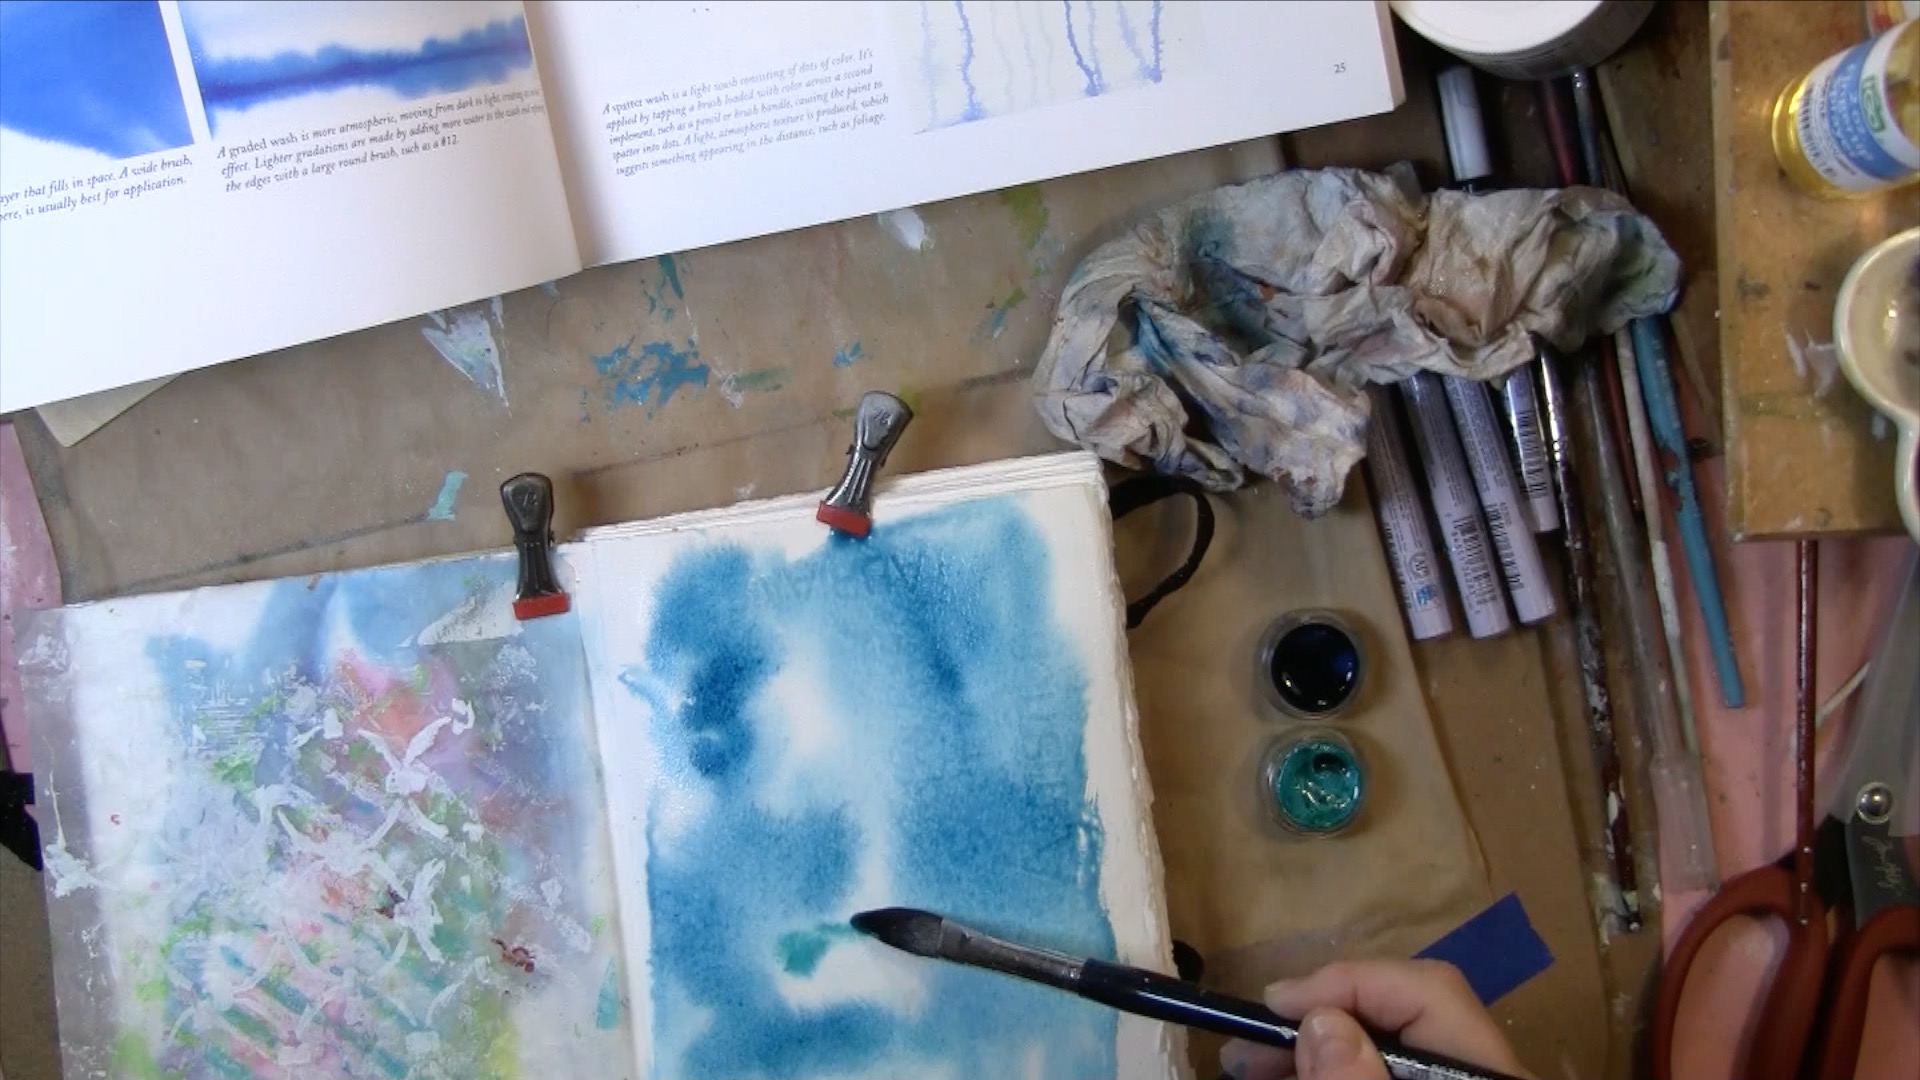
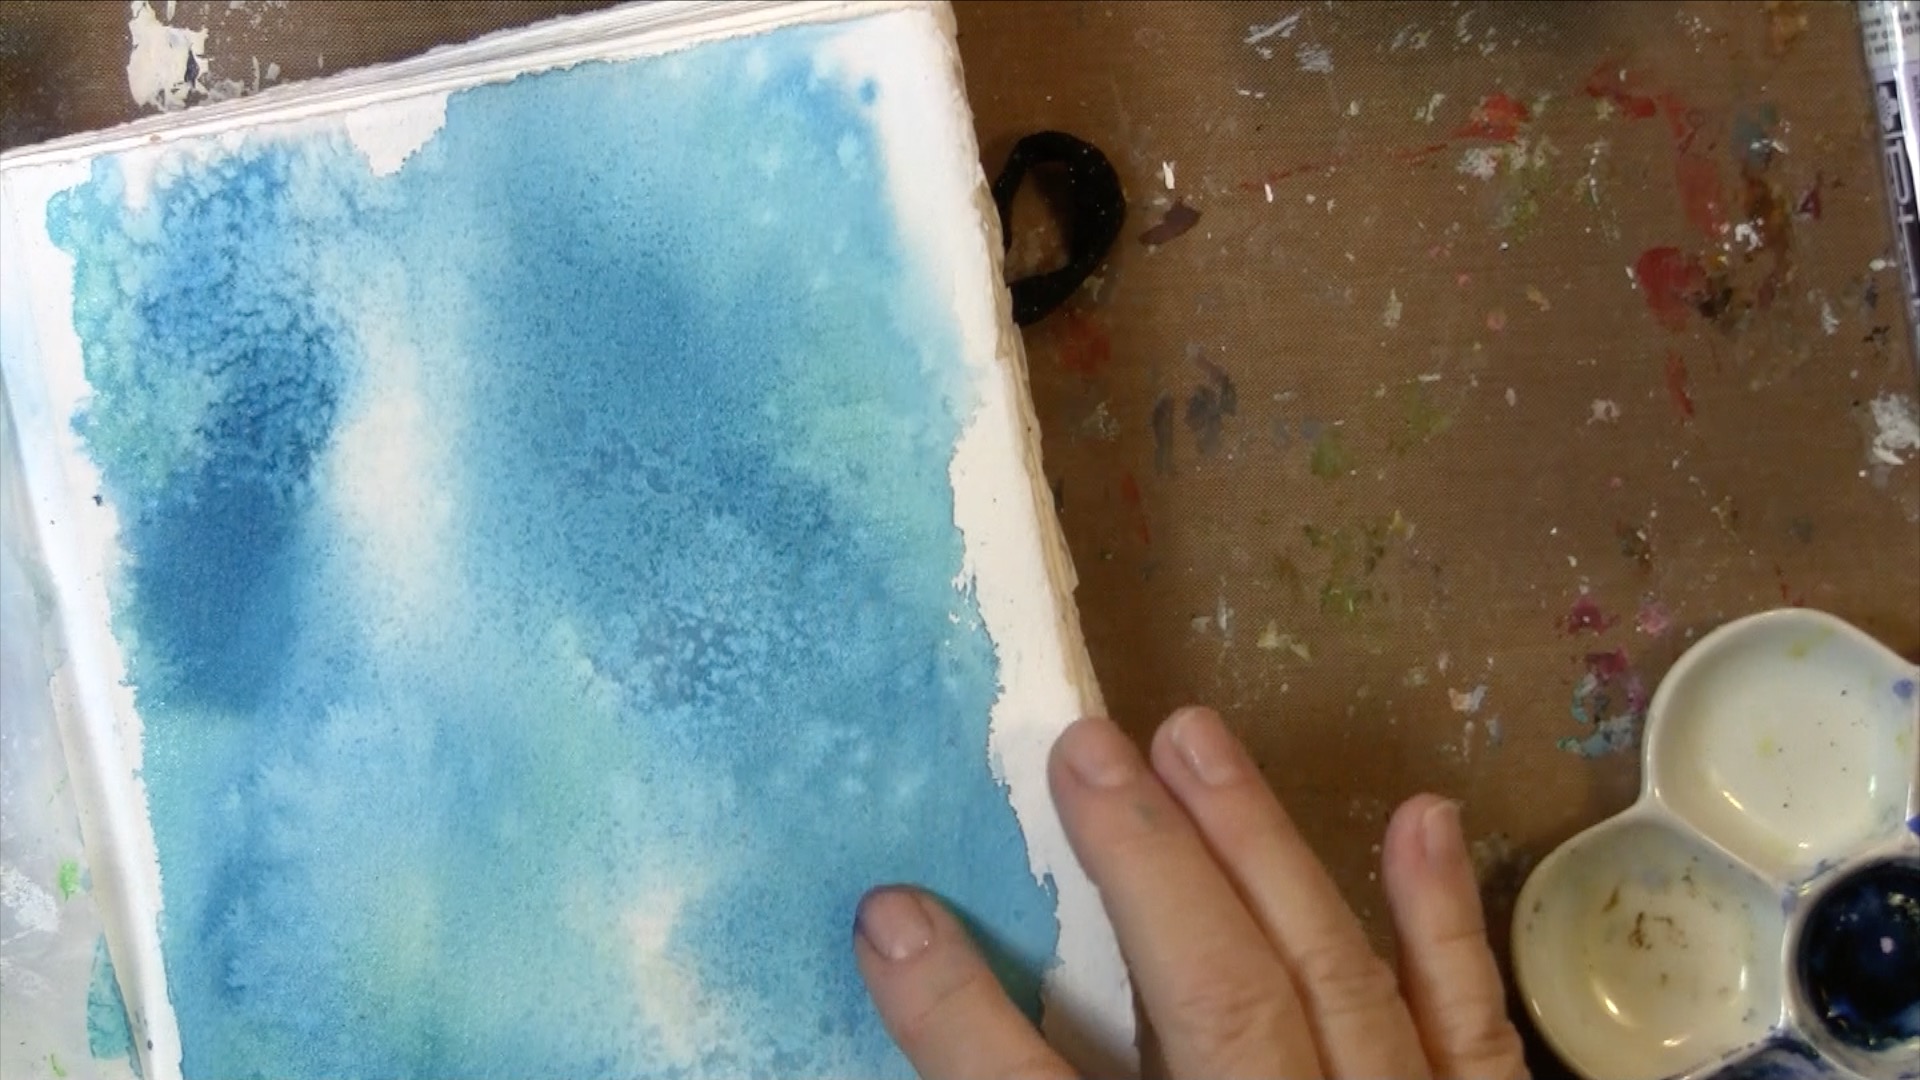
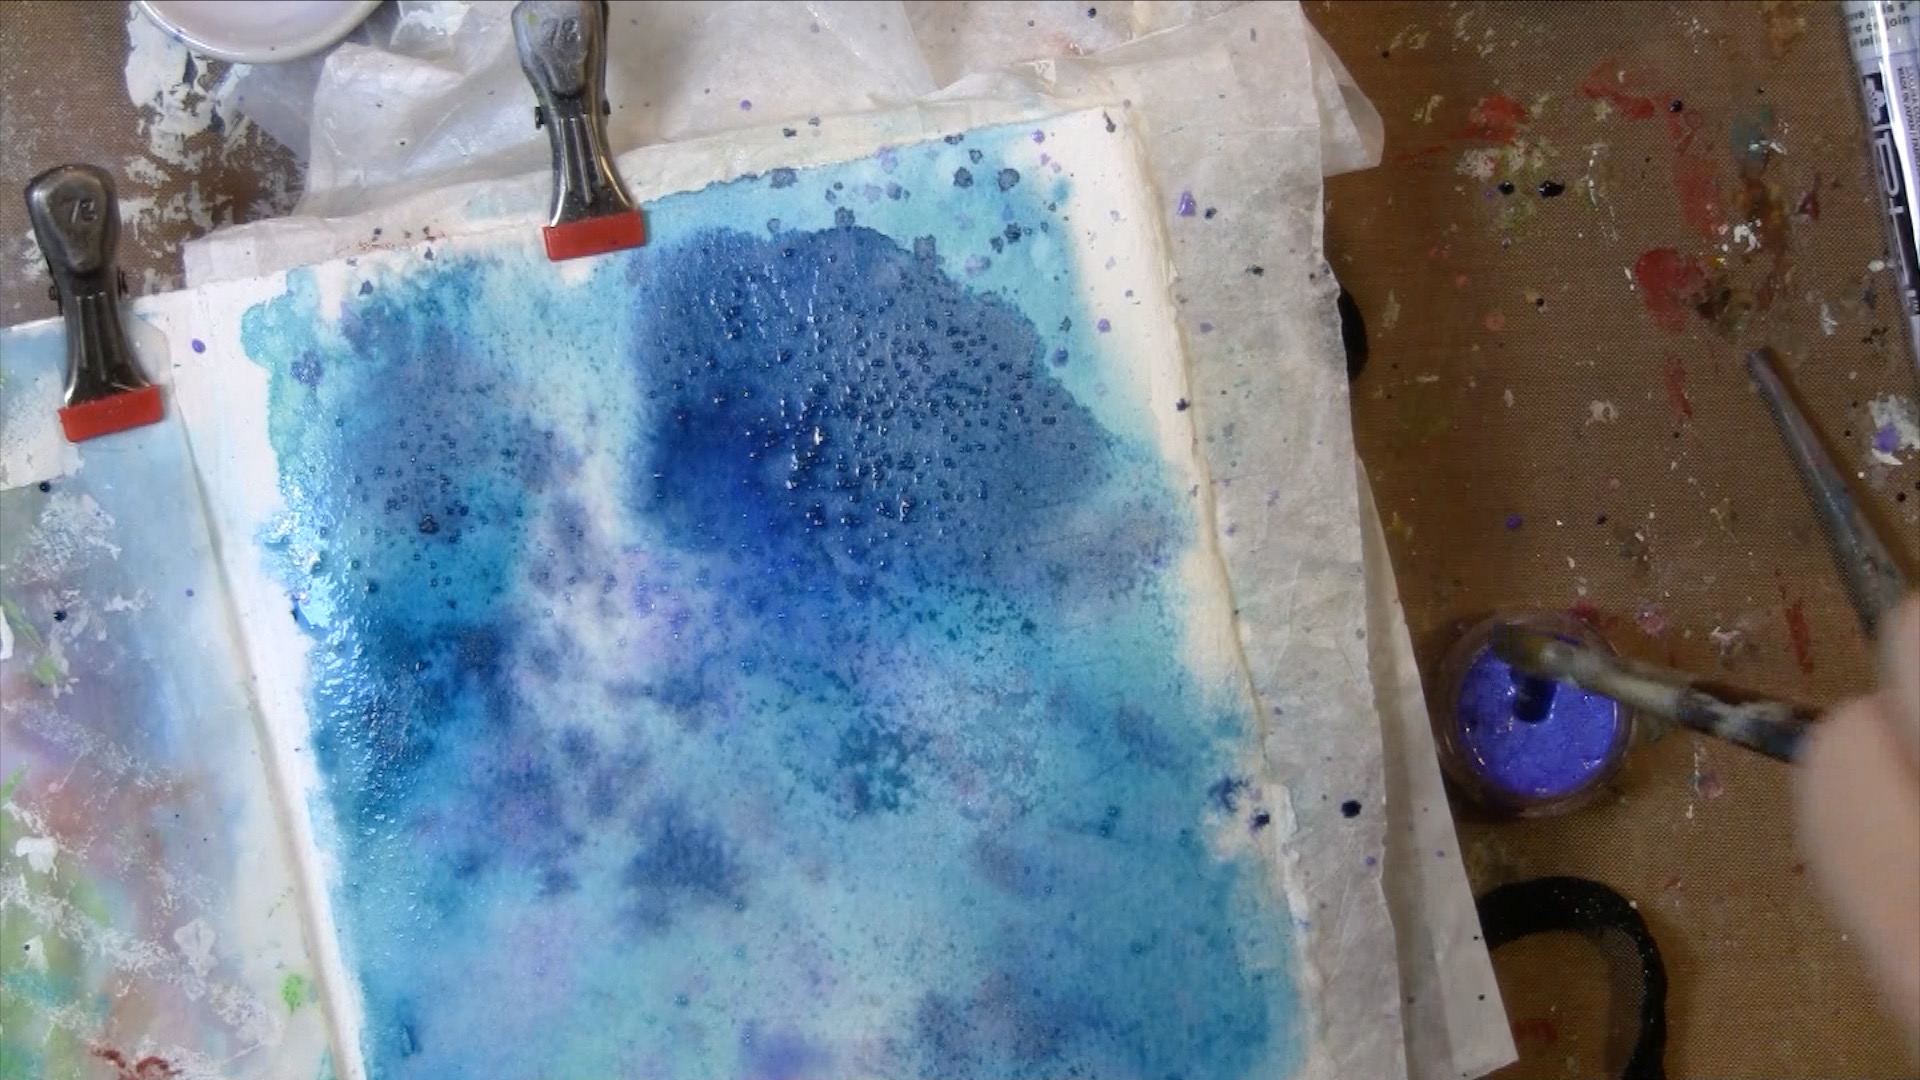
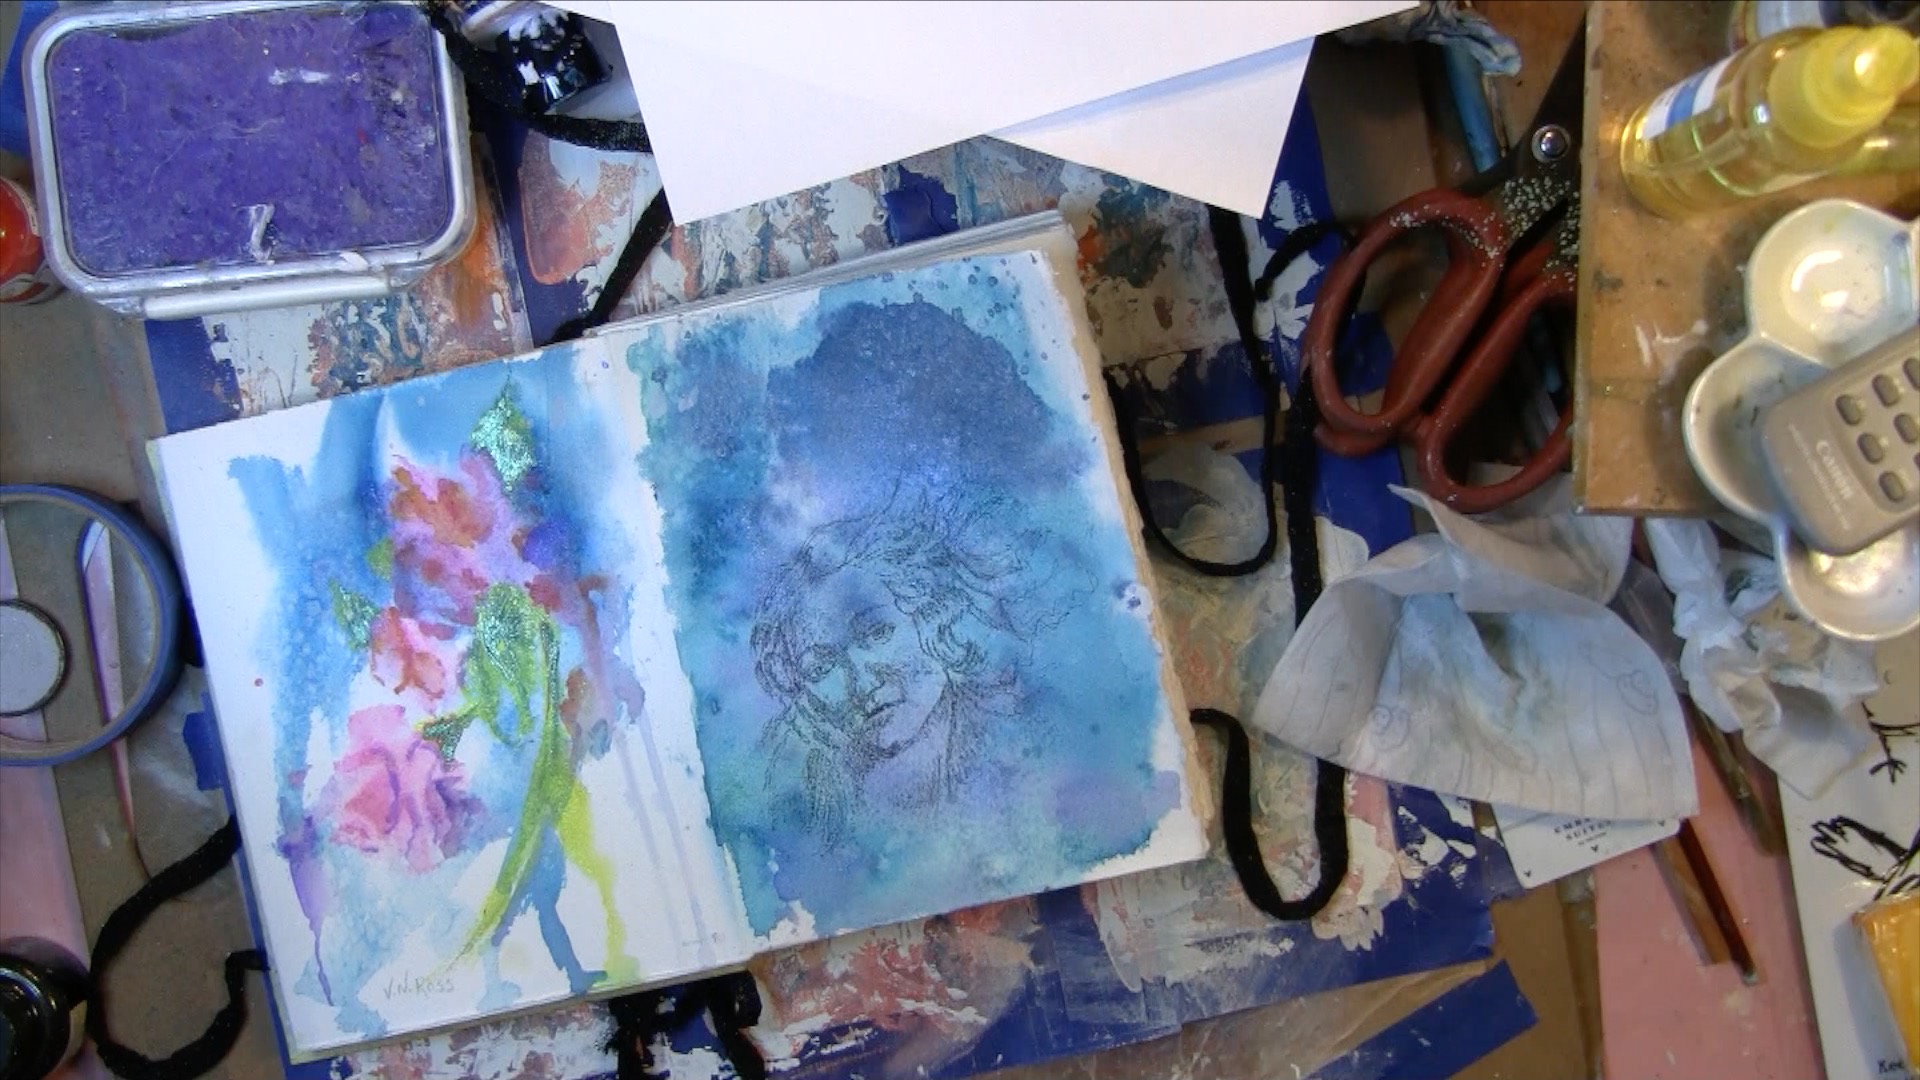
Step One: With clean water and a large brush, thoroughly and gently wet your paper. DON'T scrub. When the puddles start to disappear, the paper surface will begin to have a dull shine. Drop in some random marks of Twinkling H20's in Teal Zircon and Meridian Blue. Let the water and the color travel wherever they want. Use your brush sparingly. This will give you an organic look. In some places, the colors will have their own individuality, and in some places they will co-mingle to form other colors.
Step Two: I use some 91% isoprophl alcohol and table salt to make additional marks. Let this dry completely, then brush off the remaining salt. I carefully wet the paper again and reapplied more intense spots of the colors.
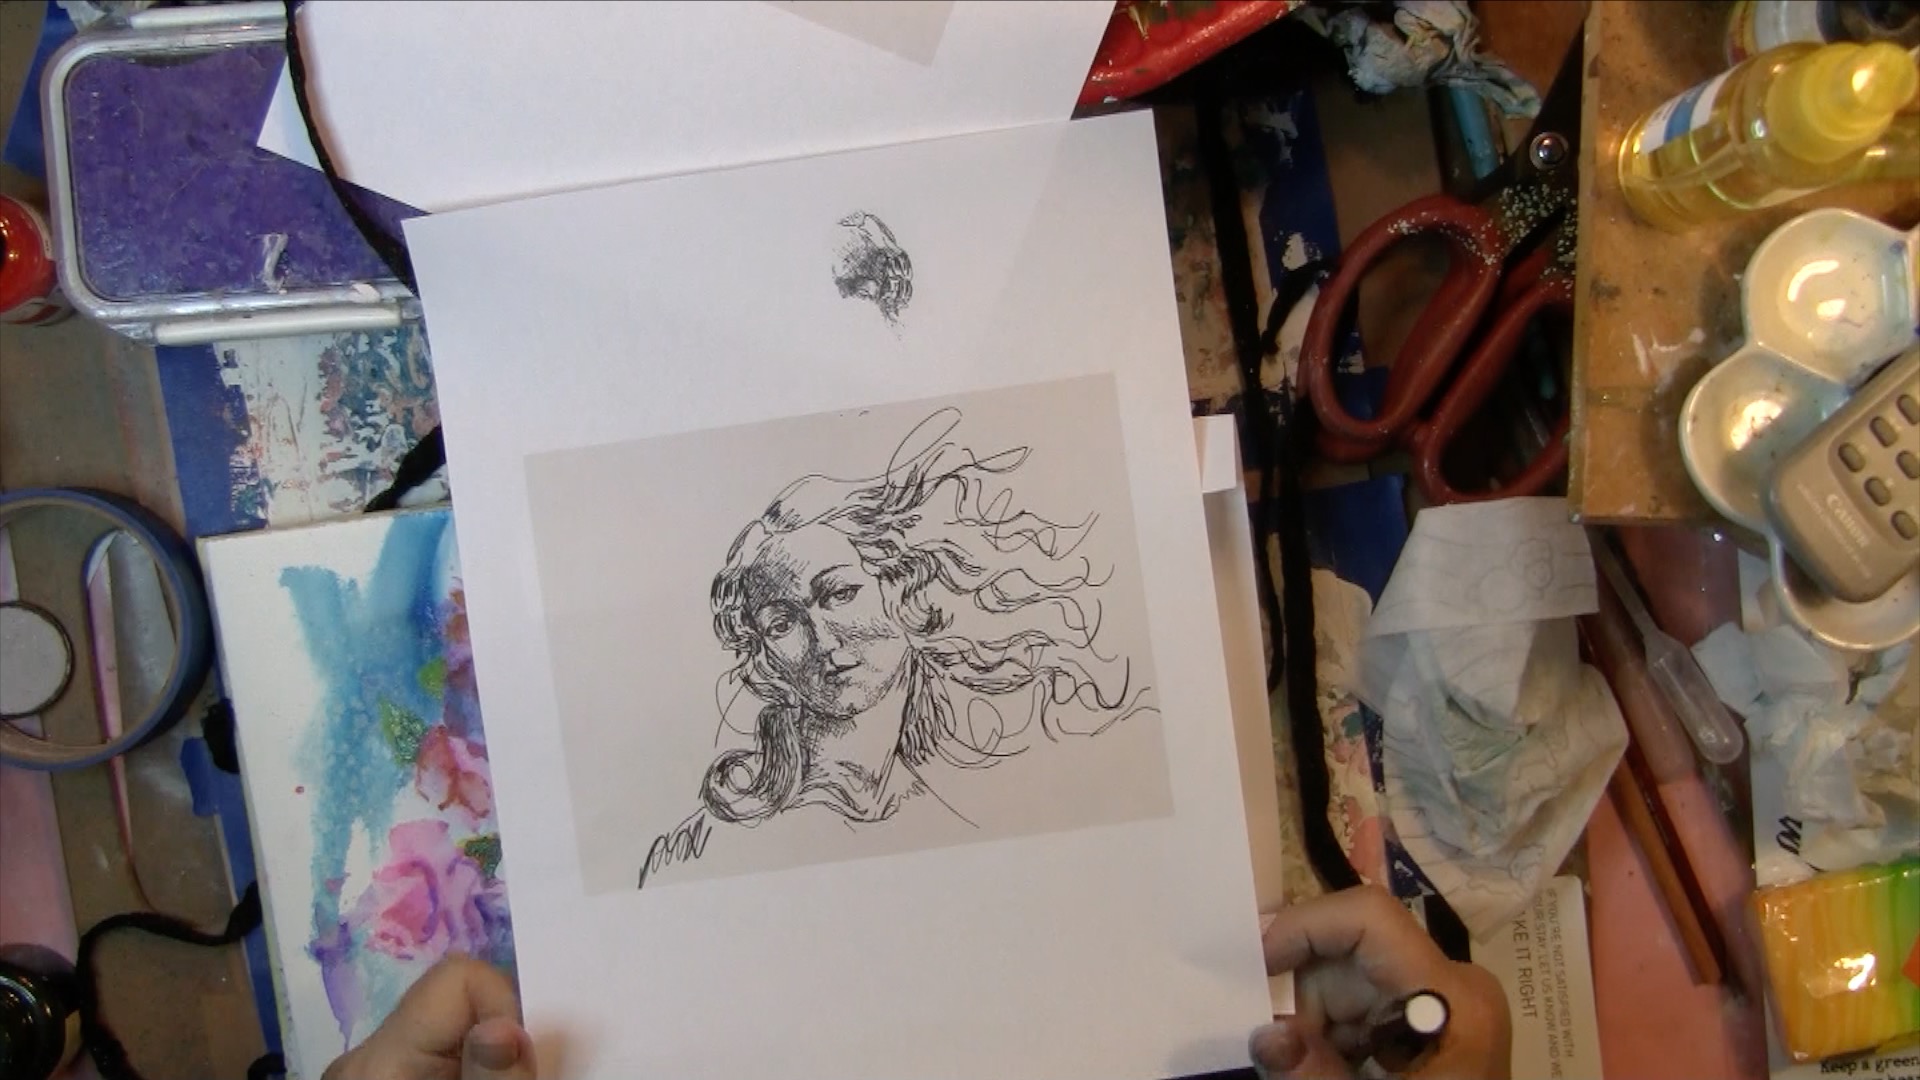
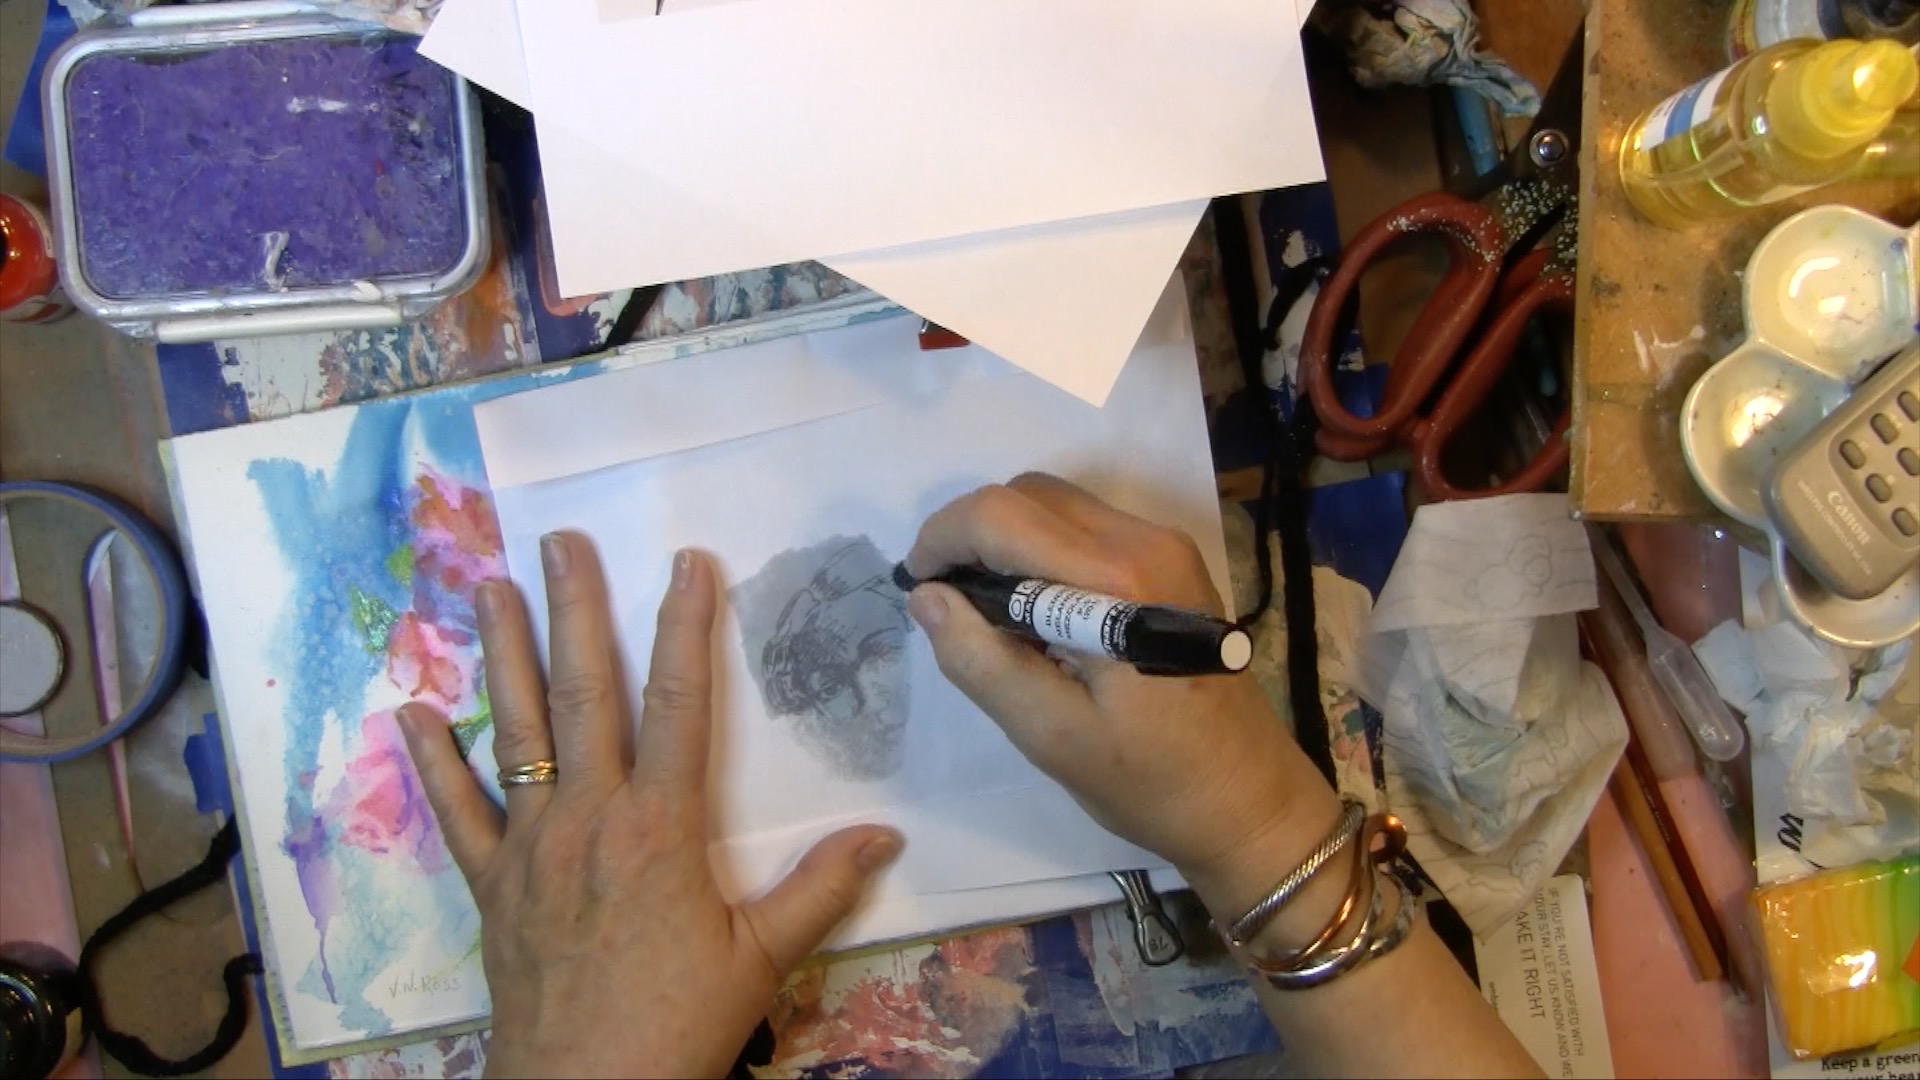
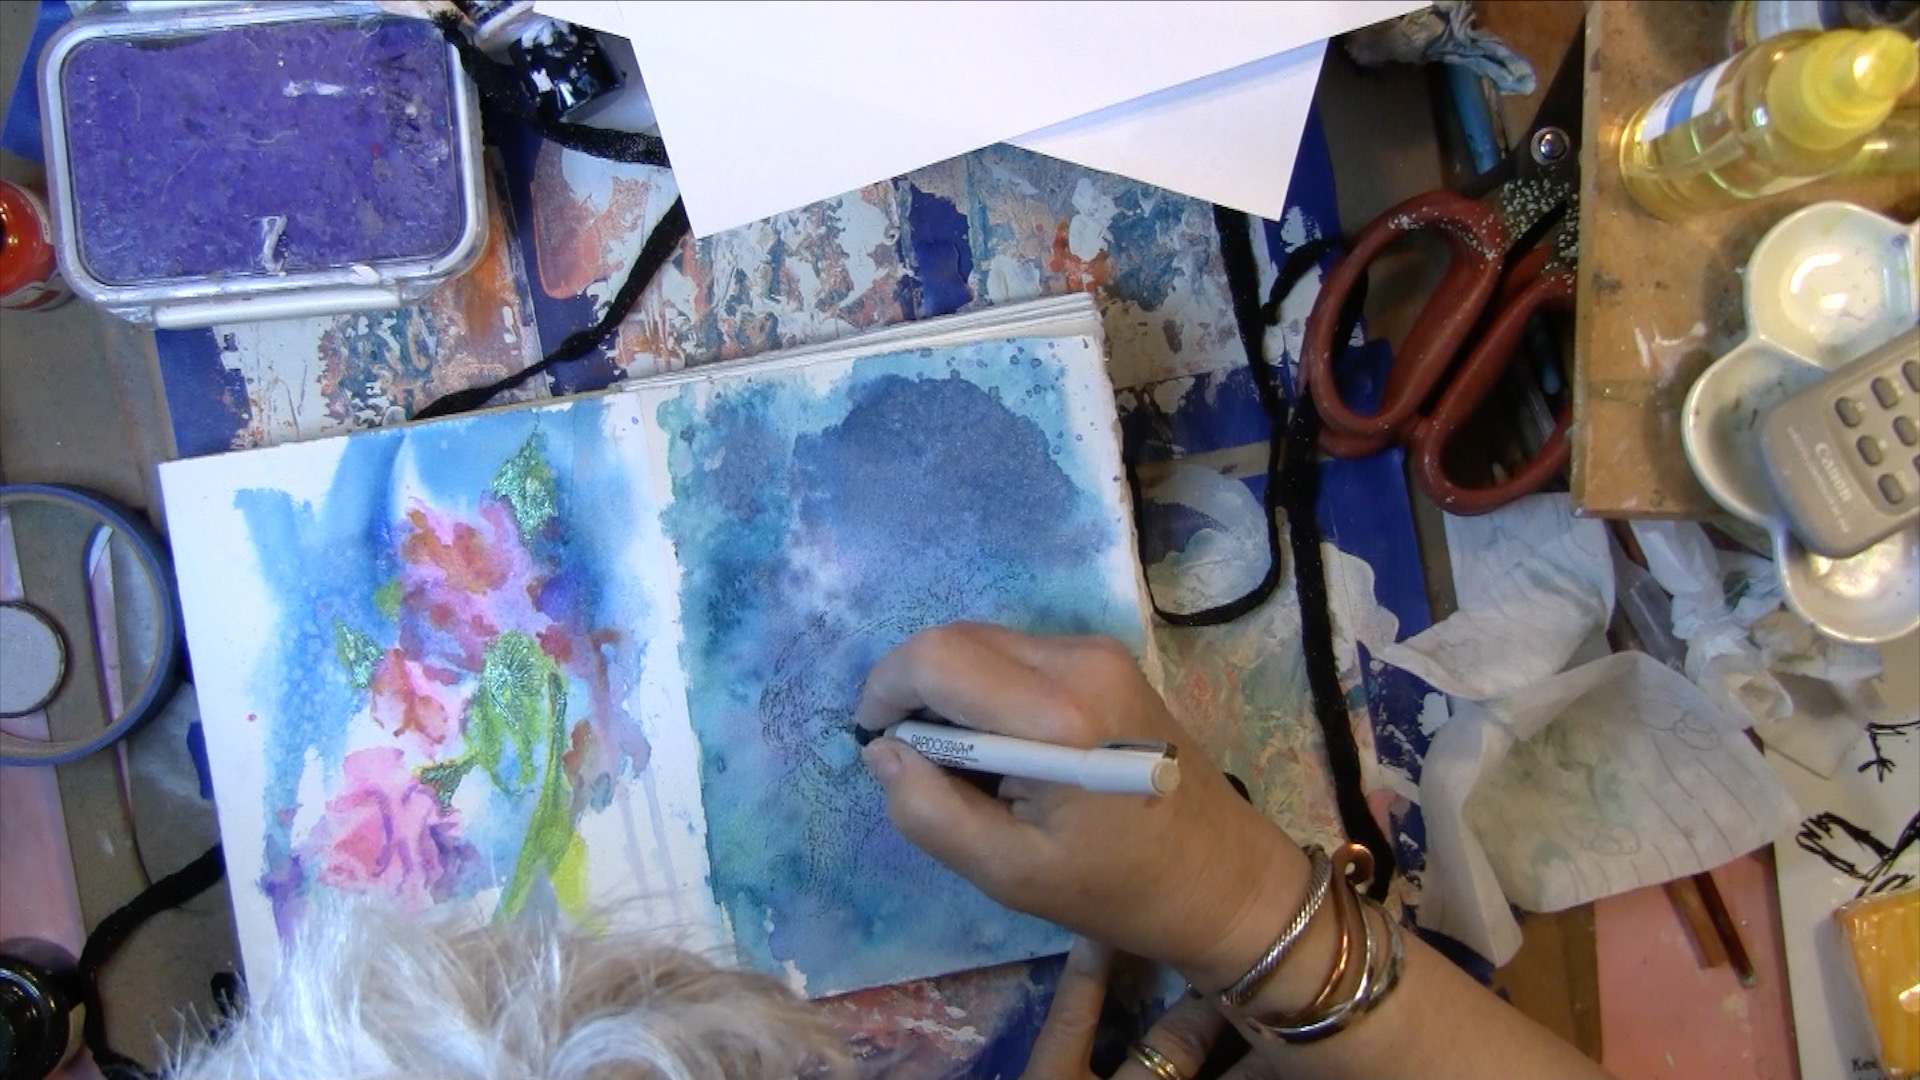
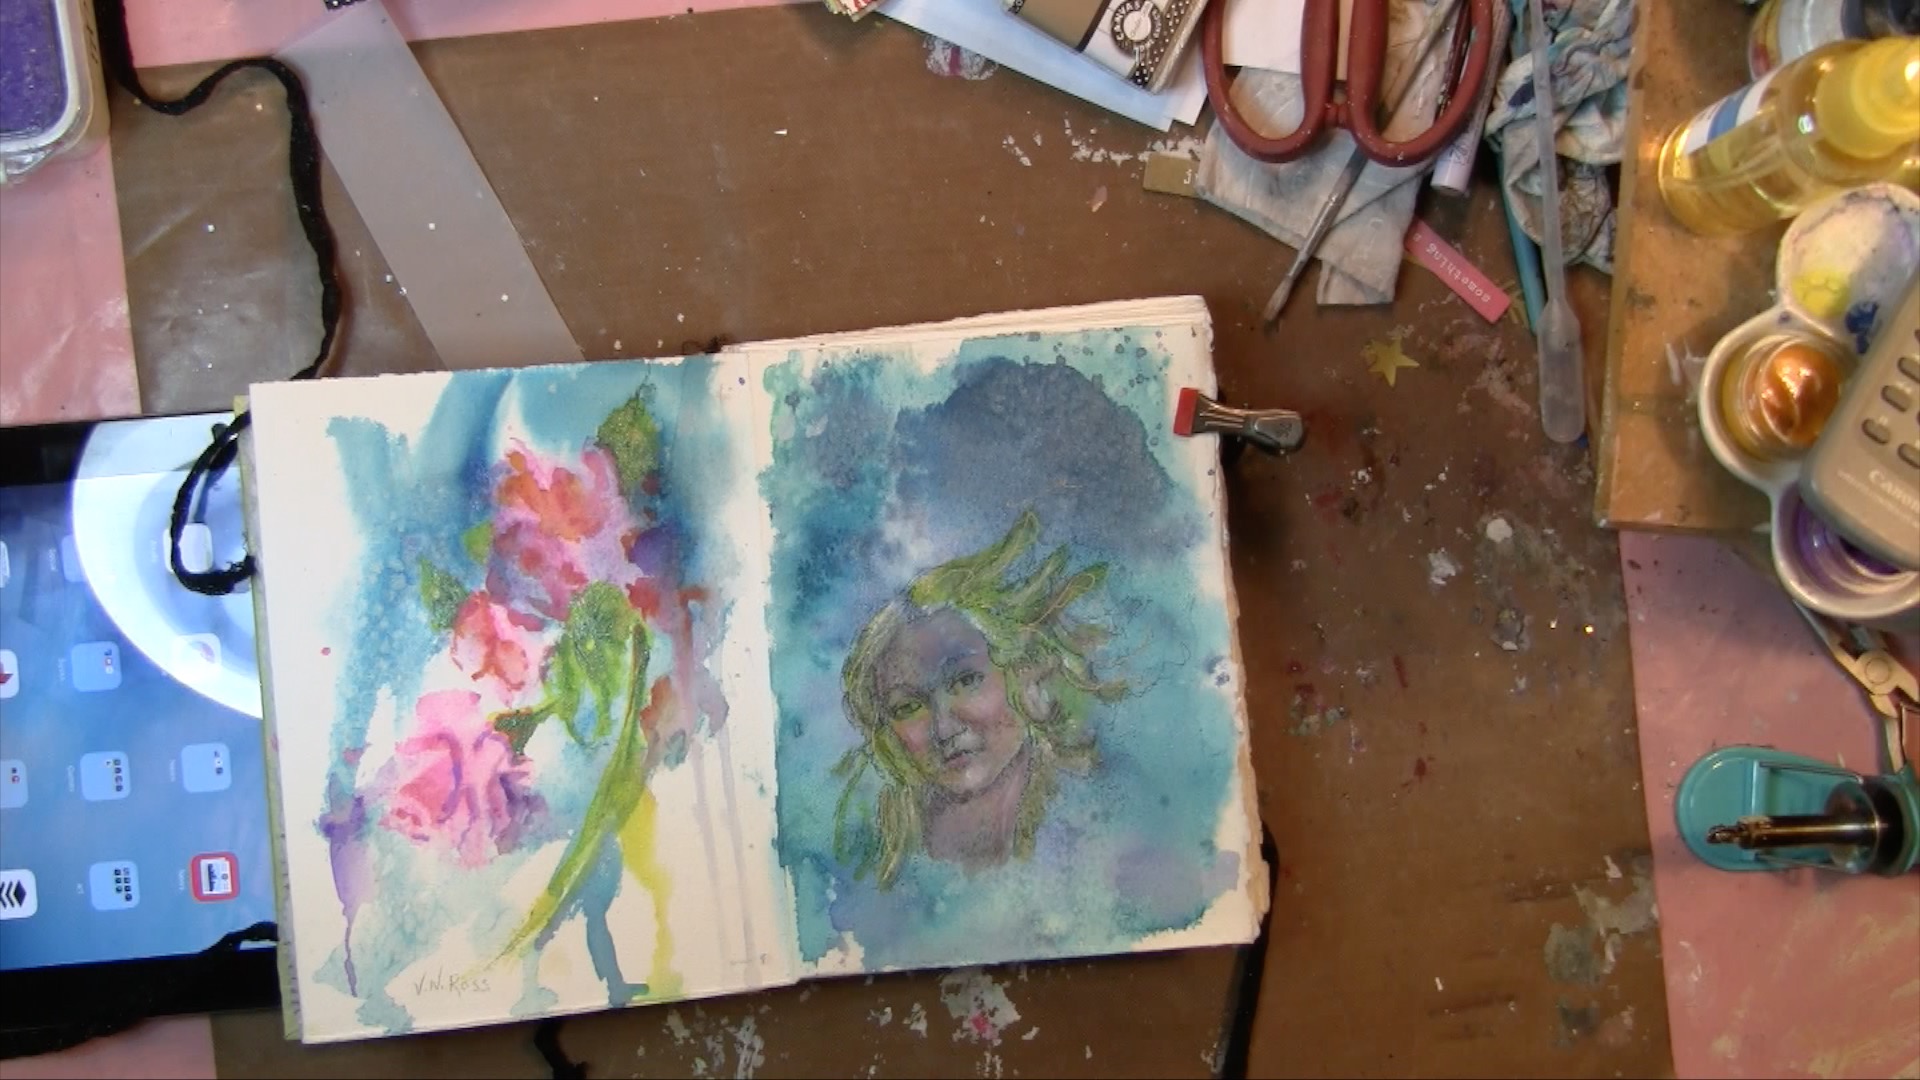
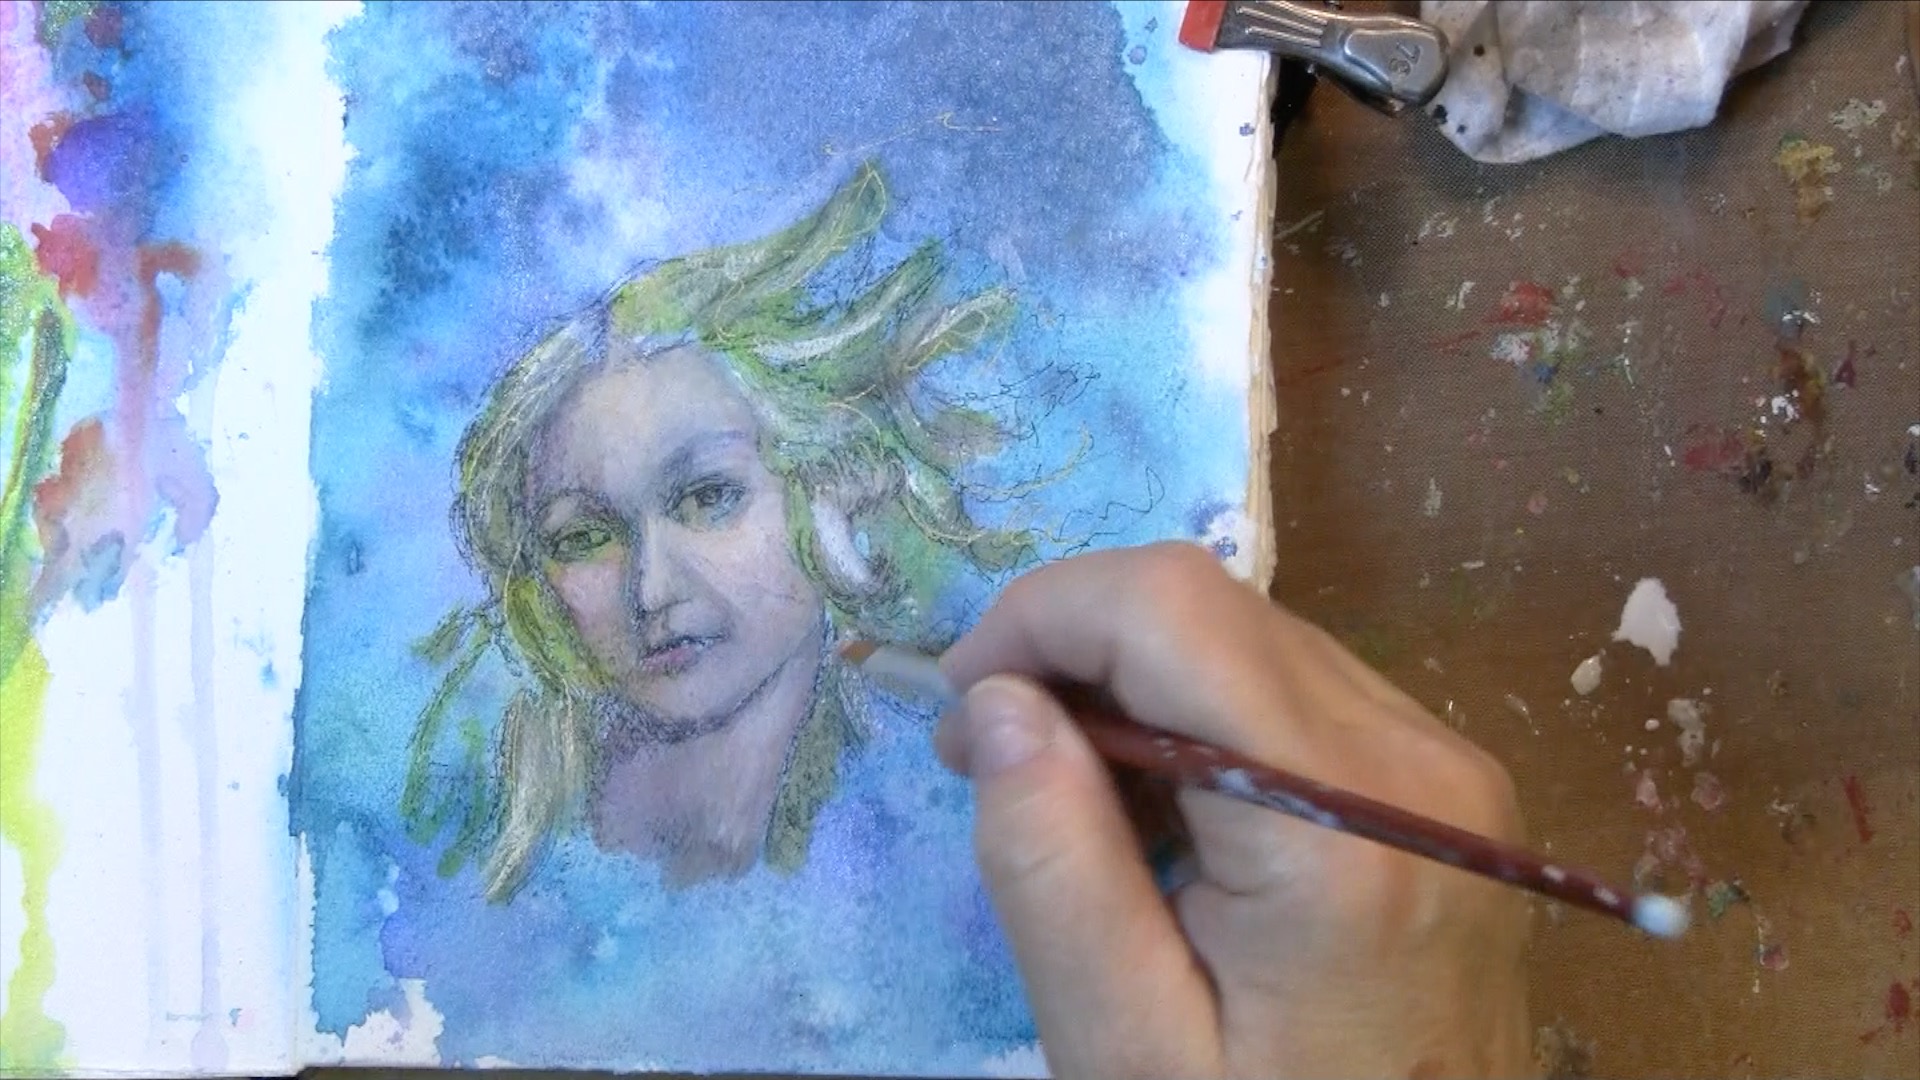
Step Three: The face was done in Procreate on Apple iPadPro with an Apple Pencil. I printed in on a laser printer in flipped horizontally. Using a ChartPak colorless Blender, I gently traced over all the laser print until I had some transfer marks. Coldpress watercolor paper had a bumpy texture, so you won't get a clean line…which was exactly the look I was after. With a micron or Rapidograph pen (both waterproof) I re-drew some of the lines.
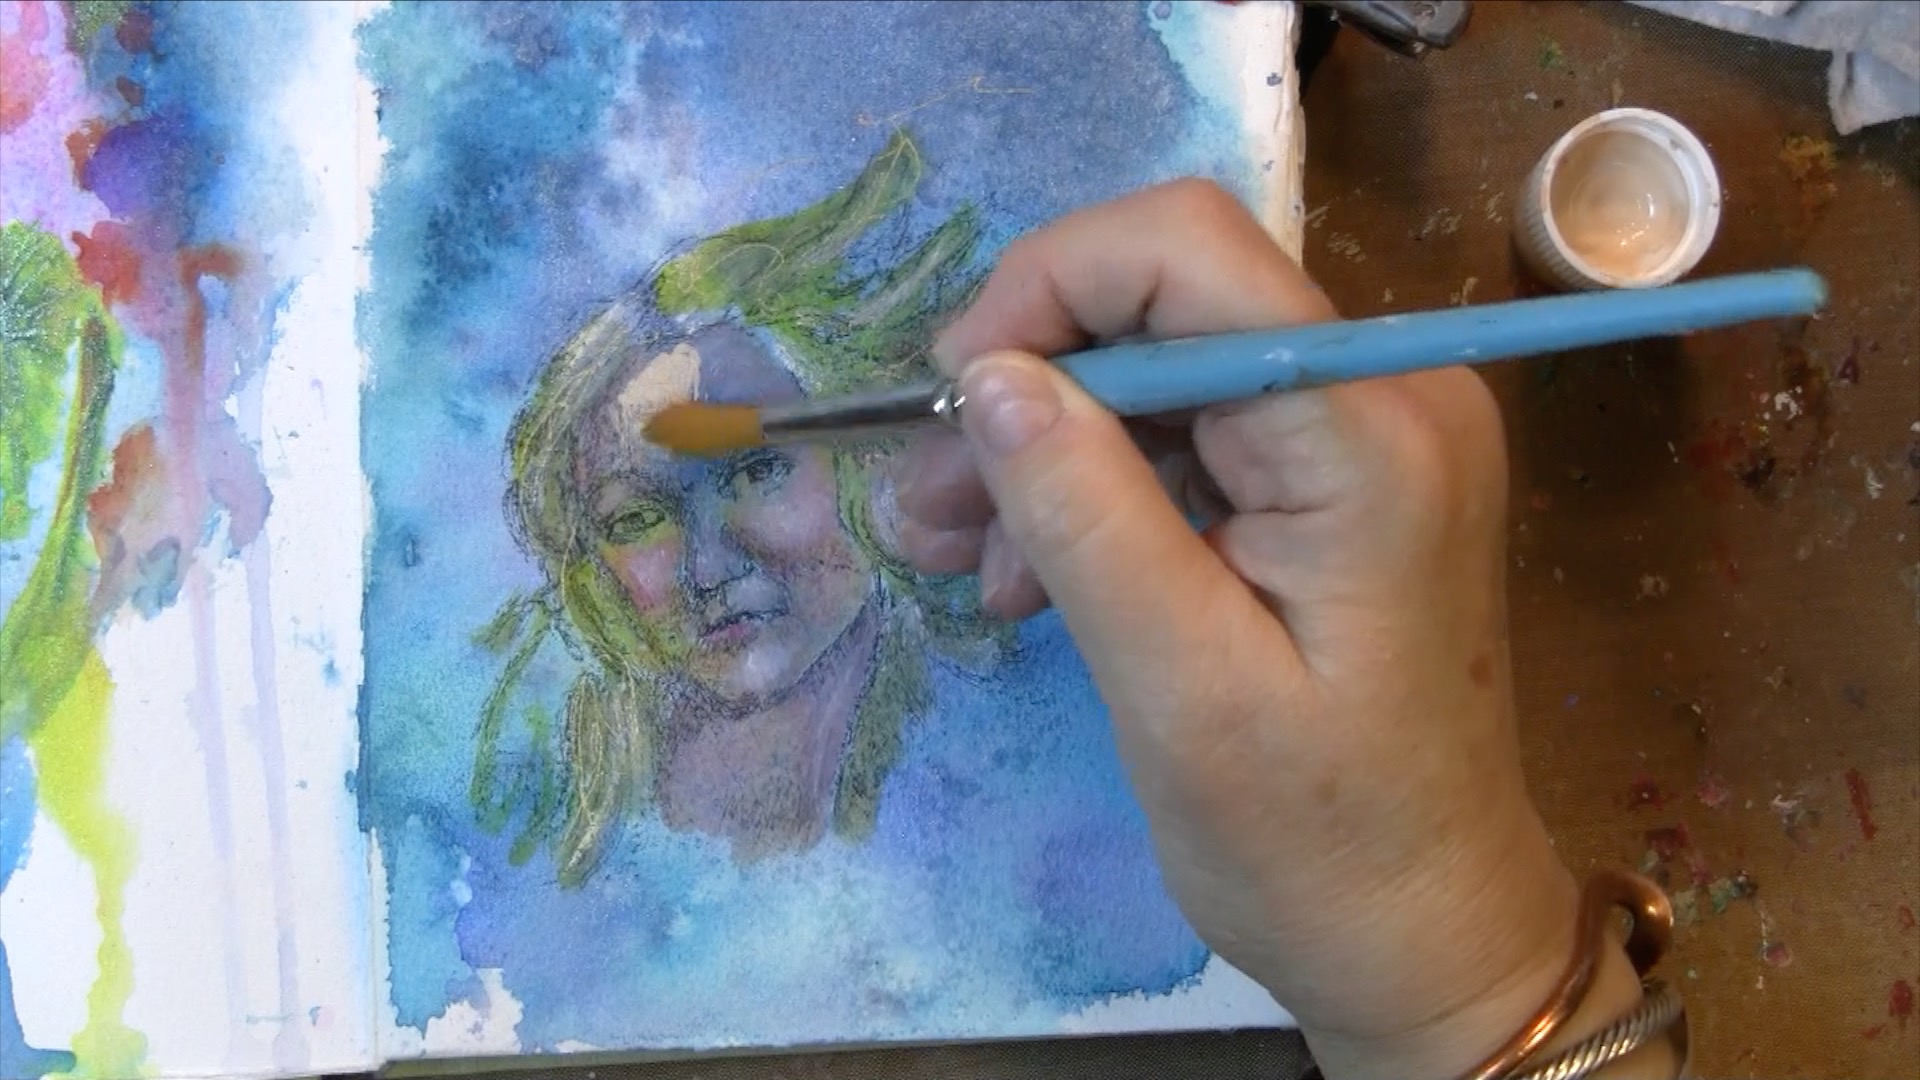
Step Four: Using skin tones of Warm and Cool Red and Yellow (Orange Peel, Playful Peony, Mandarin Citrine, Daffodil in Twinkling H20's) I began to glaze over her face. Plum Blossom gave me some interesting shadow colors, as did the blue background colors that re-activated.

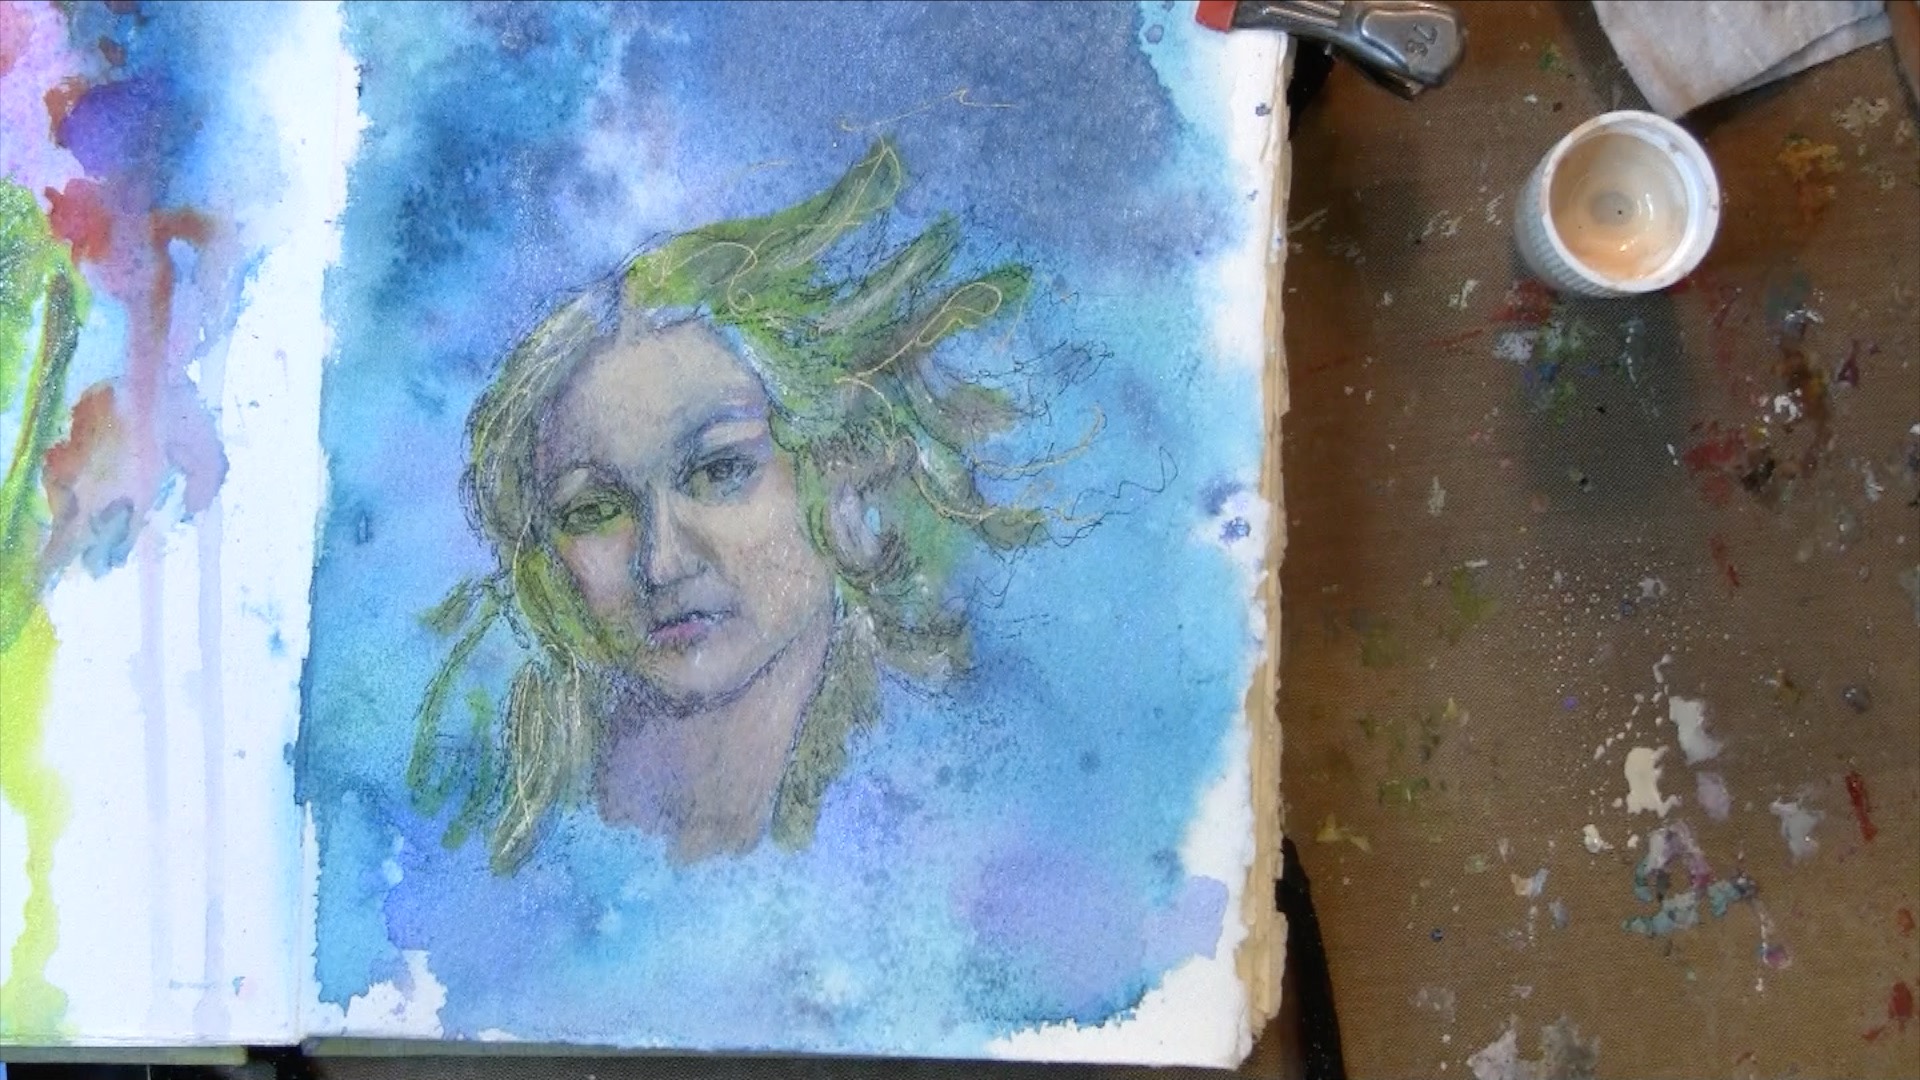
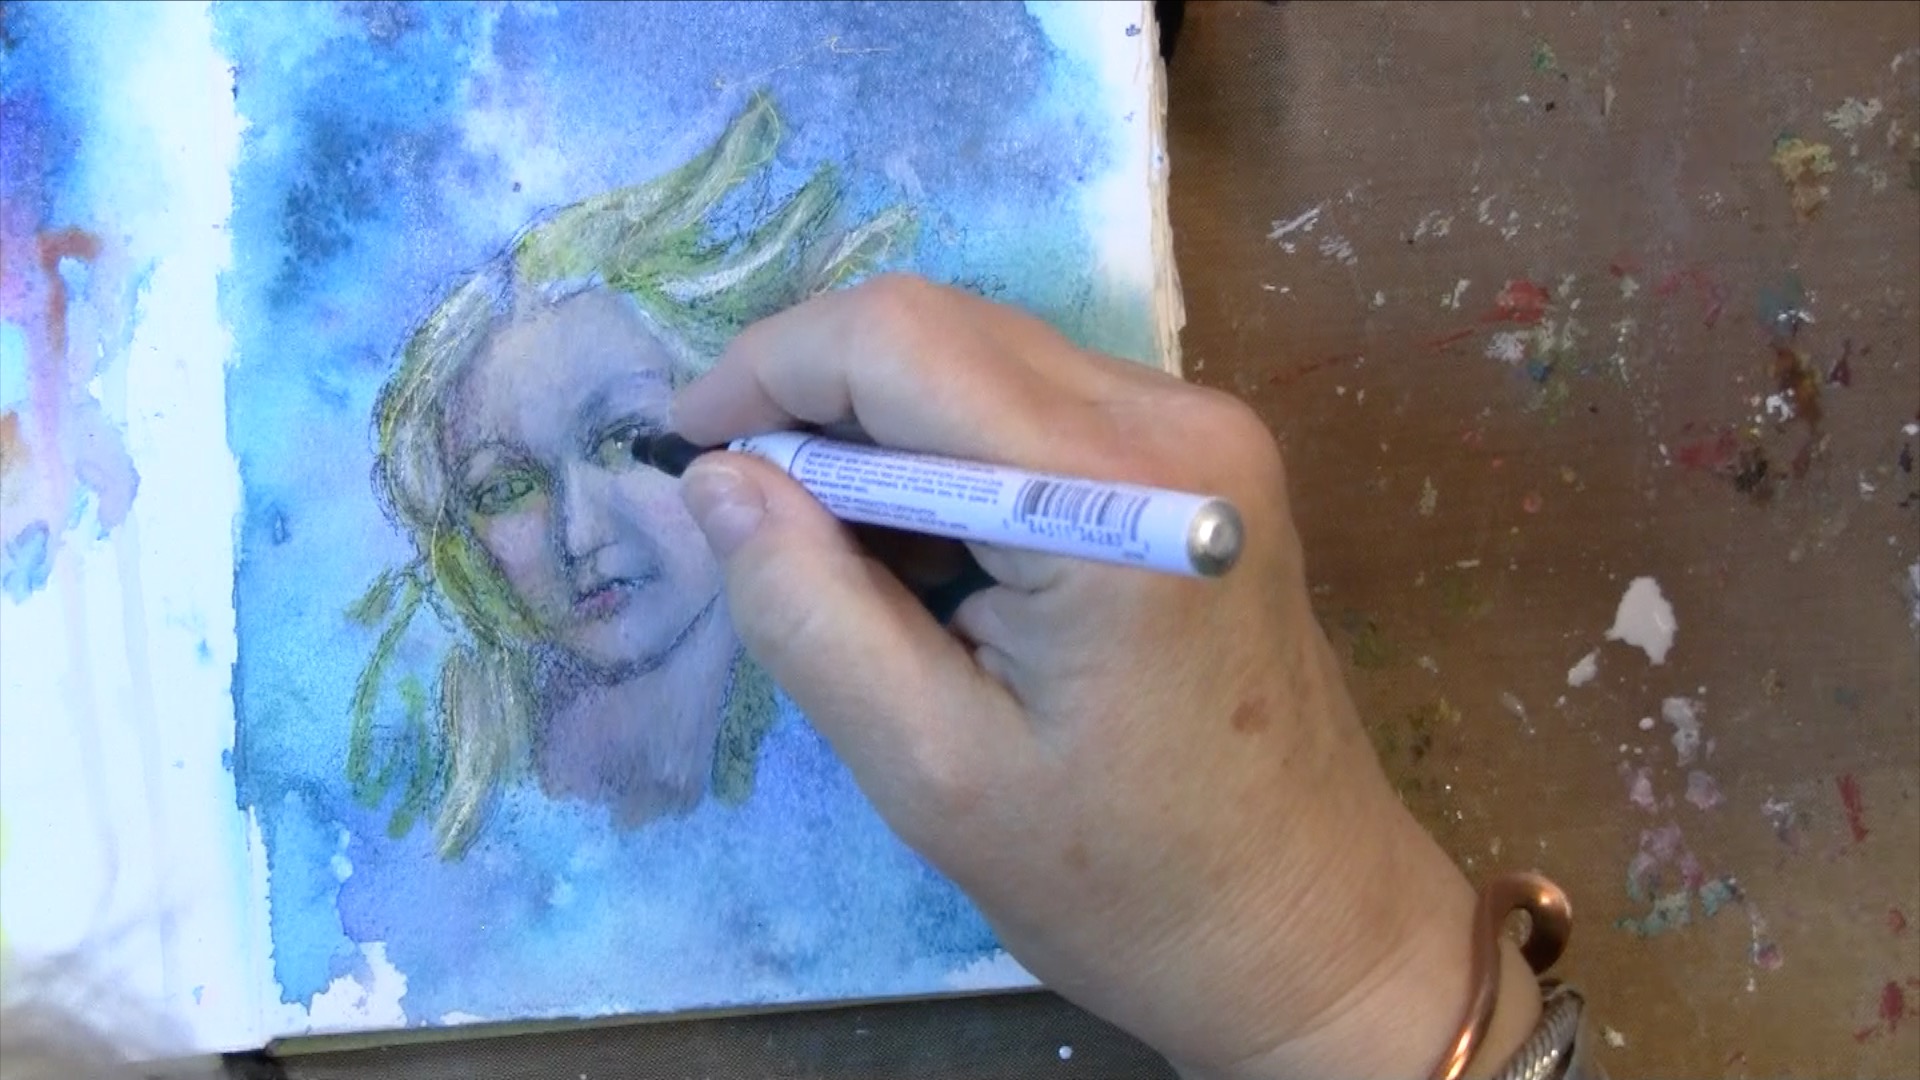
Step Five: After Beauty had a few days rest, I realized that the blue under the face was making it muddy. Out came a bottle of Ceramcoat Flesh (an acrylic). Watered down, it glazed over the areas of the skin where the light would hit. Being acrylic, it sealed the previous layers. I went back and forth with reds and yellows until I achieved a freshness. White gesso thinned down with water helped the highlight areas without completely masking the under layers.
Step Six: I used permanent black pens and white pens to accent the eyes and eyebrows.
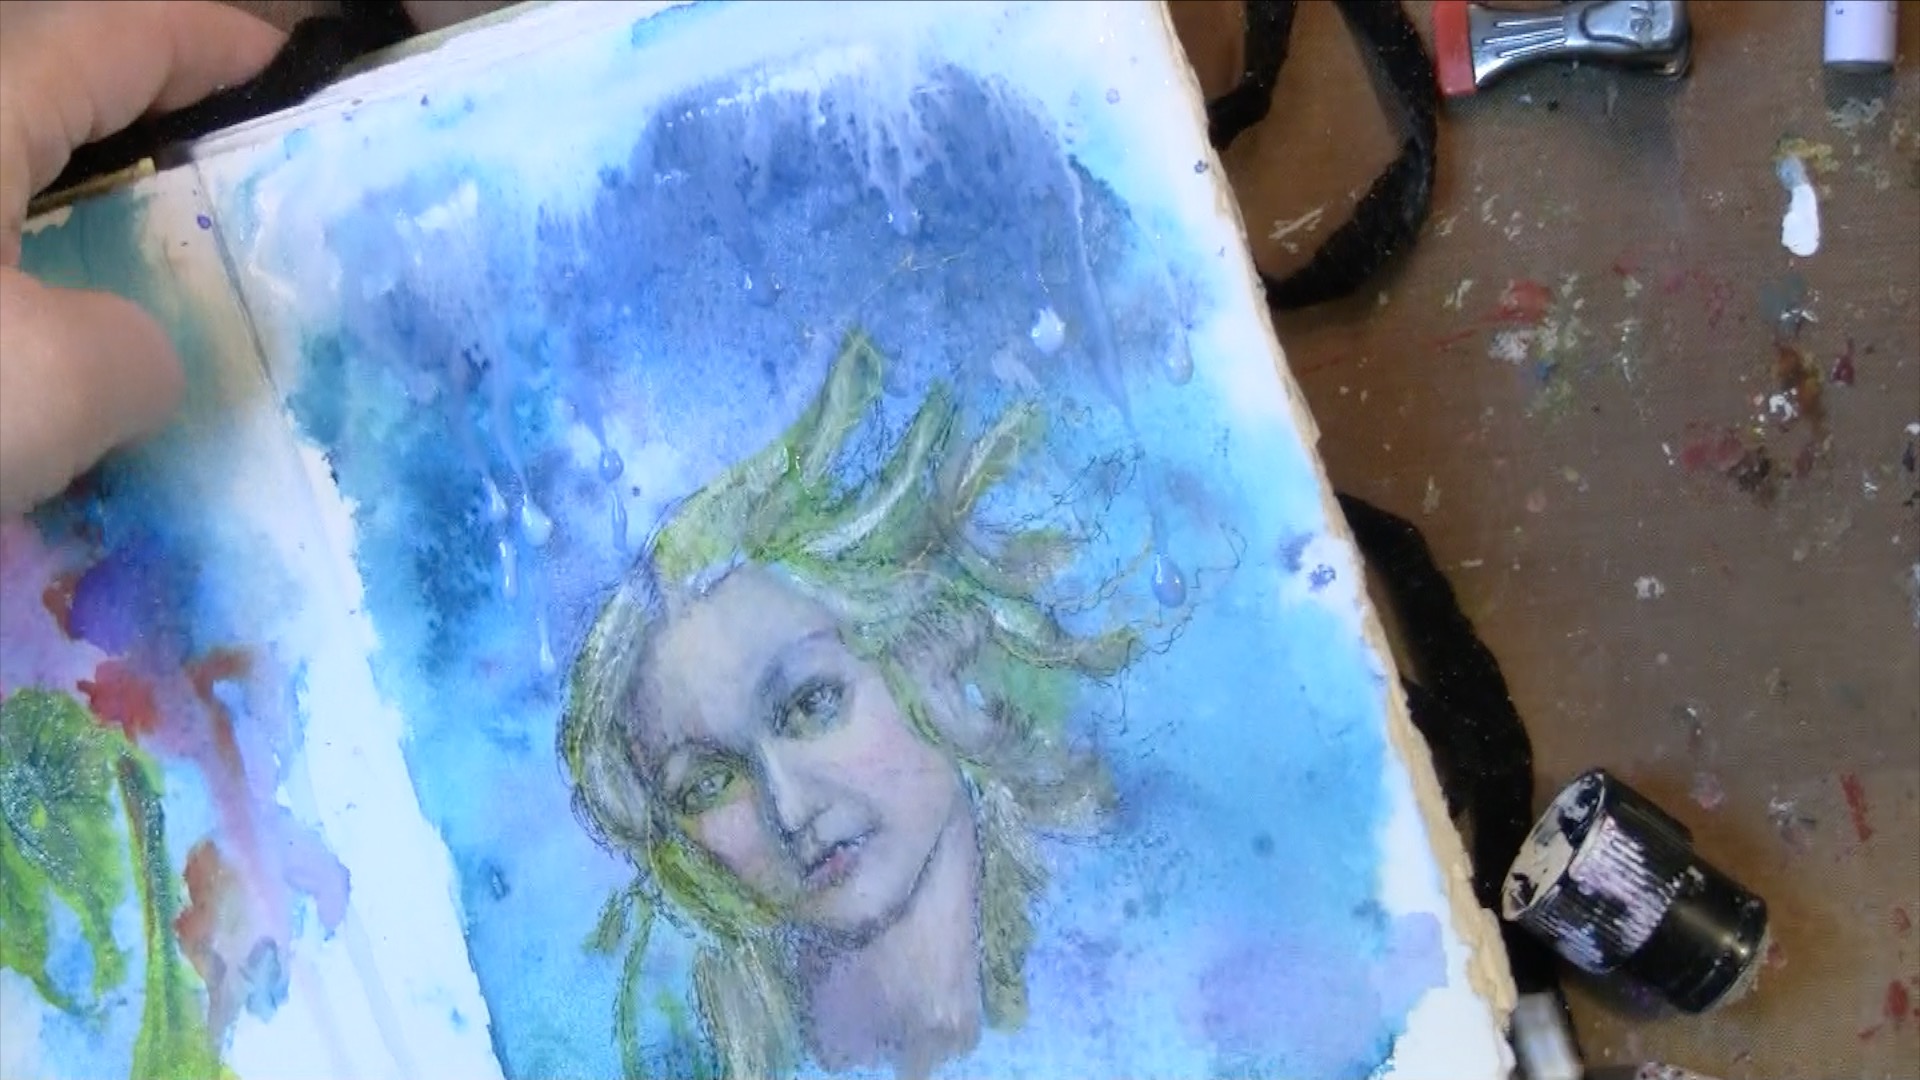
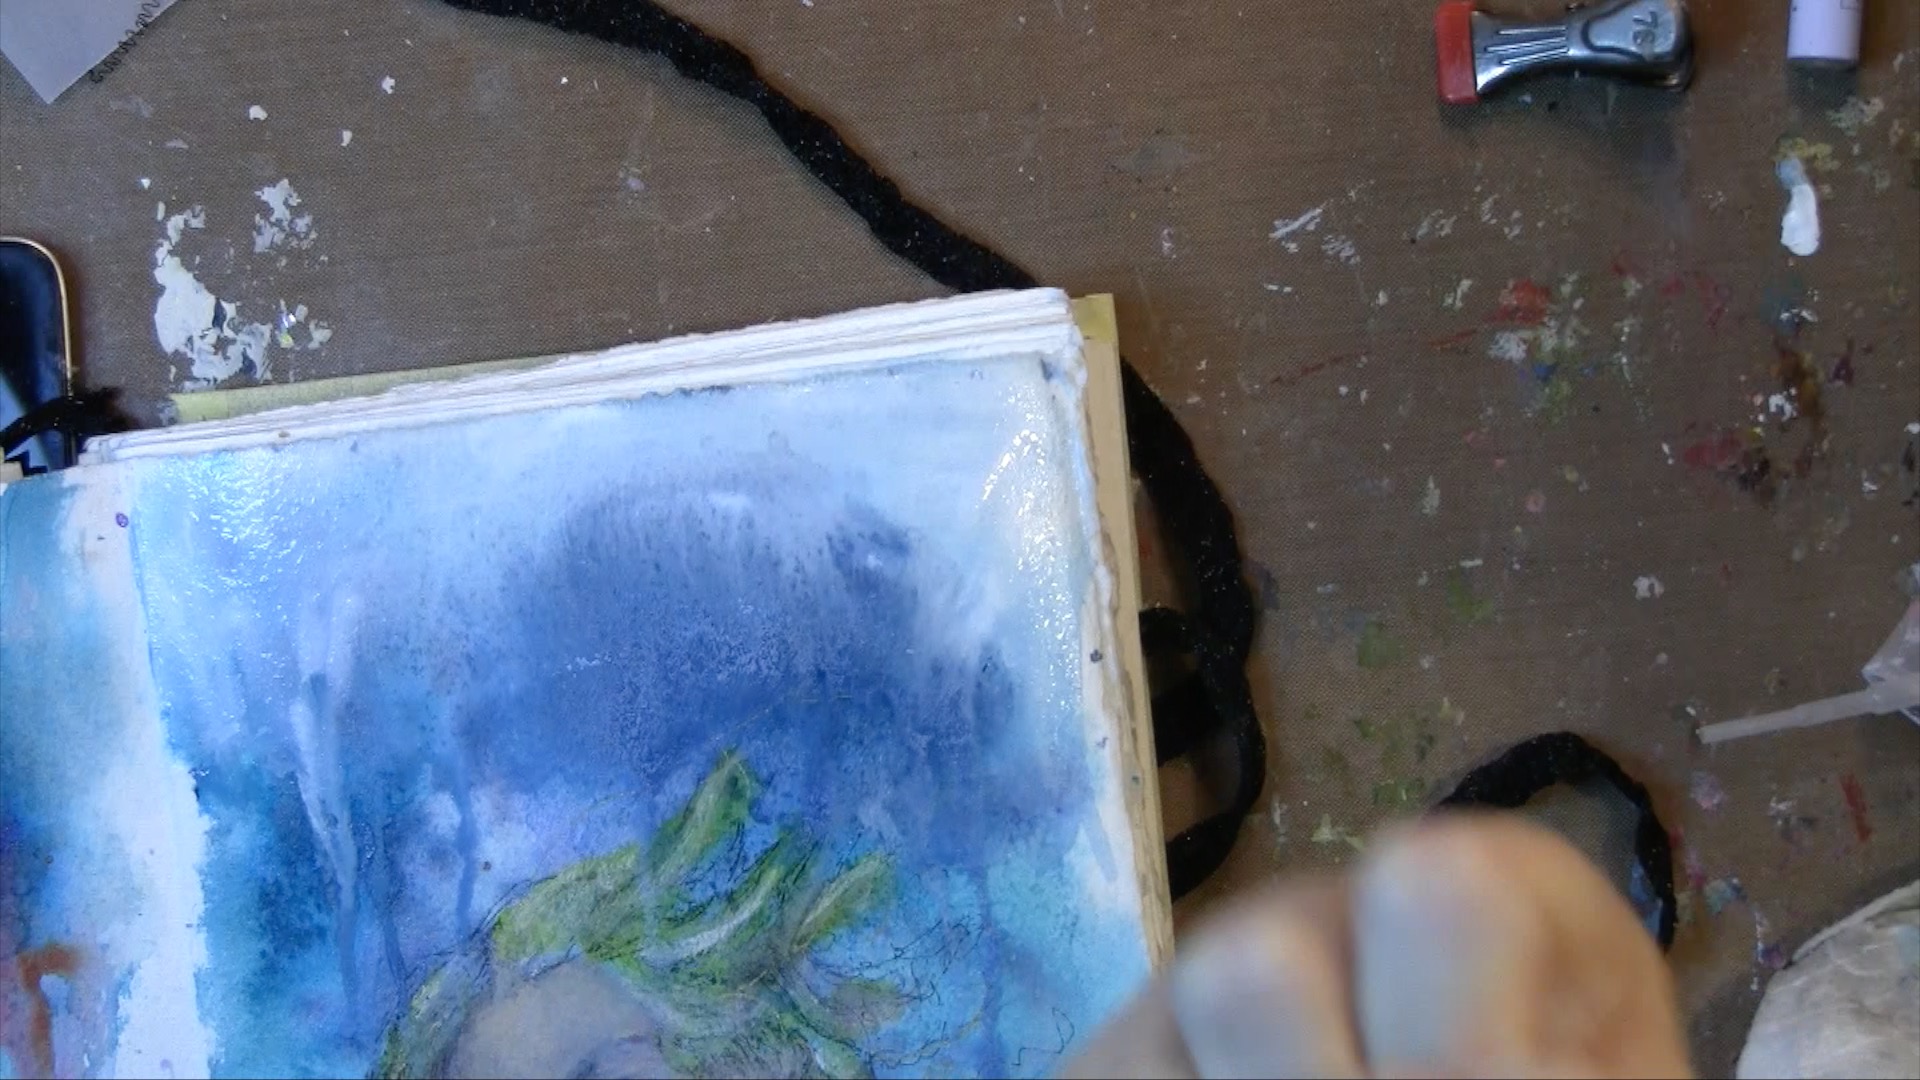
Step Seven: With the large brush and water, I wet the top third of the page and dropped in white gesso. Spraying and tilting the book helped the pigments run. The water and gesso re-activated the blues as they slowly ran down the page. A few drops went over her face, but with a tissue, I lightly picked those up. A side benefit is that the runs made her face become more organic with the background.
Step Eight: Sign and Declare Victory!

xxoo

